EN
40 5110326C_OI-II_Webasto Live
DANGER
High voltages
Danger of fatal electric shock. Danger
of confusion with the drainage holes.
u
Tighten the screws up to the bearing face.
See "Installation on page 37". Use the
hole positions shown.
u
Connect the charging cable to the vehicle.
– Depending on the authentication settings,
the LED changes from blue to green. See
"Authentication at the charging station on
page 43".
6.5.3 Checking the internal and
external residual circuit
current breakers
Test sequence, phase 1:
3 probe measurements (L1-N-PE; L2-N-PE;
L3-N-PE) of the AC residual current to trip
the type-B RCD fitted on the installation side,
and 3 probe measurements (L1-N-PE; L2-N-
PE; L3-N-PE) of the DC residual current to
trip the type-B RCD fitted on the installation
side at the contacts in the actuation shaft of
the spring-loaded terminals (smaller opening
at top); the time to trip [ms] and the trip cur-
rent [mA] are documented for each of the 6
measurements.
Starting situation for phase
2:
As for phase 1, but now an EV simulator is
connected to the charging cable, which sim-
ulates the status C (EV charging) on the char-
ging station. This means that voltage is
present at the charging cable and thus at the
test sockets of the EV simulator (closed relay
in the charging station)
Test sequence, phase 2:
3 measurements plugged into the test sock-
ets of the EV simulator (L1-N-PE; L2-N-PE;
L3-N-PE) of the AC residual current to trip
the sensor and 3 measurements plugged
into the test sockets of the EV simulator (L1-
N-PE; L2-N-PE; L3-N-PE) of the DC residual
current to trip the sensor; the time to trip
[ms] and the trip current [mA] are docu-
mented for each of the 6 measurements.
In phase 2 it is not necessarily the case that
the sensor actually reacts "faster" (i.e. when
the AC or DC residual current is lower or the
trip time is shorter). It is quite possible for
the RCD on the installation side to react here
too.
We recommended carrying out the 3 meas-
urements (L1-N-PE; L2-N-PE; L3-N-PE) for
loop impedance/fault current of the line cir-
cuit breaker at the same time during phase 2
and documenting these.
6.6 Reset
Process Description
Hold the
RFID
dongle
against the
card reader
for longer
than 120
seconds.
The system is reset to factory set-
tings. The RFID dongle to be used for
this must have been stored in the
configuration interface
(see online configuration instructions:
https://webasto-charging.com/
documentation).
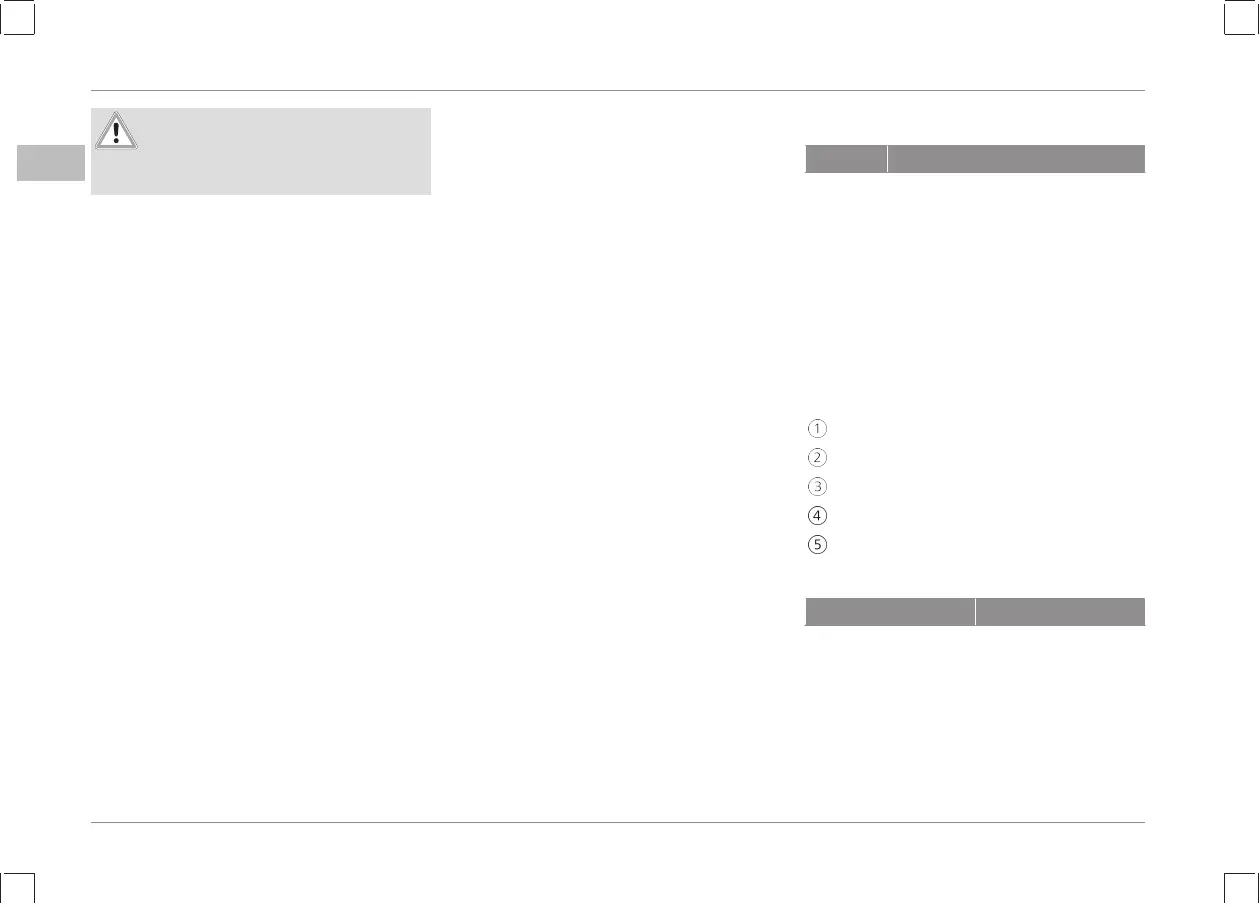
7 Operation
See also Fig. 7
Legend
LED indicator
RFID reader
Charging cable holder
Charging coupling holder
Installation cover
7.1 LED indicators
LED-colours Description
Blue Standby
Green Charging
Red Faults
Purple Charging station reset
Yellow Temperature limit
7.1.1 Operating conditions
See also Fig. 8
 Loading...