132903400000/00/09.2022
4 Unpacking and installing devices
Select an installation site that meets the requirements, see
chapter 2.1. Observe the following additional notes:
– Stable base with a level and even surface (weight and
dimensions, see technical data).
– Easily accessible electricity and compressed air connec-
tions in the vicinity
– Compressed-air connection with min. 4.5 bar
– Adequate space for ergonomic operation, preferably in
an oce environment
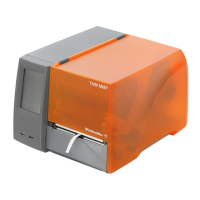
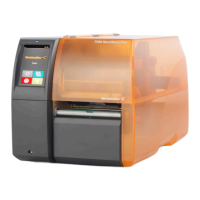
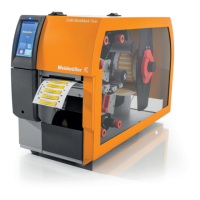
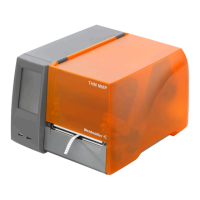
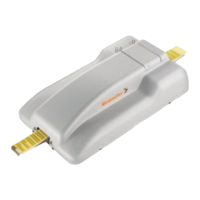
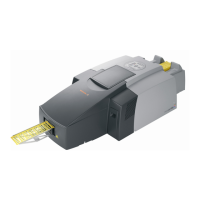
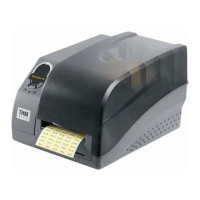
Included in delivery
– Label printer
– Mounting foot
– Applicator with laser pointer
– Foot switch
– Mains cable
– USB cable
– Ink ribbon
– DVD with M-Print
®
PRO marking software
– Operating instructions
► Check all components for transport damage.
► Check the delivery for completeness.
Store the original packaging for subsequent
transport.
► Remove the mounting foot from the packaging and set it
up on a level surface.
► To set up the labelling system, proceed as follows:
– Fit the printer on the mounting foot, see chapter 4.1
– Fit the applicator on the printer, see chapter 4.2
– Connect the devices, see chapter 4.3
– Connect the power cable
– Switch on the system, see chapter 4.4
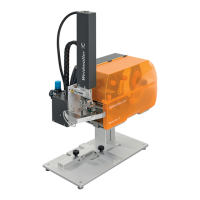
4.1 Fitting the printer on the mounting foot
1
2
3
4
Image 4.1 Fit the printer
► Unscrew the knurled screw (1) and loosen the clip (2).
► Position the printer with the recesses (3) on the guide
pins (4).
► Move the clip (2) over the base of the printer.
The printer must be positioned with all adjusting feet fully
on the mounting plate.
► Tighten the knurled screw (1) to fasten the printer on the
mounting plate.
► Remove the transport locks from the print head area,
see Image 3.3.