Assembly 15
Important: the mounting substrate must be suf-
ficiently strong to hold the wall bracket and the
ACCUVAC securely in accordance with EN 1789
Medical Vehicles and their Equipment - Road
Ambulances.
Alternatively to the wall charger you can also use
the connection line WM 10650, which is
optional.
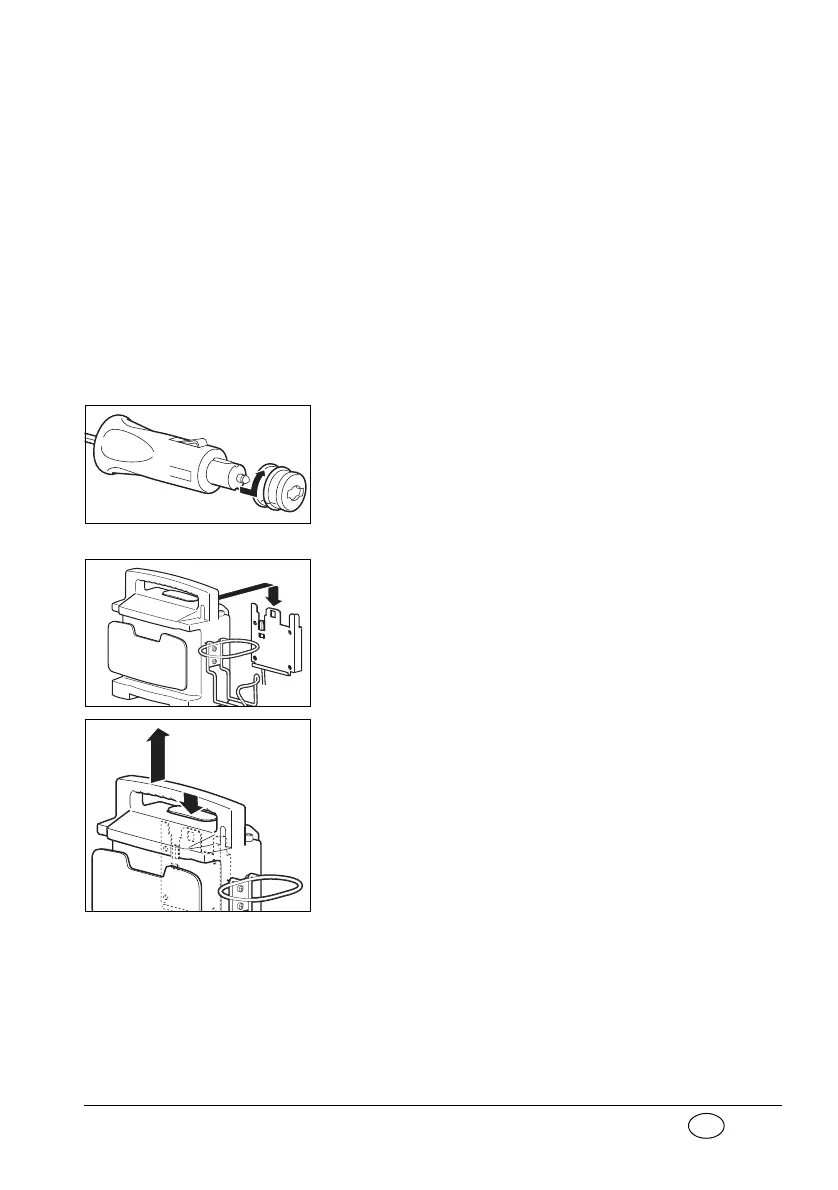
7. Insert the AC adapter/charger plug in a 230 V/
50 Hz power socket, or if using the connecting
cable, insert the vehicle plug into a 12 volt DC
power source.
The vehicle plug is supplied complete with a red
adapter ring. This is needed if you want to plug
the vehicle plug into a cigarette lighter socket.
To connect to the mains / charger unit
FW7405M/14, complete WM 2610 or a 12 volt
vehicle socket, remove the red adapter ring.
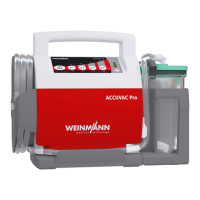
8. Slide ACCUVAC Basic downwards into the wall
bracket.
If ACCUVAC Basic appliance is switched off, it
will automatically be charged up from the DC
power source.
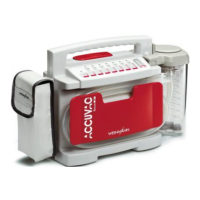
9. To remove the ACCUVAC Basic from the brack-
et ready for use, press the release catch and lift
ACCUVAC Basic out of the wall bracket.