14 Assembly
4. Assembly
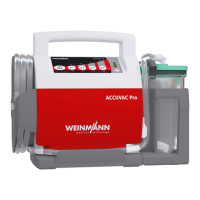
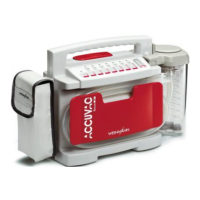
ACCUVAC Basic is supplied ready for use.
Important Before using ACCUVAC Basic for the first time, fully
charge the power pack (see “5.4 Charging
ACCUVAC Basic” on page 26).
4.1 Assembly with wall bracket
If the WM 15208 wall bracket is not included in the
scope of supply of your appliance, you may order the
wall bracket as a accessory.
Note Please use the sheet-metal screws enclosed with the
wall bracket for metallic mounting surfaces only,
e.g. in vehicles. If you wish to mount the wall bracket
on other mounting surfaces, please use screws that
are suitable for the relevant surfaces. Such screws
are not included in the scope of supply of the wall
bracket.
1. Find a suitable mounting location on an
even,
vertical surface. The outline of the ACCUVAC
on the drilling template shows the space re-
quired.
2. Hold up the drilling template and level it with a
spirit level.
3. Mark the required screw holes on the mounting
location.
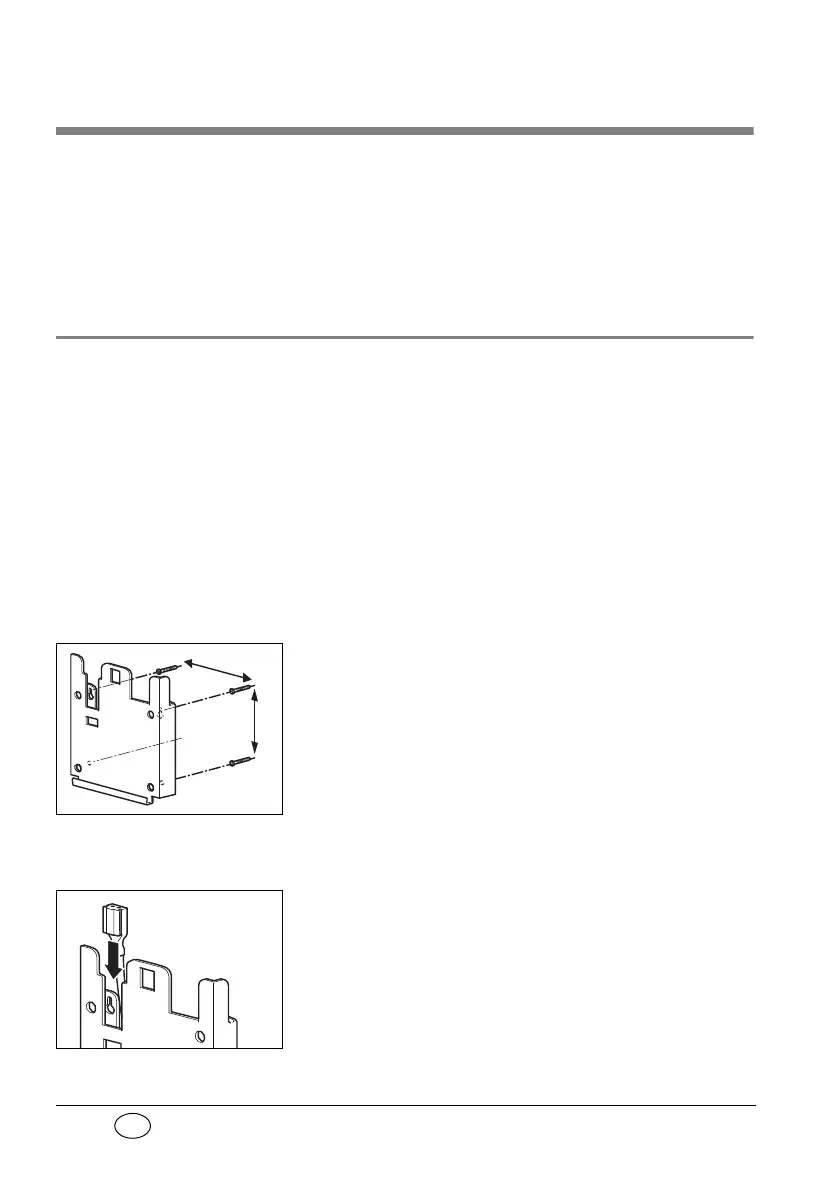
4. Drill the screw holes with a Ø 3 mm drill.
5. Screw the wall bracket on with the screws sup-
plied.
6. Push the appliance plug of the connection cable
or of the mains/charger unit into the guide rail of
the wall bracket until it engages with the
tongue.
1
10
mm
1
15 mm
˘ 3 mm