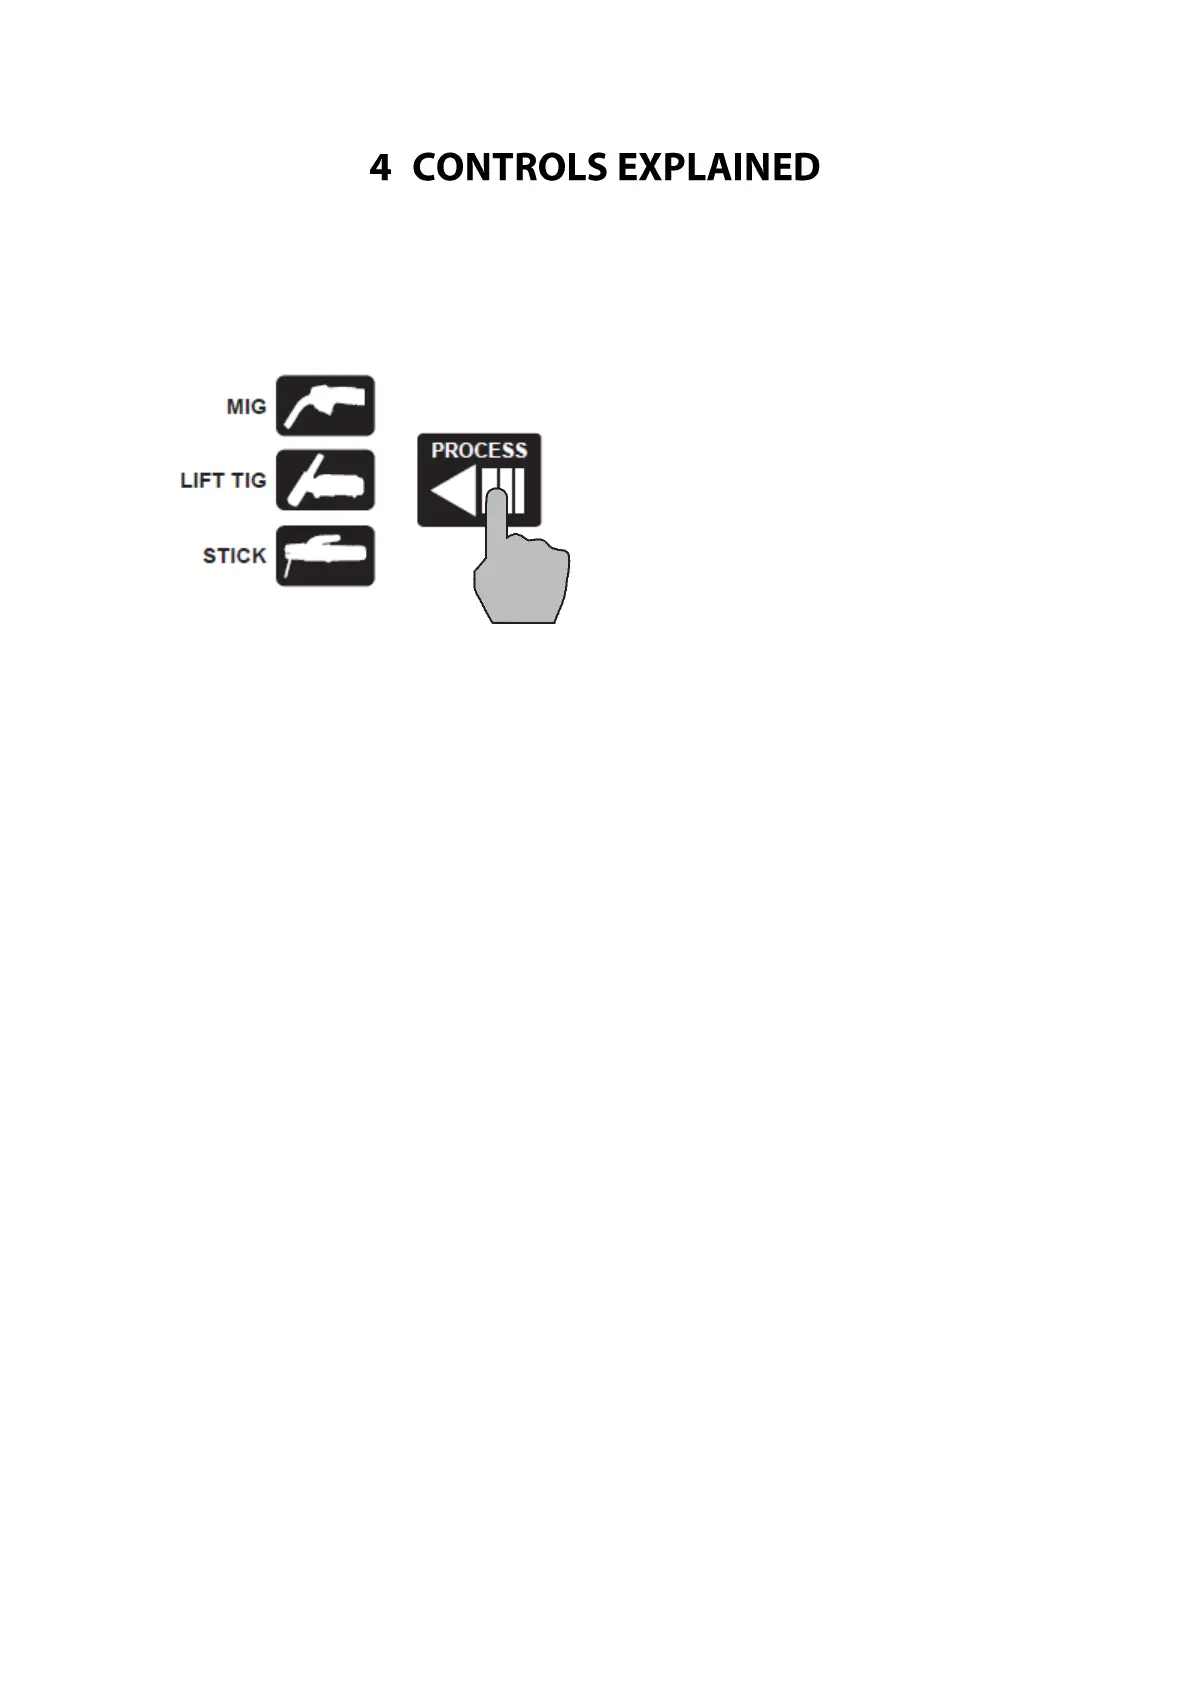
4.1 Weld Process Selection
1. Press ‘Process’ button (29) until the desired Welding Process Indicator Light (28) is lit.
4.1.1 MIG Process:
In Manual MIG mode (Program 0) – before welding the Left Selection Knob (31) adjusts target voltage
output and the Right Selection Knob (32) adjusts Target Wire Speed (m/min). During welding, Left LCD
Readout (39) will display actual weld voltage and Right LCD Readout (38) will display actual amperage
output.
In Synergic (Auto) MIG mode (Programs 1-20) – before welding the Left Selection Knob adjusts voltage
(31) (which will change the performance from the automatic program) and the Right Selection Knob (32)
adjusts target amperage output. Right Selection Knob can be pressed to toggle to adjust Material
Thickness instead of Amperage. During welding, Left LCD Readout (39) will display actual weld voltage
and Right LCD Readout (38) will display actual amperage output.
4.1.2 Stick & TIG Process:
Before welding the Left Selection Knob (31) is disabled and the Right Selection Knob (32) adjusts target
amperage output. During welding, Left LCD Readout (39) will display actual weld voltage and Right LCD
Readout (38) will display actual amperage output.