.
30 © Weldclass 2019 | E.&O.E. | Edition 2.2
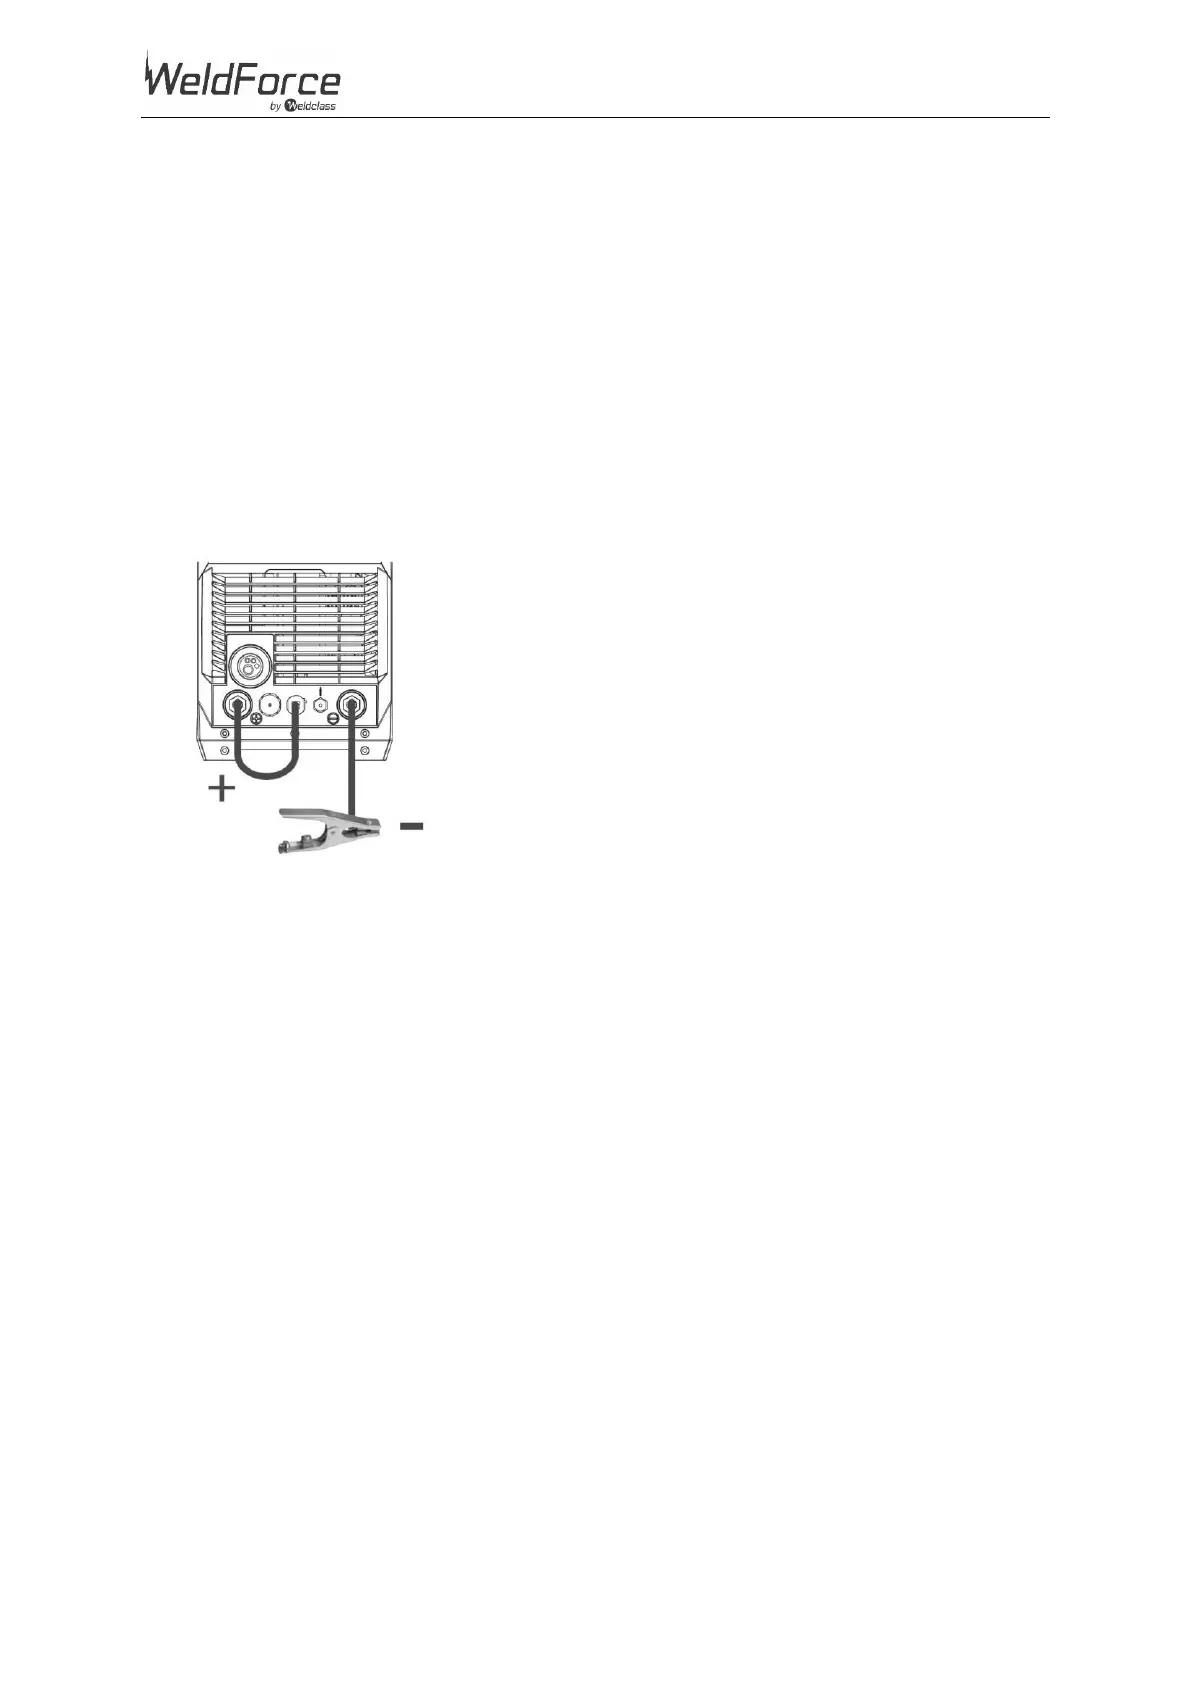
7.1.4 Gas MIG Welding Setup
NOTE: Gas MIG welding will require a gas cylinder. (Argon mix or CO2)
1. Connect the earth cable quick connector to the negative welding power output socket (7).
2. Connect the earth clamp to the work piece. Contact with the work piece must be firm contact
with clean, bare metal, with no corrosion, paint or scale at the contact point.
3. Connect the MIG Torch Polarity Change Tail (8) to the Positive (+) MIG Torch Power Connection
(3).
Note: if this connection is not made, there will be no electrical connection to the welding torch!
4. Connect the gas regulator to a gas cylinder (not included with machine) and connect the gas hose
from the regulator to the gas inlet connection (25) on the rear of the machine. Ensure all hose
connections are tight and clamped with the hose clamps provided.
5. Open gas cylinder valve and adjust regulator. Press ‘Test Gas’ button (30) to initiate flow of gas
through the welding torch. Flow should be between 10-25L/min depending on application.
Figure 21