15
WILDEN PUMP & ENGINEERING, LLCWIL-10230-E-02
SECTION 8A
T8 PLASTIC
DIRECTIONS FOR DISASSEMBLY/REASSEMBLY
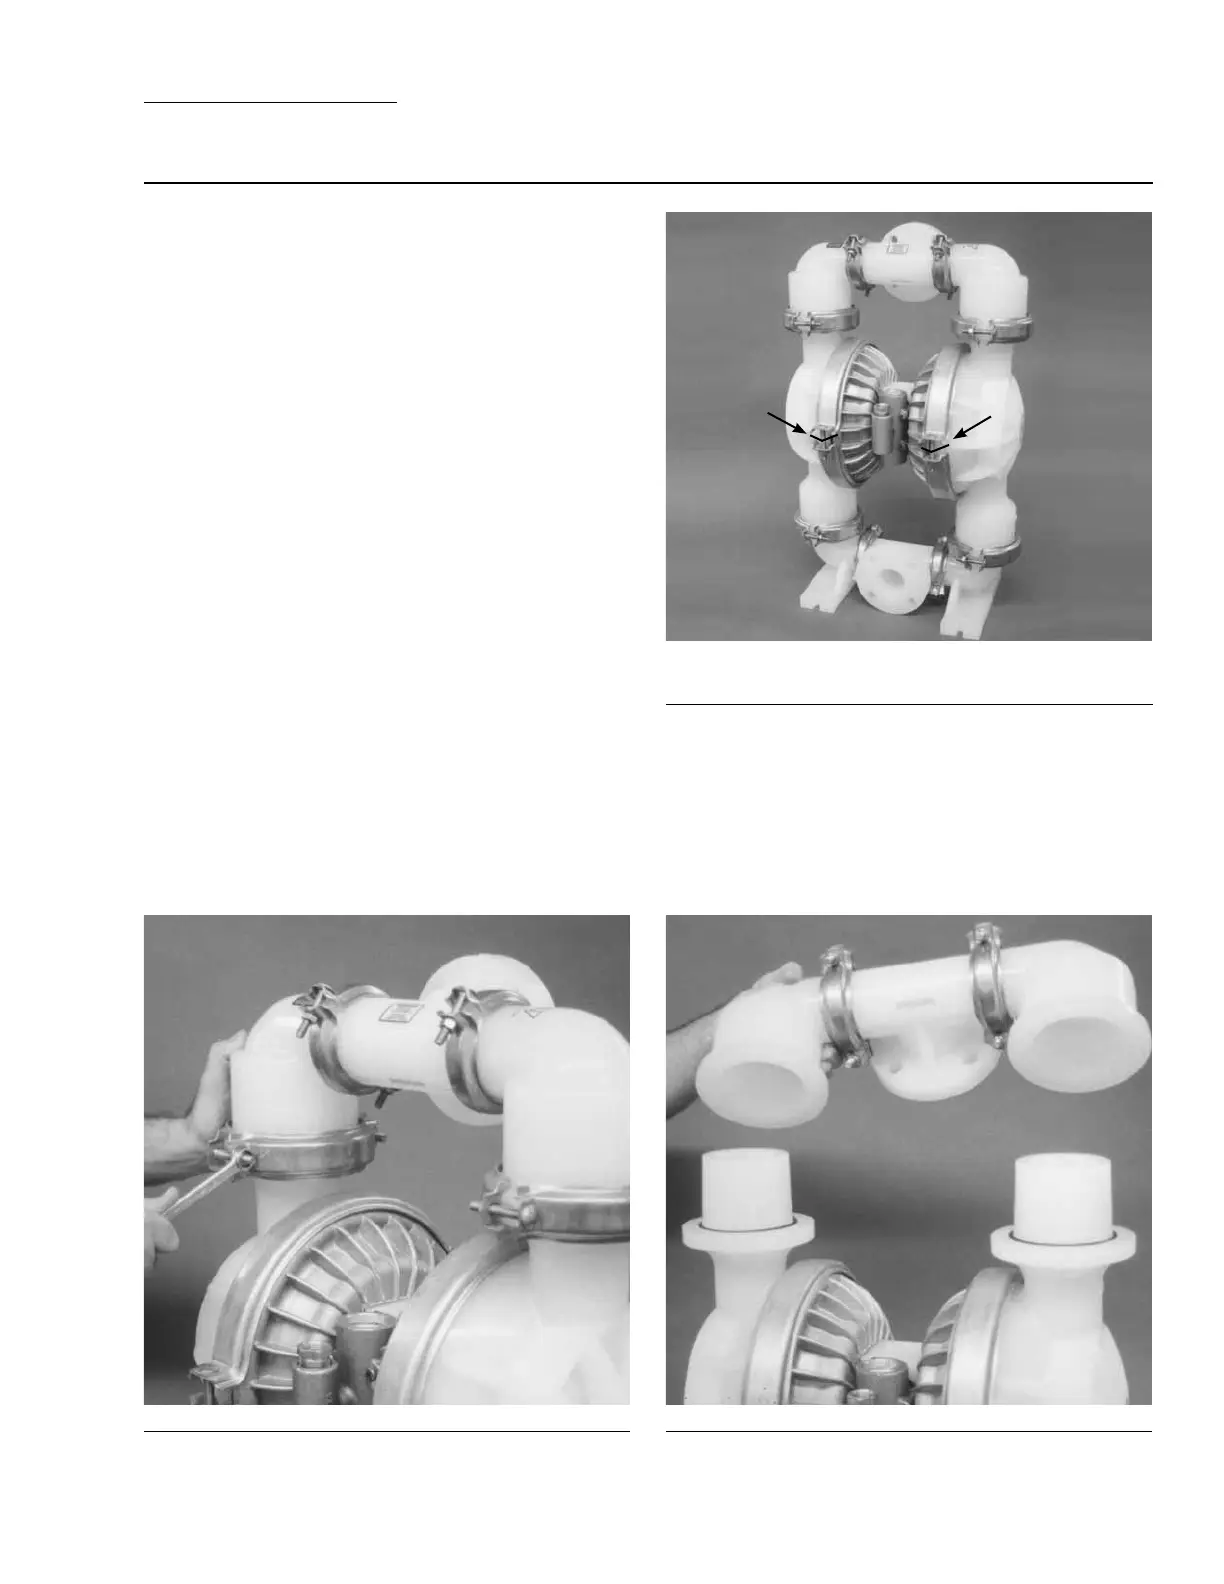
Figure 1
Step 2. Figure 2
Utilizing a 13 mm (1/2”) wrench, remove the two small clamp
bands that fasten the discharge manifold to the liquid cham-
bers.
Step 3. Figure 3
Lift away the discharge manifold to expose the valve ball
guide bushings and seats.
CAUTION: Before any maintenance or repair is attempted,
the compressed air line to the pump should be disconnected
and all air pressure allowed to bleed from the pump. Discon-
nect all intake, discharge, and air lines. Drain the pump by
turning it upside down and allowing any fluid to flow into
a suitable container. Be aware of any hazardous effects of
contact with your process fluid.
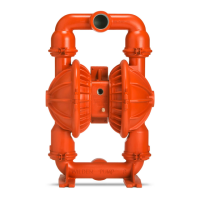
The Wilden model T8 plastic has a 51 mm (2”) inlet and outlet
and is designed for flows up to 591 lpm (156 gpm). The
model T8 plastic is available in polypropylene wetted parts.
The air valve is manufactured of brass, PTFE-coated brass,
nickel-plated brass or Stainless Steel. All o-rings used in the
pump are of a special material and shore hardness which
should only be replaced with factory-supplied parts.
TOOLS REQUIRED:
13 mm (1/2”) Wrench
17 mm (11/16”) Socket Wrench
Adjustable Wrench
Vise equipped with soft jaws (such as plywood, plastic
or other suitable material)
NOTE: The model used for these instructions incorporates
rubber diaphragms, balls, and seats. Models with PTFE
diaphragms, balls and seats are the same except where
noted. The procedures for the A8 Accu-Flo™ pump are the
same except for the air distribution system.
DISASSEMBLY:
Step 1.
Before starting disassembly, mark a line from each liquid
chamber to its corresponding air chamber. This line will assist
in proper alignment during reassembly.