16
WILDEN PUMP & ENGINEERING, LLC WIL-10230-E-02
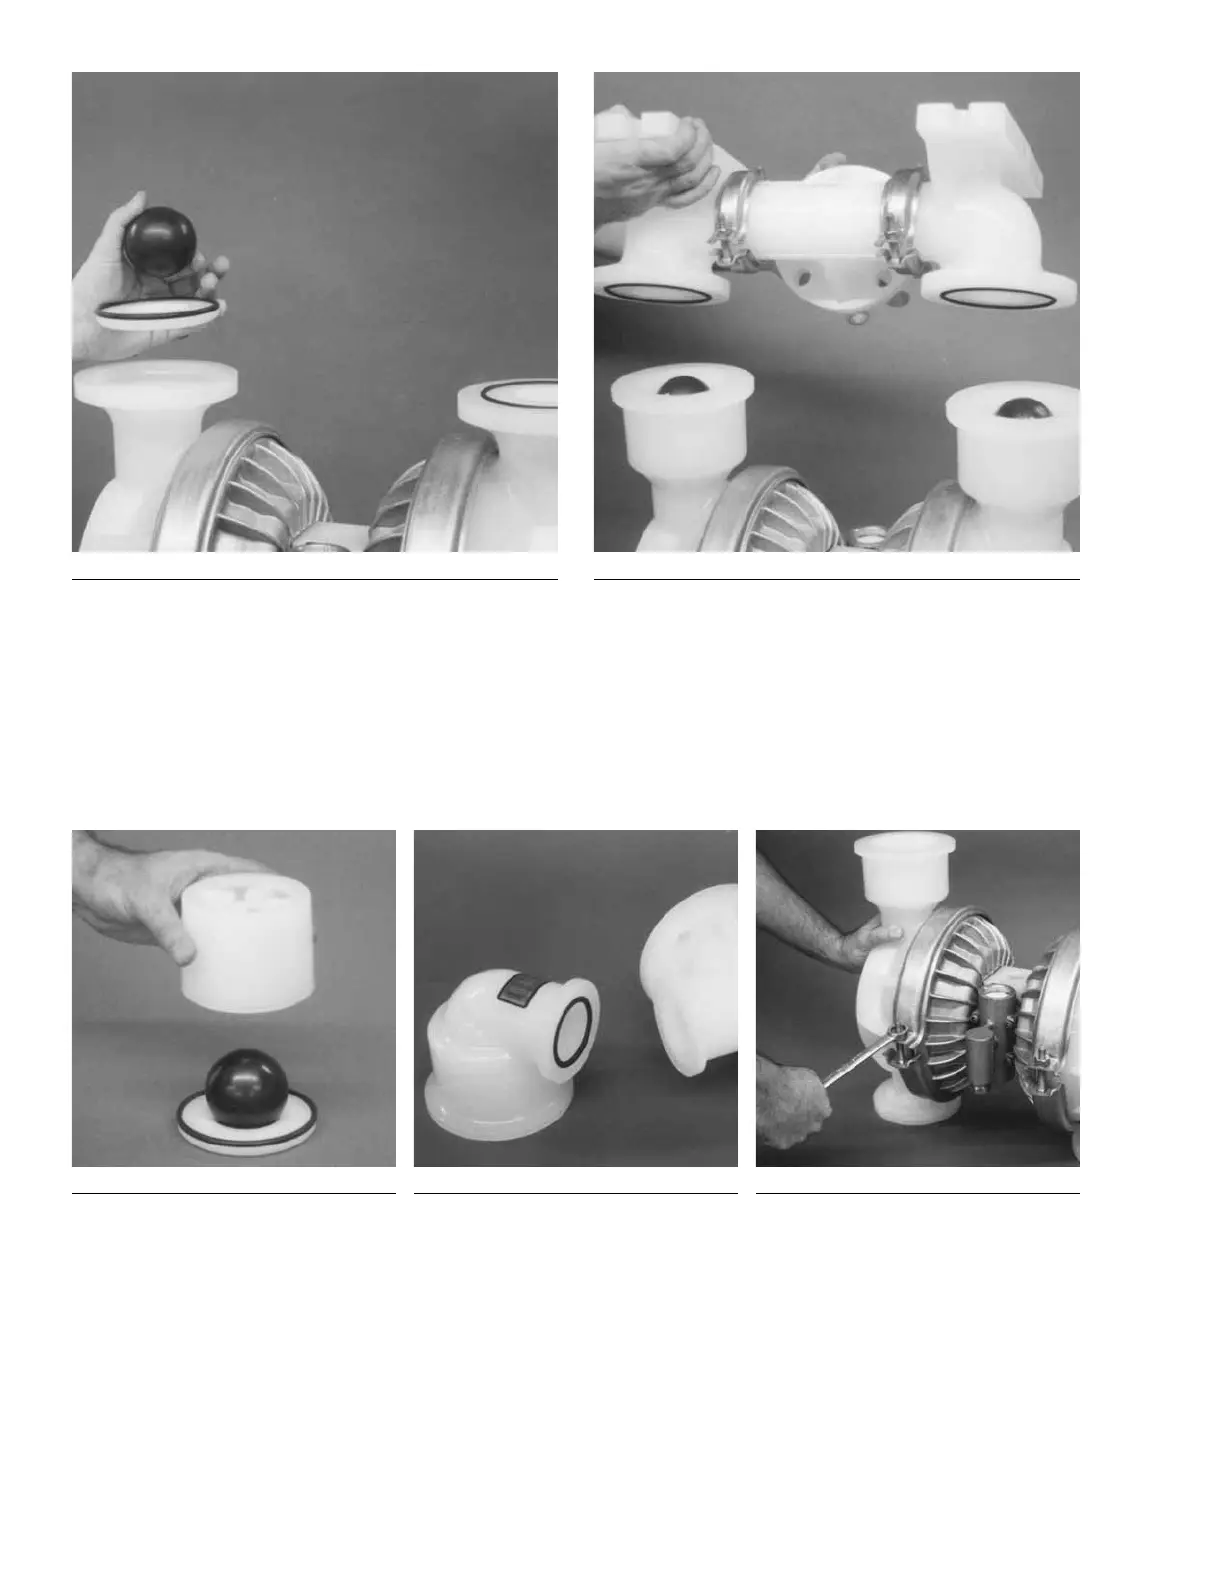
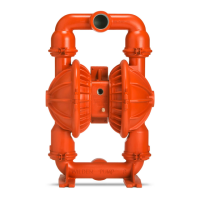
Step 4. Figure 4
Remove the discharge valve balls, seats from atop the
liquid chambers and inspect for nicks, gouges, chemical
attack or abrasive wear. Replace worn parts with genuine
Wilden parts for reliable performance.
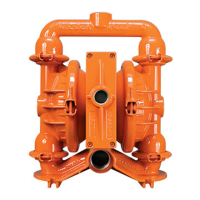
Step 5. Figure 5
Remove the two small clamp bands, which fasten the intake
manifold to the liquid chambers, and lift away the intake
manifold to expose intake valve balls and seats.
Step 6. Figure 6
Inspect ball guide bushing, ball, seat
and o-ring for nicks, gouges, chemical
attack or abrasive wear. Replace worn
parts with genuine Wilden parts for reli-
able performance.
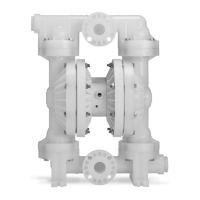
Step 7. Figure 7
If necessary remove small manifold clamp
bands to inspect manifold o-rings.
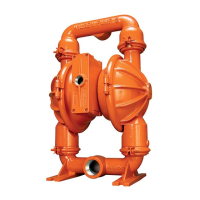
Step 8. Figure 8
Remove one set of large clamp bands,
which secure one liquid chamber to the
center section.