17
WILDEN PUMP & ENGINEERING, LLCWIL-10230-E-02
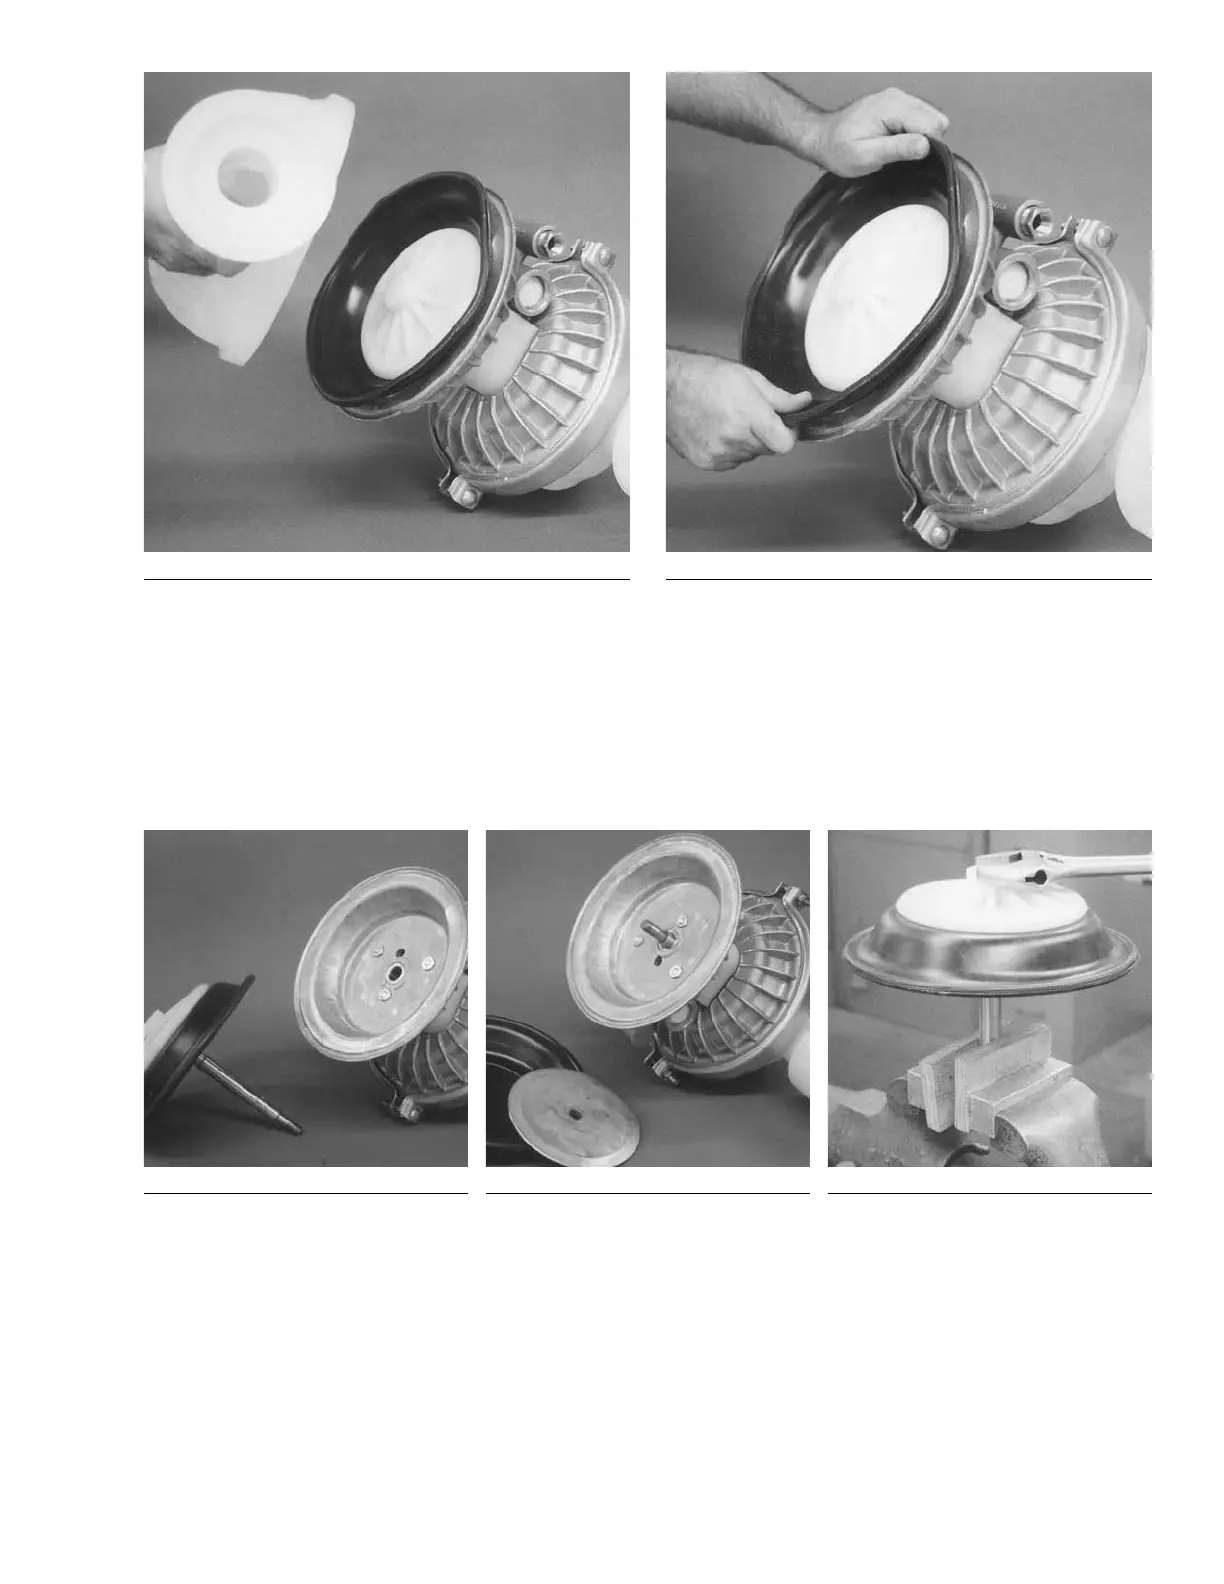
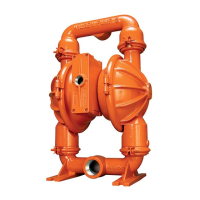
Step 11A. Figure 11A
NOTE: Due to varying torque values,
one of the following two situations may
occur: 1) The outer piston, diaphragm
and inner piston remain attached to the
shaft and the entire assembly can be
removed from the center section.
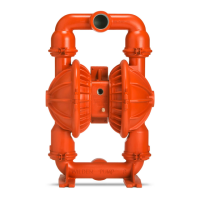
Step 11B. Figure 11B
2) The outer piston, diaphragm and inner
piston separate from the shaft which
remains connected to the opposite side
diaphragm assembly. Repeat disassem-
bly instructions for the opposite liquid
chamber. Inspect diaphragm assembly
and shaft for signs of wear or chemi-
cal attack. Replace all worn parts with
genuine Wilden parts for reliable perfor-
mance.
Step 12. Figure 12
To remove the diaphragm assembly
from the shaft, secure shaft with soft
jaws (a vise fitted with plywood or other
suitable material) to ensure shaft is not
nicked, scratched, or gouged. Using an
adjustable wrench, remove diaphragm
assembly from shaft. Inspect all parts for
wear and replace with genuine Wilden
parts if necessary.
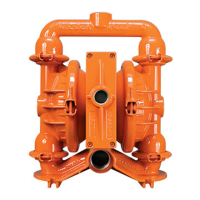
Step 9. Figure 9
Lift liquid chamber away from center section expose
diaphragm and outer piston.
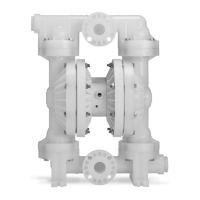
Step 10. Figure 10
Using an adjustable wrench, or by rotating the diaphragm by
hand, remove the diaphragm assembly.