Basic Printing
Phaser® 5500 Laser Printer
2-32
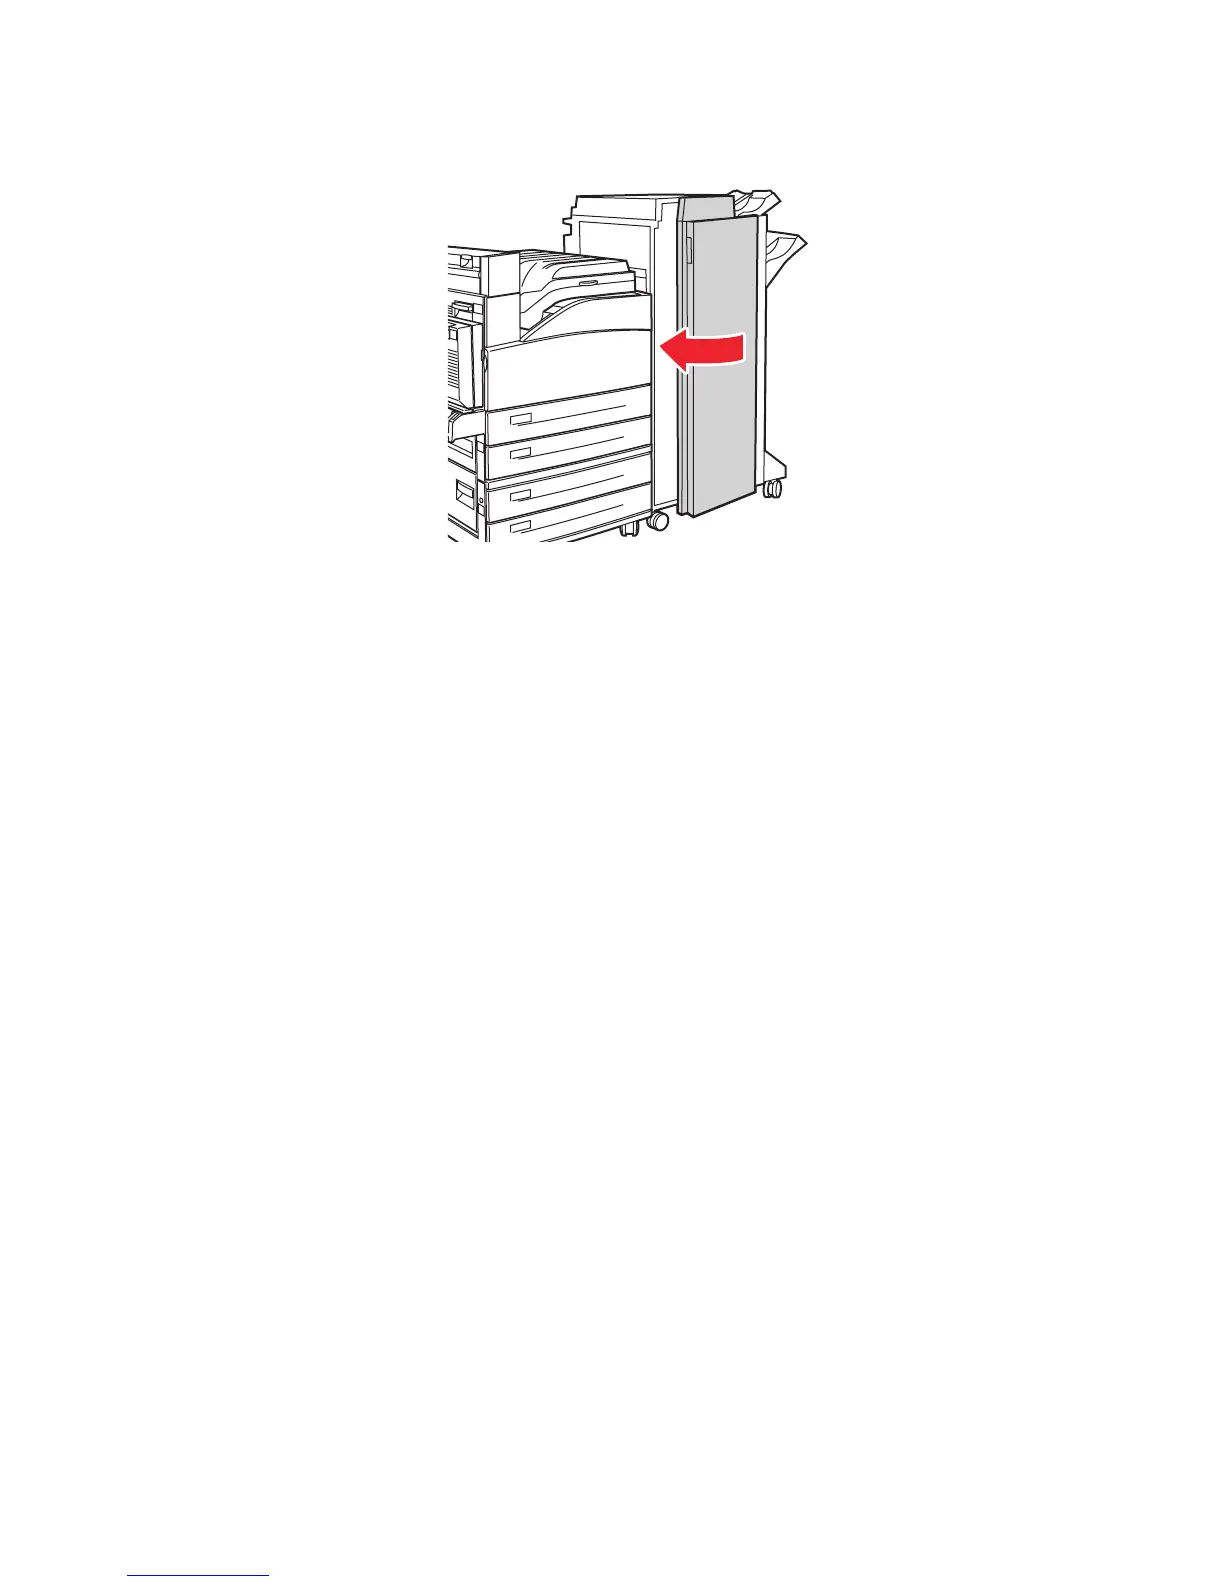
7. Close Door G.
Using the Hole Puncher
Depending on your region, the optional finisher is factory configured with either a 3-hole
punch or a 2- / 4-hole punch. To determine which option is installed on your printer, print a
Configuration Page from the front panel.
■ When the hole punch option is turned on, sheets that are sent to the Stacker Upper Tray or
the Stacker Lower Tray are punched.
■ When the hole punch option is turned off, no paper is punched.
■ When the 2-hole and 4-hole punch is installed and enabled, and Punch Holes is set to 2,
two holes are punched in the paper.
■ When the 2-hole and 4-hole punch is installed and enabled, and Punch Holes is set to 4,
four holes are punched in the paper.
■ When the printer detects that the punch waste box is full, a warning appears on the front
panel, and printing continues without punching.
The hole punching option is selected through the front panel, the printer driver, or through
CentreWare IS.
Front Panel
1. At the printer’s front panel, select Printer Setup, and then press the OK button.
2. Select Paper Handling Setup, and then press the OK button.
3. Select Punch, and then press the OK button to toggle it on or off.
4. If you have a 2-hole and 4-hole punch, then set Punch Holes to 2 or 4.
5500-018
E
A
B
C
D