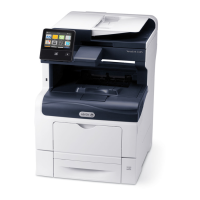
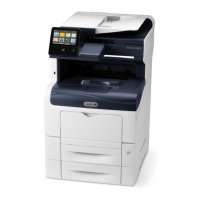
Scan To
SSccaann TToo OOvveerrvviieeww
The Scan To feature provides several methods for scanning and storing an
original document. If the printer is connected to a network, you can select a
destination for the scanned image at the printer. It is also possible to scan
documents using a physical connection to a single computer.
The printer supports the following scanning functions:
• Scan original documents to an email address.
• Scan original documents to a USB Flash drive.
• Scan original documents to your home folder.
• Scan original documents to a shared network location using SMB and FTP transfer protocols.
You can add scan destinations and email addresses to the device Address Book and set them up as
Favorites and Personal Favorites. For details about using the Address Book and managing and
creating Favorites and Personal Favorites, refer to Address Book.
You can adjust various settings for individual Scan To jobs, then save settings as Presets for future
jobs. The list of features can be customized, and some features can be hidden from view when the
App is installed. To view all available features and to find out more about customizing the Scan To
App, refer to Customizing or Personalizing the Feature List.
For information about all the App features and available settings, refer to Apps Features.
SSccaannnniinngg ttoo aann EEmmaaiill AAddddrreessss
Before you scan to an email address, ensure that you configure the printer with the email server
information. For details, refer to the System Administrator Guide at www.xerox.com/office/
VLC405docs.
To scan an image and send it to an email address:
1. Load the original document on the document glass or into the duplex automatic document
feeder.
2. At the control panel, touch the Home button.
3. Touch Scan To.
4. Enter recipients.
• To enter the email address manually, touch Email, then enter an email address. Touch Enter.
• To select a contact or group from the Address Book, touch the Address Book icon. Touch
Favorites or Contacts, then select a recipient.
• If you have created Personal Favorites, to select a Personal Favorite, log in with your user
credentials. Touch the Address Book icon. Touch Favorites, then select a Personal Favorite
from the list.
For details about using the Address Book and managing and creating Favorites and Personal
Favorites, refer to Address Book.
102
Xerox
®
VersaLink
®
C405 Color Multifunction Printer
User Guide
Xerox
®
Apps
 Loading...
