66 www.xilinx.com Virtex-6 FPGA Connectivity Kit Getting Started
UG664 (v1.4) July 6, 2011
Getting Started with the Virtex-6 FPGA IBERT Reference Design
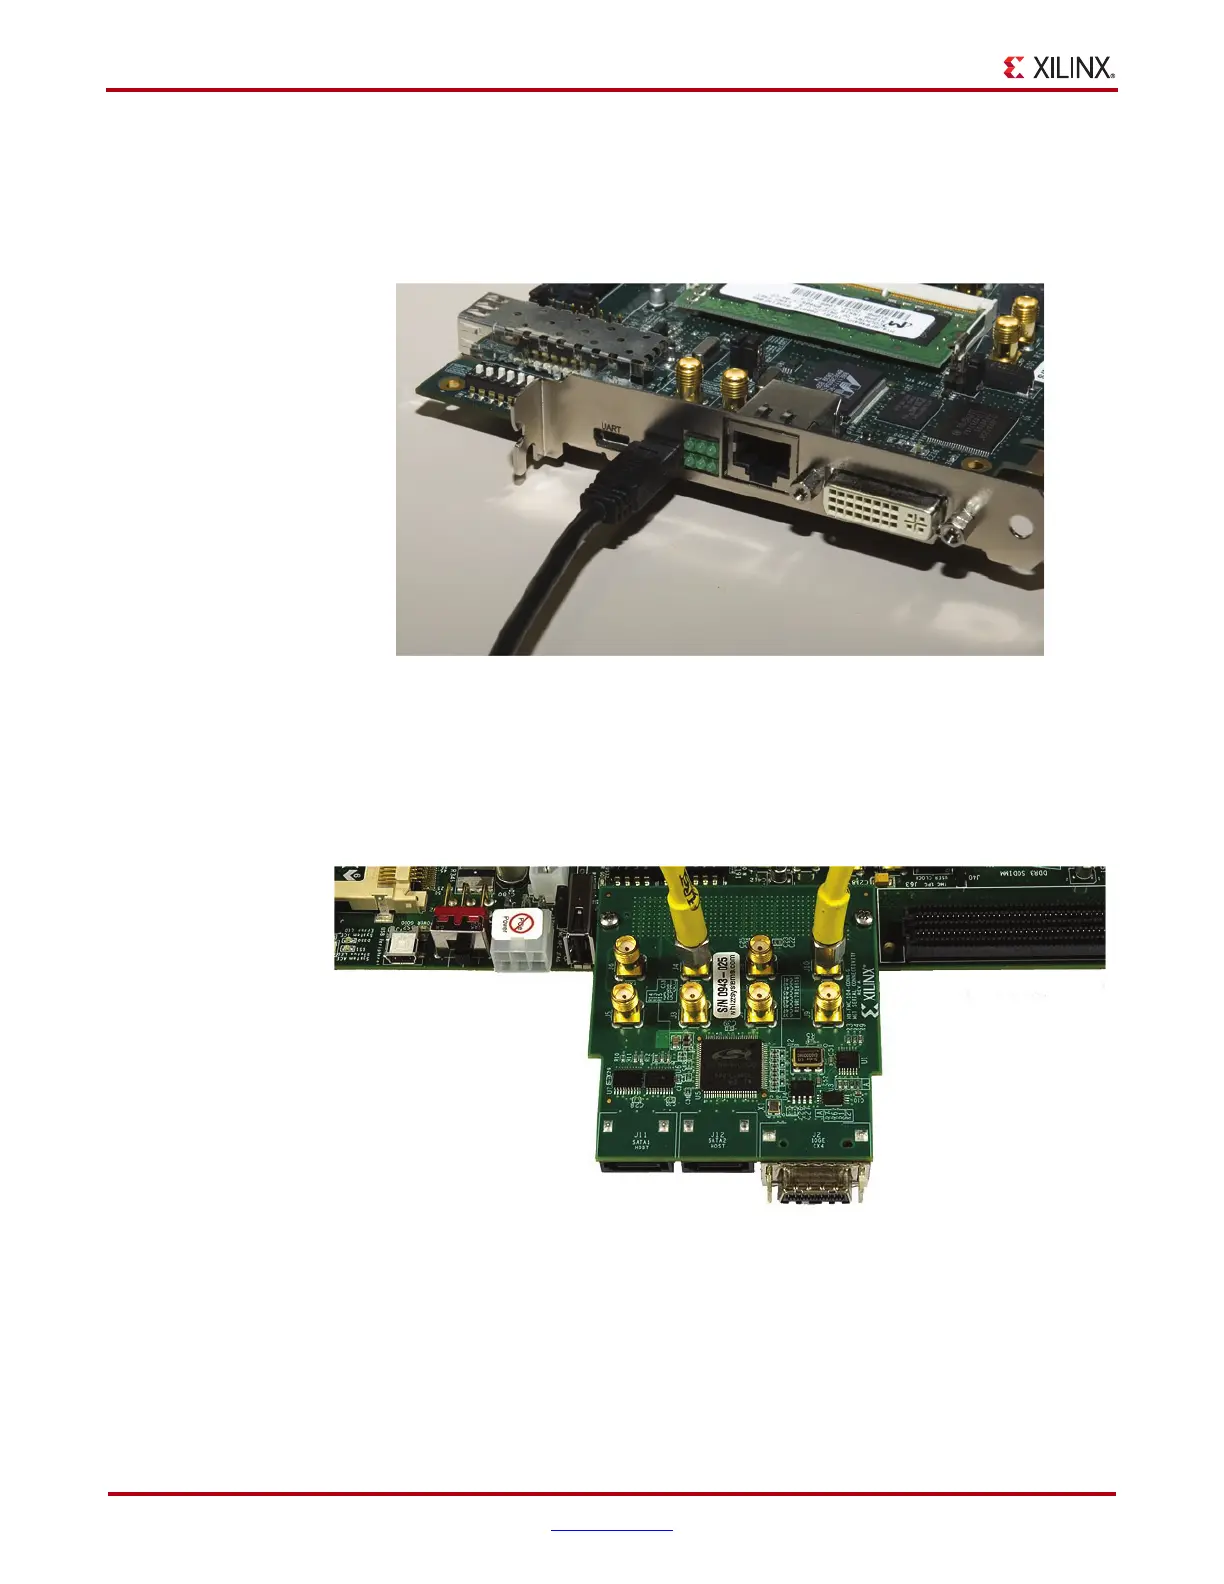
4. Board Setup III – Connect a USB cable to the ML605 board as shown in Figure 64:
a. Connect the included USB Type-A to Mini-B cable to the USB JTAG connector on
the ML605 board.
b. Connect the other end of this cable to the PC system.
5. Board Setup IV – Use the SMA cables to loop back the transceiver channel pinned to
the SMA on the FMC card:
a. Connect J4 to J10 (see Figure 65).
X-Ref Target - Figure 64
Figure 64: Connecting the USB Cable to the USB-JTAG Connector of the ML605
Board
X-Ref Target - Figure 65
Figure 65: Configuring the SMA Transceiver Channel with External Loopback - I
UG664_42_021810
 Loading...