ForeSite SS Hardware22
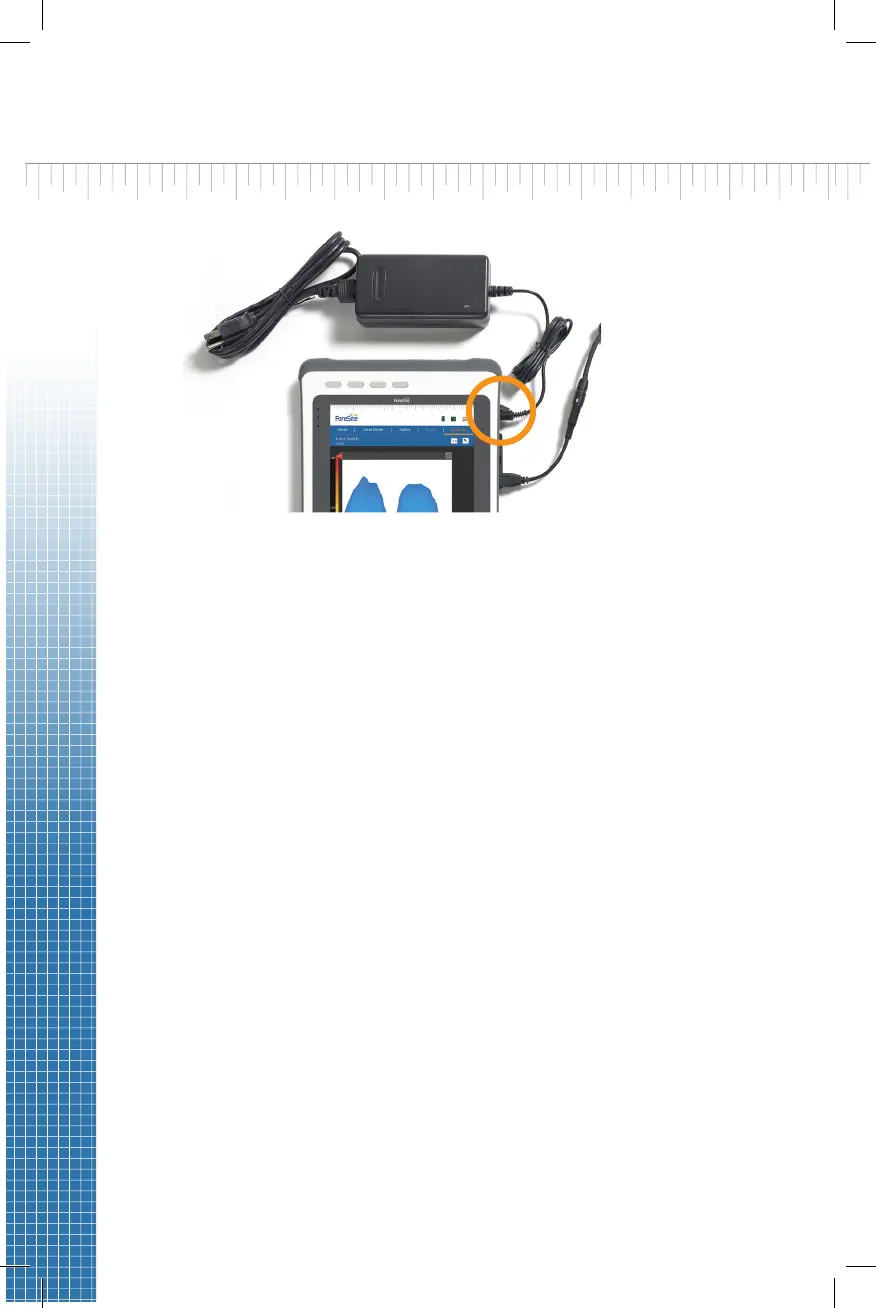
1. Begin by ensuring the ForeSite SS tablet is fully charged. Recommended
charge me to ensure a full charge is 2-3 hours. To charge, connect the
tablet power supply and cord to the tablet as shown in Figure 1.
Warning: Use only XSENSOR approved power supplies with ForeSite SS.
2. Inspect the sensor pad covering material and cable for signs of damage.
These include, but are not limited to, tears, punctures, cracked
enclosures, and/or exposed wiring. If damage is idened or suspected,
contact XSENSOR for repair (see Appendix 4)
Warning: Do not aempt live pressure imaging if the sensor pad is
damaged or soiled. Refer to the Maintenance secon of this user guide
for more informaon on cleaning.
3. Connect the SPK to the sensor pad cable connecon point (aka CONN)
as shown in Figure 2. The SPK and CONN are connected correctly when
the labels on each are both aligned, as shown. The alignment between
the two connecons is s to ensure reliable electrical connecvity. As
such, press the two together gently but rmly unl you hear a “click”.
This indicates that you have a secure and reliable connecon.
4. Connect the SPK adaptor (connected to the SPK) to the tablet USB port
as shown in Figure 2.
Warning: The SPK adaptor must only be used with the ForeSite SS
Tablet. Do not connect to any other USB device.
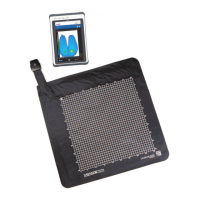
5. Place the sensor pad on the desired supporng surface, such as a chair
or a bed. Ensure that the sensor’s grid is facing towards the subject
applying the pressure.
Figure 1