Installation Guide ADPROPROE by Xtralis
18 27386_05
13. Align the detector (see "Alignment with the help of the telescope" on page 27), adjust the settings using
the PRO software (see the ADPRO PRO E PIR System Setup Guide, document no. (26571), Use of
ADPRO PRO E-Tool Software section) and confirm through walk tests.
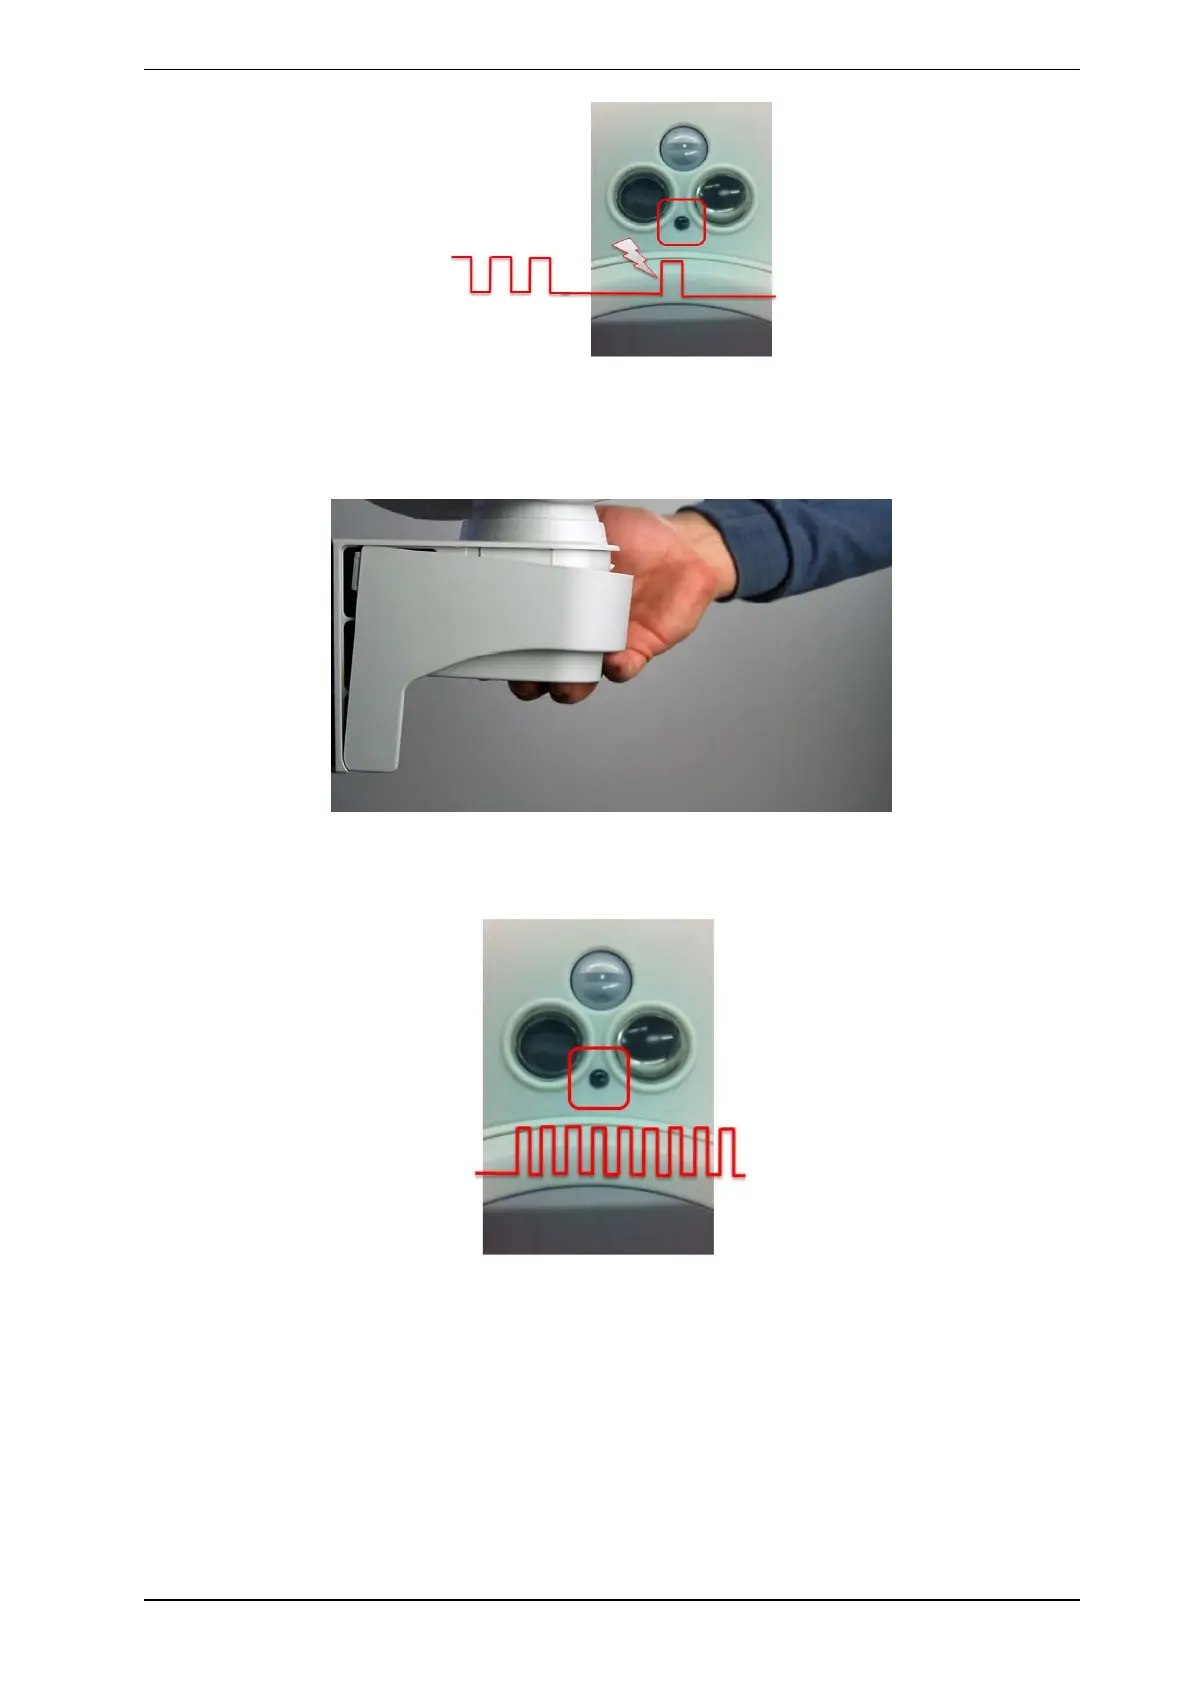
14. Close the detector bracket.
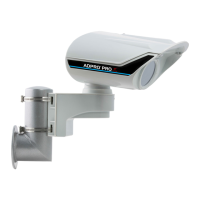
Once the performance of the detector is satisfactory, close the bracket to start operation. Properly closed,
the flap clicks in with an audible click. The red front LED blinks quickly until position and sensor readings
are final. If the LED does not start blinking, please refer to "Fine adjustment of tamper switch" on page 19.
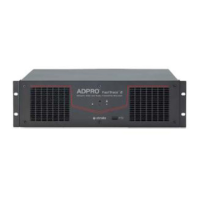
After 30-60 seconds all sensors have finalised their internal setup and are active. The front LED is
permanently deactivated and the detector is fully operational.