Condition Action
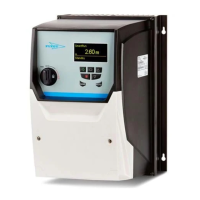
If the drive is an IP55 version. Make sure that the cable glands are approved for IP55 environment. For frame
size 4–6, use the enclosed metal plate to assemble the cable glands.
If the drive is an IP66 version. Make sure that the cable glands are approved for IP66 environment. Drill two
holes to install the cables in.
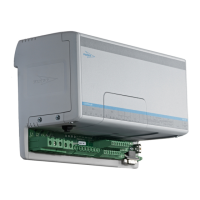
2. Connect the power cables:
a) Connect the incoming power leads to the power terminals.
Connect the cable in the following order:
1. Ground (earth)
2. Power leads
L1/L L2/N L3 U V W + B
WS003655
Figure 1: Frame size 2–3
1
L1 L2 L3 U V W
+DC -DCBR
2 3 4 5 6 7 8 9 10 11 12 13 14 15 16 17 18
WS003593
Figure 2: Frame size 4–6
b) Fit a shrink-tube around the leads.
c) For frame sizes 2–3, fit the RFI-toroid core around the pumps power leads.
d) Connect the pumps power leads to the power-out terminals.
Connect the cable leads in the following order:
L1/LL2/N L3 U V W + B
2 3 4
5
2
3
4
1
T1
T2
T3
T4
5
WS003649
Figure 3: Frame size 2–3
1
L1 L2 L3 U V W
+DC -DCBR
2 3 4 5 6 7 8 9 10 11 12 13 14 15 16 17 18
1
3
4
2
T3
T4
T2
T1
WS003595
Figure 4: Frame size 4–6
1. Yellow/green, ground (earth)
2. Brown to U
3. Black to V
4. Gray to W
5. RFI-Toroid core
e) Make sure that the ground (earth) leads are correctly connected. Make sure that
the protective earth is the last leads to loose connection to its terminal if the leads
are jerked loose.
Electrical Installation
22 SRC 311 - SmartRun
™
Installation, Operation, and Maintenance Manual