6-5
Outboard Rigging Guide - 2001 T9.9 Remote Tiller Rigging Kit
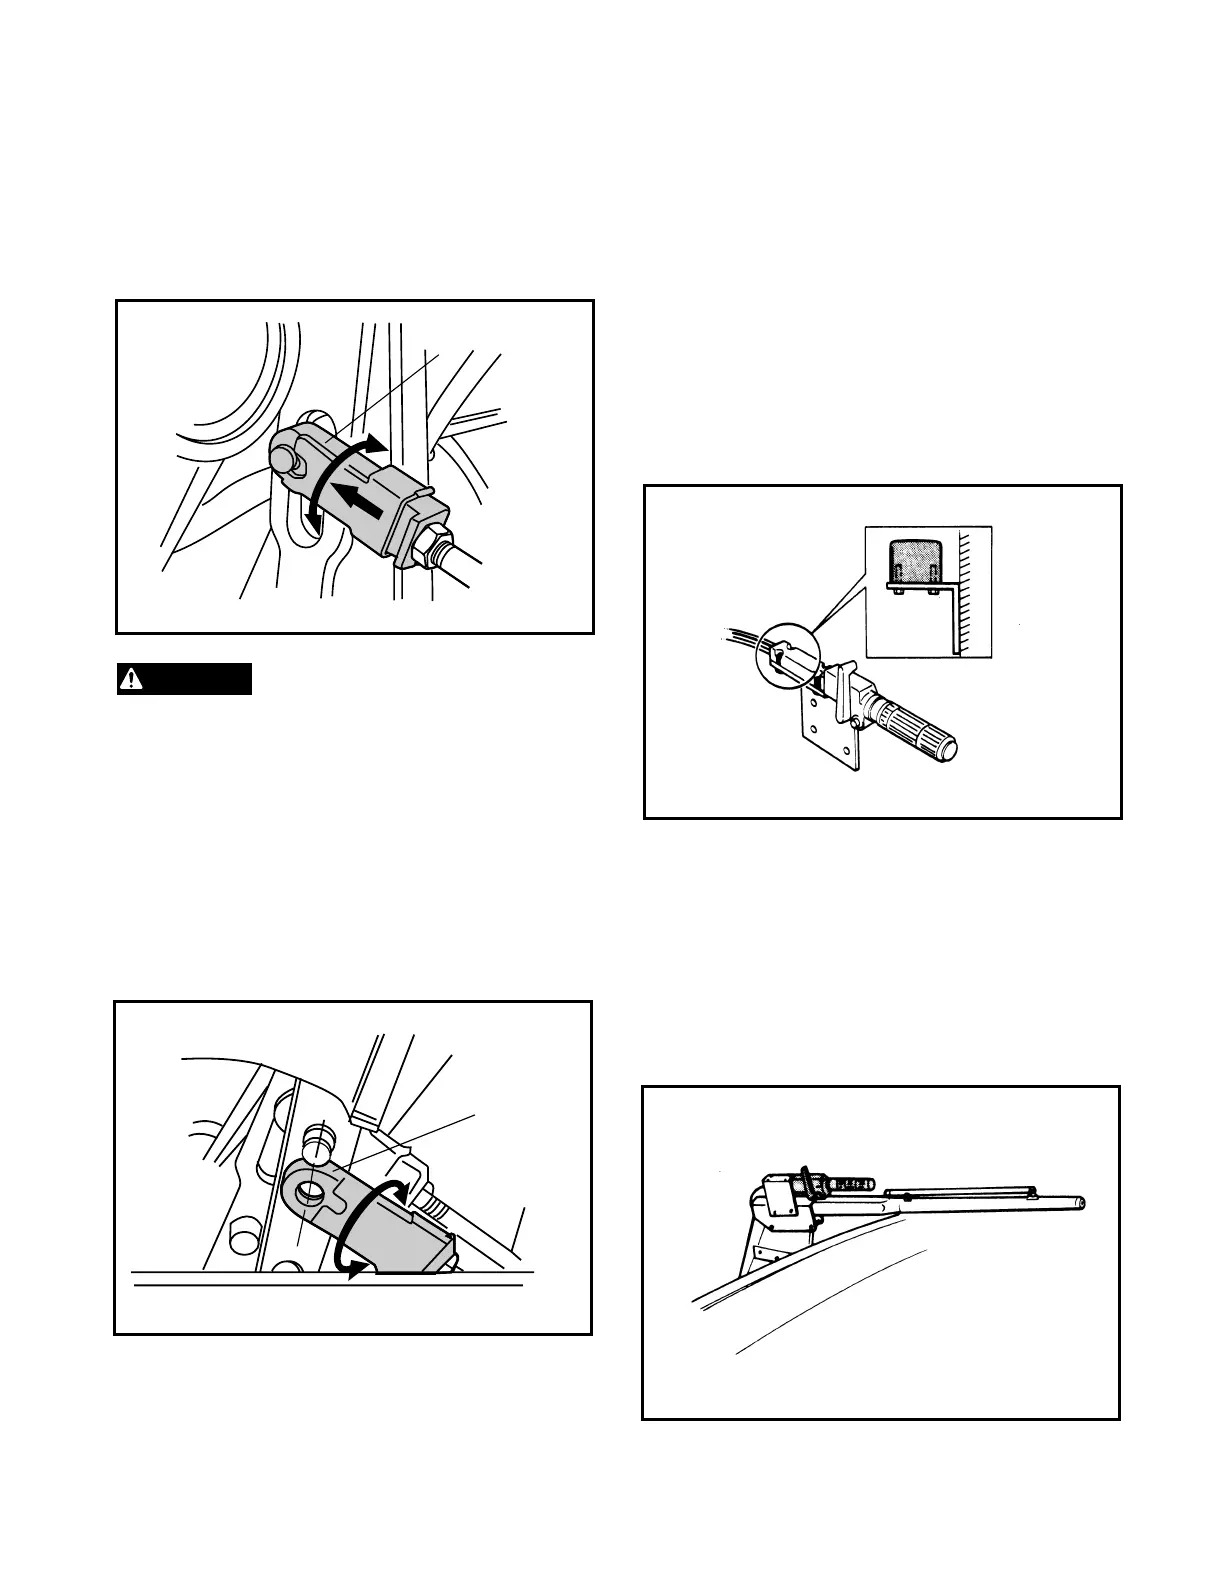
8. Install the cable ends on the cables. Screw the
end of the cable into the cable joint a mini-
mum of 8mm (0.3mm) and lock it with the
lock nut.
I f the cable is not screwed in at least 8mm, the
cable joint could break. T his could cause loss of
control and an accident.
NOTE:If the cable end is fitted to the pin marked
with “R,” the shift cable will not move smoothly.
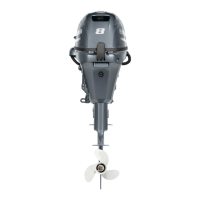
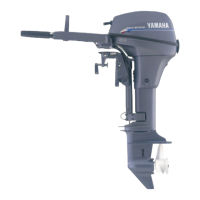
9. Adjust the throttle cable end and fit it to the
pin marked “M” on the accelerator arm.
NOTE:Do not fit the cable end to the pin marked
with “R” on the accelerator arm.
10. Reconnect the white and black stop switch
leads (see “Removal,” step 2) and reinstall
the CDI cover.
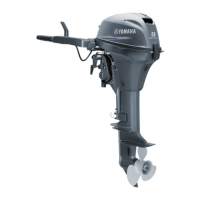
Installing the Control Handle
1. Select a location near the steering wheel or
tiller handle for the control handle. Be sure
there will be easy access to the stop switch
and shift lever, and that the throttle operation
will not be hindered.
2. Install the control handle using a strong
bracket which will firmly hold the handle in
place.
3. Route the 2m cables so they do not have any
sharp bends. The minimum radius should be
16 inches. Make sure the cables are not under
any strain.
4. If the control handle is mounted on a tiller
handle, care should be taken that the cables
are not strained or pinched during tiller
movement.