EasyManuals Logo

Yamaha PSR-A5000 User Manual

Yamaha PSR-A5000
133 pages
To Next Page IconTo Next Page
To Previous Page IconTo Previous Page
Page #71 background imageLoading...
Page #71 background image
PSR-A5000 Reference Manual 71
5
MIDI Song Recording/Editing
4 On the MIDI Multi Recording display, touch [Rec] corresponding to the desired channel
for re-recording to turn it on.
5 Touch [>/o] (Play/Pause) to start recording.
At the Punch In point specified in step 3, play the keyboard to start actual recording. At the Punch Out point spec-
ified in step 3, stop playing the keyboard.
6 Touch (Save) to save the recorded performance.
Examples of re-recording with various Punch In/Out settings
This instrument features several different ways you use the Punch In/Out function. The illustrations below indicate a
variety of situations in which selected measures in an eight-measure phrase are re-recorded.
The recorded Song data will be
lost if you select another Song or
turn the power to the instrument
off without carrying out the Save
operation.
NOTICE
12345678
12345
12345678
12345678
12345
12345678
12345678
12345
12345678
68
12345 7
Rec Start setting
Rec Stop setting
Normal
Replace All
Normal
Punch Out
Normal
Punch Out At=006
First Key On
Replace All
First Key On
Punch Out
First Key On
Punch Out At=006
Punch In At=003
Replace All
Punch In At=003
Punch Out
Punch In At=003
Punch Out At=006
Original data
Start overwrite recording *1
Play back
original data
Play back
original data
Play back
original data
Play back
original data
Play back
original data
Play back
original data
Play the keyboard to start
overwrite recording
Play the keyboard to start
overwrite recording
Play the keyboard to start
overwrite recording
Start overwrite recording
Stop recording *2
Stop recording *2
Stop overwrite recording, play original data
Stop recording *2
Stop recording *2
Stop overwrite recording, play original data
Stop recording *2
Stop recording *2
Stop overwrite recording, play original data
Deleted
Deleted
*1 To avoid overwriting measures 1–2, start recording from measure 3.
*2 To stop recording, touch [] (Rec) at the end of measure 5.
Previously recorded data
Newly recorded data
Deleted data
Deleted

Table of Contents

Questions and Answers:

Question and Answer IconNeed help?

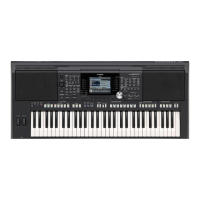
Do you have a question about the Yamaha PSR-A5000 and is the answer not in the manual?

Yamaha PSR-A5000 Specifications

General IconGeneral
Power SupplyPA-300C or an equivalent recommended by Yamaha
Sound EngineAWM Stereo Sampling
One Touch Setting (OTS)4 for each Style
Style RecommenderYes
LanguageEnglish, German, French, Spanish, Italian
Panel LanguageEnglish
Lesson/GuideFollow Lights, Any Key, Karao-Key, Your Tempo
Amplifiers15 W x 2
Speakers13 cm x 2 + 5 cm x 2
Keyboard61 keys
Polyphony128
Display7-inch
EffectsReverb, chorus, DSP, Master EQ
StorageUSB flash drive
ConnectivityUSB TO HOST, USB TO DEVICE, MIDI IN/OUT
FingeringSingle Finger, Fingered, Fingered On Bass, Multi Finger, AI Fingered, Full Keyboard
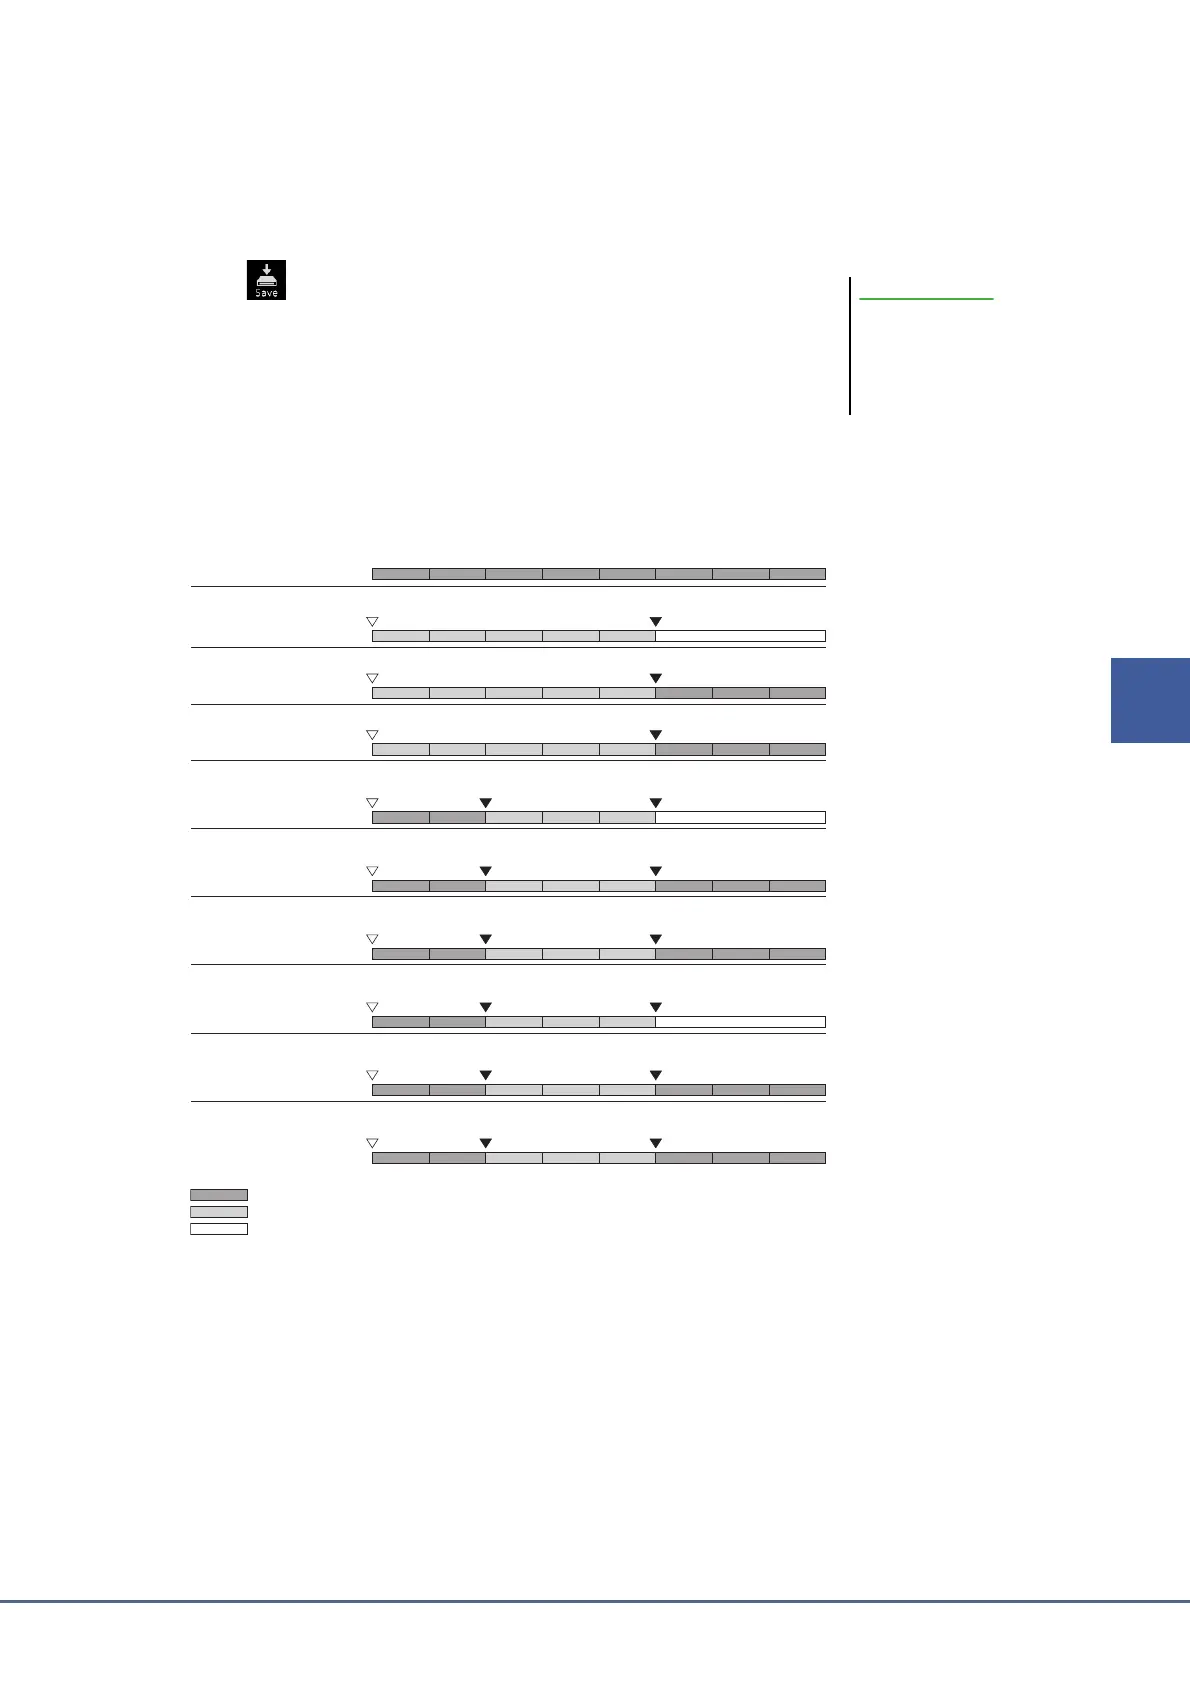
Style ControlINTRO, MAIN, FILL-IN, BREAK, ENDING
File Format CompatibilityMIDI, WAV, MP3
RecordingMIDI, Audio (WAV)
PlaybackSMF (Format 0 & 1)
Multi PadsYes
AudioPlayback and Recording
Audio RecordingWAV (44.1 kHz sample rate, 16 bit resolution, stereo)
LyricsYes
Registration MemoryYes
Overall ControlsMetronome
MiscellaneousMetronome, transpose, tuning

Related product manuals