Configuring Basic Features
83
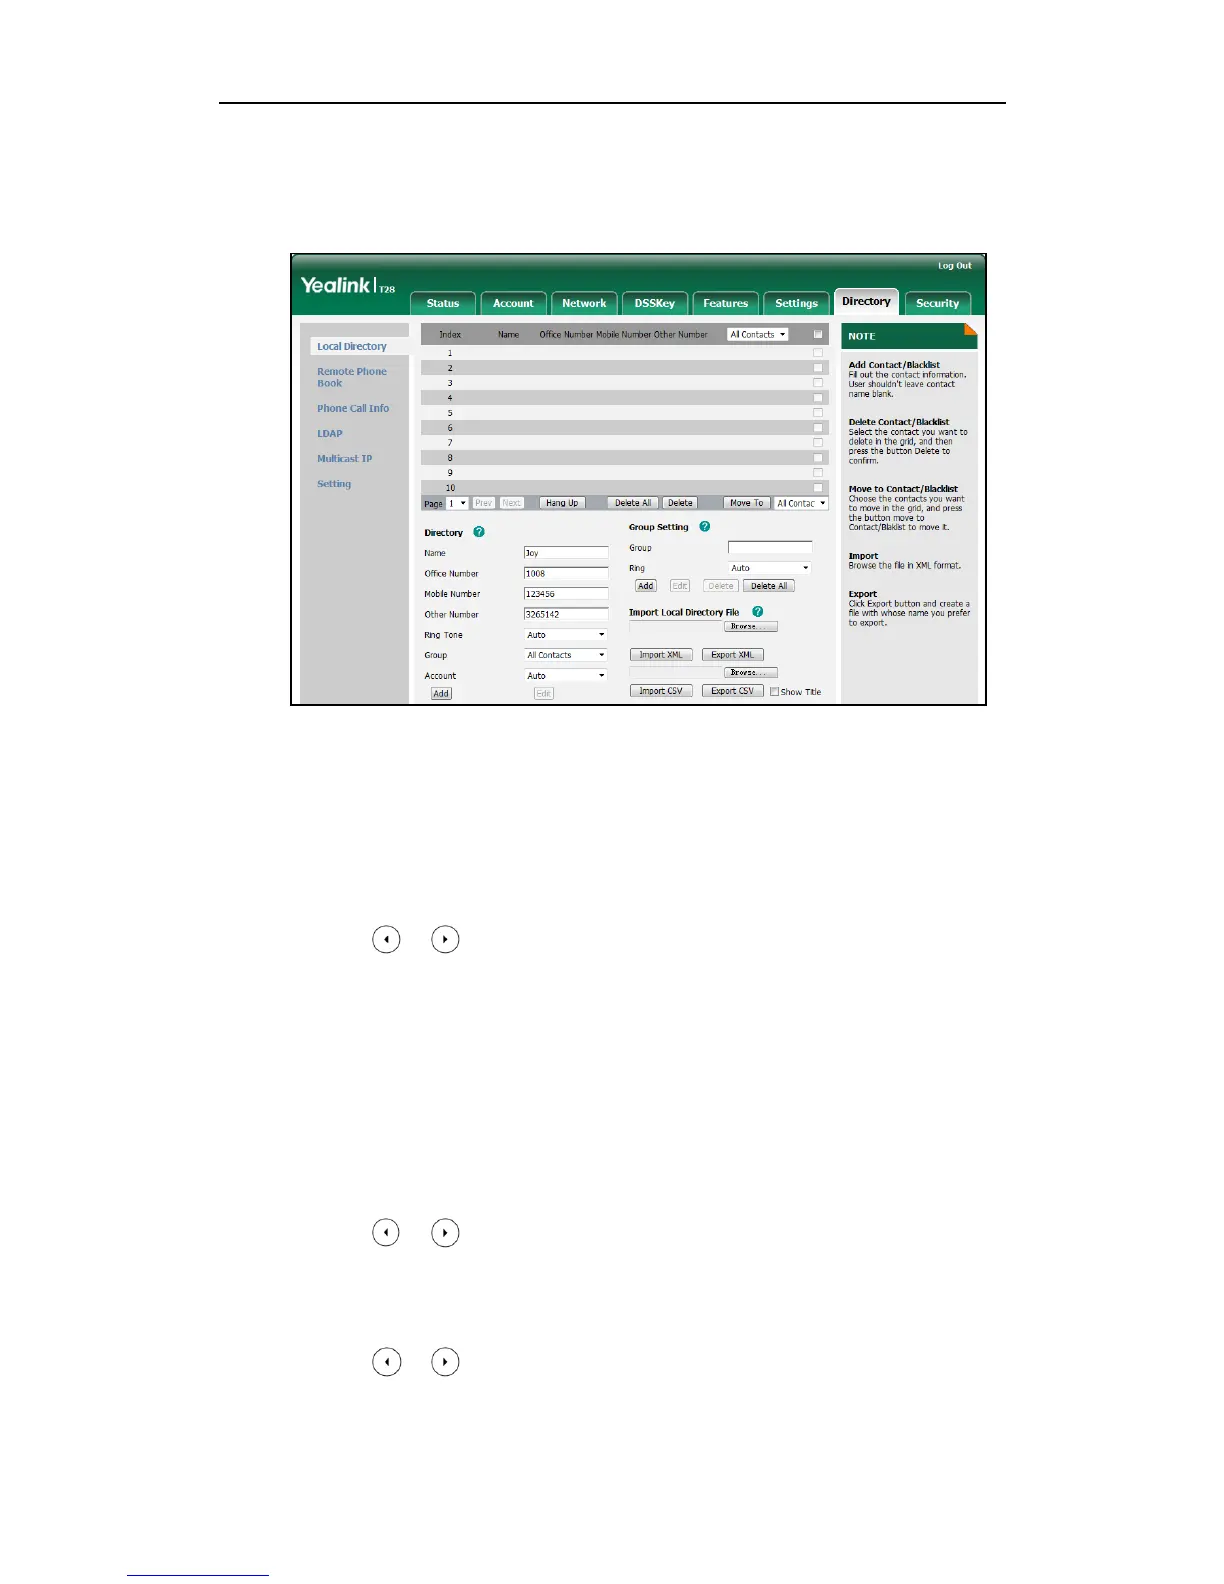
5. Select the desired account from the pull-down list of Account.
If Auto is selected, the IP phone will use the first available account when placing
calls to the contact from the local directory.
6. Click Add to add the contact.
To add a group to the local directory via phone user interface:
1. Press Menu->Directory->Local Directory.
2. Press the AddGrp soft key.
3. Enter the desired group name in the Name field.
4. Press or , or the Switch soft key to select the desired group ring tone from
the Ring Tones field.
5. Press the Add soft key to accept the change.
To add a contact to the local directory via phone user interface:
1. Press Menu->Directory->Local Directory.
2. Select the desired contact group.
3. Press the Add soft key.
4. Enter the name and the office, mobile or other numbers in the corresponding fields.
5. Press or , or the Switch soft key to select the desired account from the
Account field.
If Auto is selected, the IP phone will use the first available account when placing
calls to the contact from the local directory.
6. Press or , or the Switch soft key to select the desired ring tone from the Ring
Tones field.
7. Press the Save soft key to accept the change.
 Loading...