Yealink IP Phones Configuring Guide
58
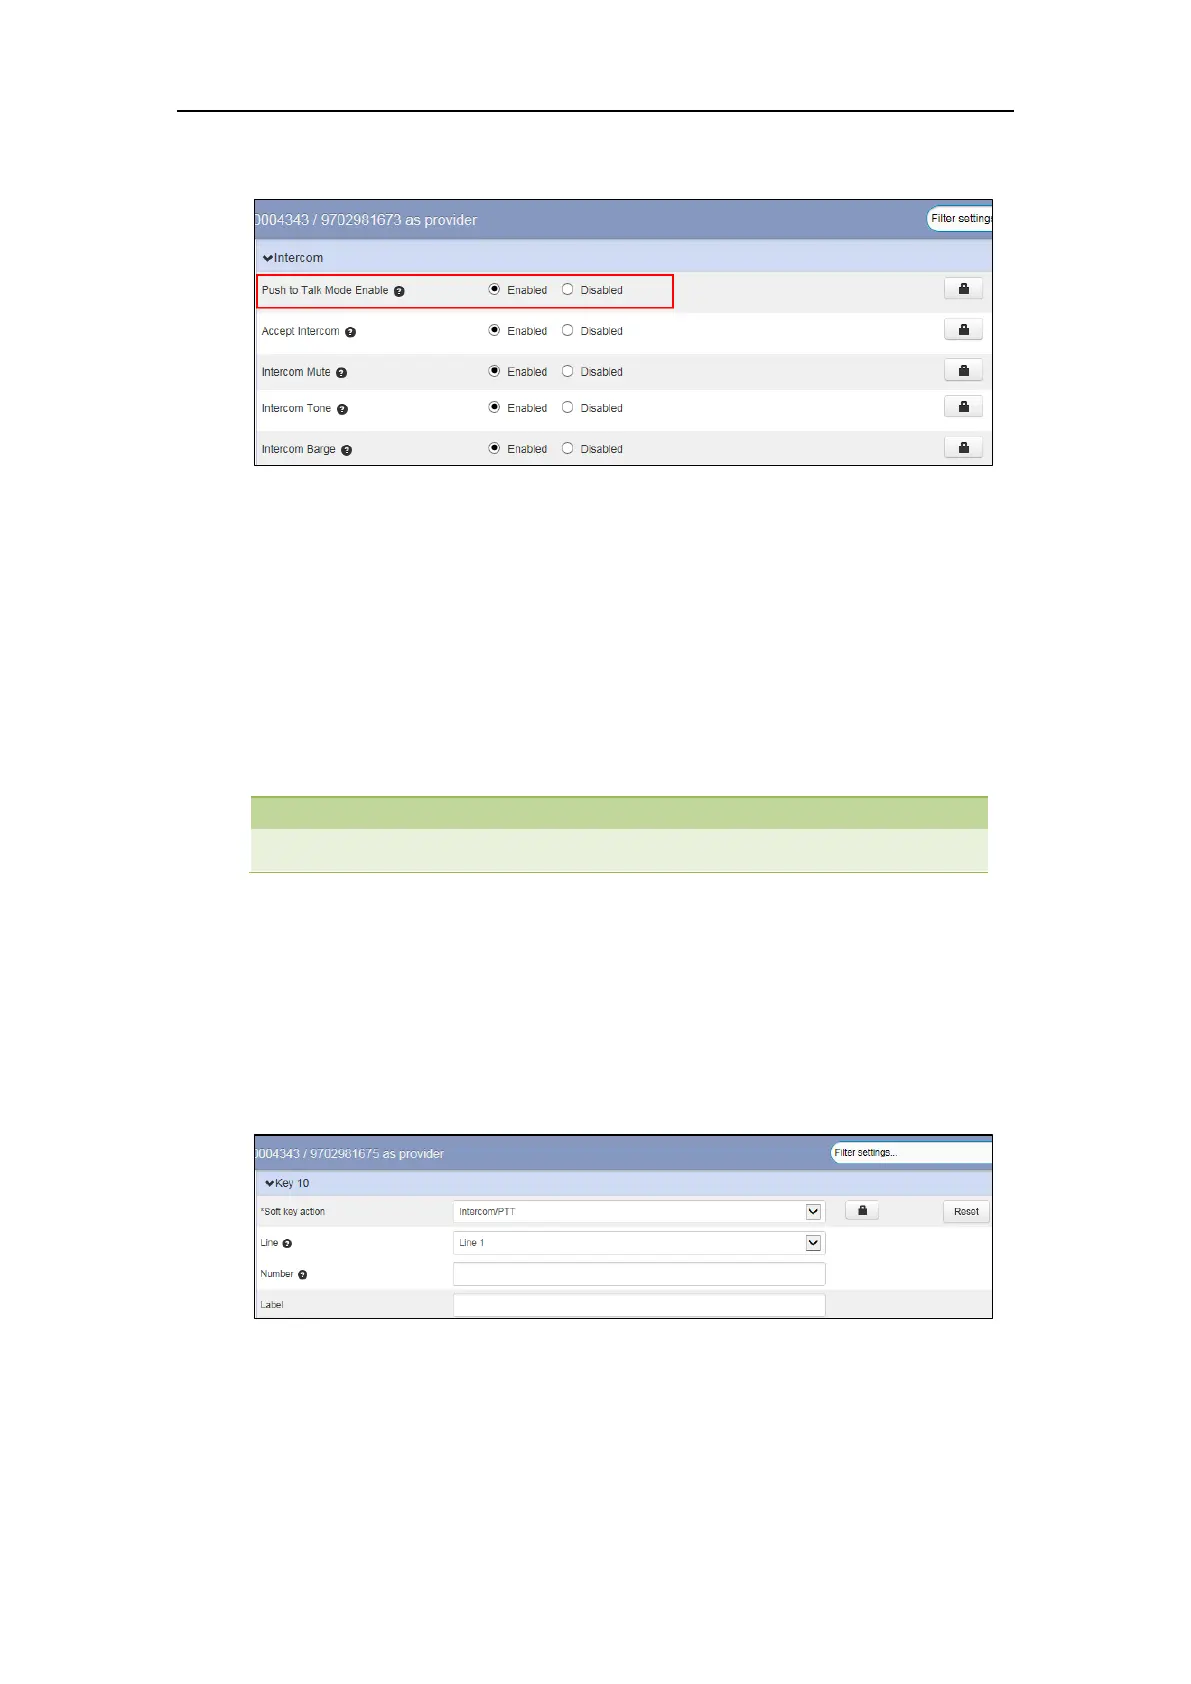
2. Mark the desired radio box in the Push to Talk Mode Enable field.
3. Click Save changes to accept the change.
4. Perform auto provisioning on the phone to download above configurations. For more
information on how to perform auto provisioning, refer to Downloading Configuration Files
on page 39.
Configuring an Intercom/PTT Key
You can configure an Intercom/PTT key to provide users the ability to initiate intercom calls
directly to the specified contact.
Intercom/PTT key is not applicable to SIP T19(P) E2, W60B, and W80B phones.
To configure an Intercom/PTT key via CommPortal phone configurator:
1. Click Programmable Keys - Line Key->Key X.
2. Select Intercom/PTT from the Soft key action field.
3. Select the desired line to apply this feature from the Line field.
4. Enter the target extension number in the Number field.
5. Enter the string that will appear on the LCD screen in the Label field.
6. Click Save changes to accept the change.
7. Perform auto provisioning on the phone to download above configurations. For more
information on how to perform auto provisioning, refer to Downloading Configuration Files
on page 39.
 Loading...