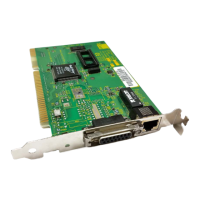
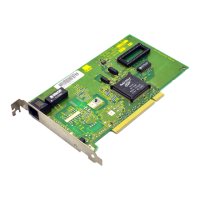
Reconfiguring the NIC 4-3
You can configure an ISA NIC for EISA mode only if it is
in an EISA slot.
If you have configured an ISA NIC for an EISA PC, the
PROTOCOL.INI file looks for the parameter SLOT=number
rather than the I/O base address. The SLOT number is
required only if you have multiple NICs installed.
The following procedures are general. Refer to the
configuration documentation provided with your PC for
more details.
Changing NIC Configuration from ISA to EISA
To configure the NIC for an EISA PC:
1 Run the Install program as described earlier in
“Configuring the 3C509B NIC.”
2 When the main menu appears, select Configuration
and Diagnostic Program.
3 If necessary, use the arrow keys to select the NIC
you want to configure. Tab to the Select button
and press [Enter].
4 If you have multiple NICs installed, use the arrow
keys to select a NIC and press [Enter].
5 A screen identifying the NIC appears with the Test
menu bar item highlighted.
6 Use the arrow keys to select Install. This highlights
the Configure NIC option. Press [Enter].
7 When the NIC Configuration dialog box appears,
select Modify. Press [Enter].
The I/O Base Address field is selected. An I/O Base
Address dialog box appears.