Starting the Diagnostic Program 5-3
3 To run the Install program, type:
a:install [Enter]
This opens the main menu shown in Figure 3-1.
4 In the main menu, select Configuration and
Diagnostic Program, and press [Enter].
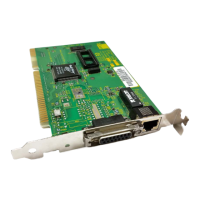
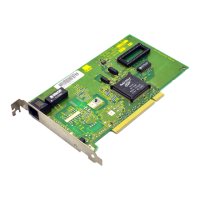
If you are testing multiple NICs, you will see a screen
describing each installed NIC.
5 Select the NIC you want to test and press [Enter].
You can also run the tests from the command line. At the
system prompt, type:
3C5X9cfg run [Enter]
Running the Group 1 Tests
Group 1 tests evaluate the physical components of the
NIC. A failure in a Group 1 test may point to a faulty NIC.
For a description of each Group 1 test, press [F1] to
access Help. In the Help screen, tab to the Index button
and press [Enter]. Use the arrow keys to move through
the Index listings. Select Test Definitions and press [Enter].
To run the Group 1 tests, follow these steps:
1 Under the Test pull-down menu, select Run Tests.
Press [Enter].
The Run Tests dialog box appears, with the Start button
highlighted.
2 Press [Enter] to start the tests.
Group 1 tests run ten times (default setting) unless you
specify otherwise. The test results are displayed on the
screen in the Results column.