Changing Configuration Settings 4-5
4 A screen identifying the NIC appears with the Test
menu bar item highlighted.
5 Select Install and press [Enter].
6 When the NIC Configuration dialog box appears,
select Modify and press [Enter].
The I/O Base Address field is selected. An I/O Base
Address dialog box appears.
7 Use the arrow key to select ISA and press [Enter].
This changes the I/O base address setting.
If your system supports Plug and Play, the I/O Base
Address, Interrupt Request Level, and Boot PROM
parameters are set automatically.
8 Select the option setting in the NIC Configuration
dialog box for any of the other parameters you
want to change, or accept the defaults.
For more information about each of the settings, refer to
the online help (press [F1] when the option is highlighted).
9 Save the new configuration setting to the NIC by
clicking OK and pressing [Enter].
10 Remove the EtherDisk diskette.
11 Insert the PC’s configuration utility diskette and
reboot the PC.
Changing Configuration Settings
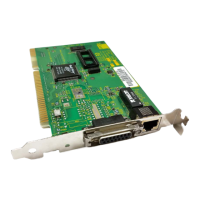
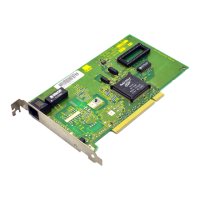
Figure 4-1, the NIC Configuration screen, shows the
current configuration settings for the installed NIC. You
can change the default settings to:
■ Disable Plug and Play
■ Use a boot PROM
■ Optimize driver performance for a specific
operating system
■ Optimize driver performance for operation on a server
■ Change the type of network connector