Changing Configuration Settings 4-7
Changing the Settings
To change the configuration settings:
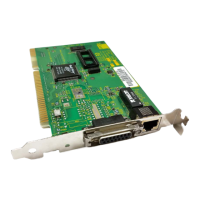
1 Run the Install program as described earlier in
“Configuring the 3C509B NIC.”
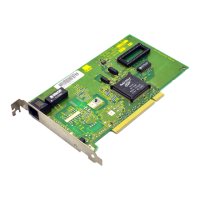
2 From the main menu, shown in Figure 3-1, select
Configuration and Diagnostic Program.
3 If necessary, use the arrow keys to select the NIC
you want to configure. Tab to the Select button
and press [Enter].
4 Press [Tab] to move to the dialog box, and then
select the option you want to change. Press [Enter].
5 Use the arrow keys to scroll through the list of
settings for that option. Select a setting and
press [Enter].
6 Continue this procedure for any of the other
options. Use online help (press [F1] when the option
is highlighted) for more information about each of
the settings.
7 Select OK and press [Enter] to save the new settings.
Changing PACE Configuration
PACE technology allows you to prioritize multimedia
and real-time data. Prioritization makes sure that critical
data for the selected applications gets through as fast
as possible.
Selecting PACE Applications
To select PACE applications, follow these steps:
1 In the Windows 95 or Windows NT Control Panel,
double-click the PACE icon.
The PACE Applications screen appears, as shown in
Figure 4-2.