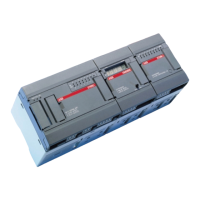
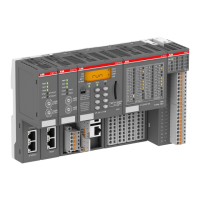
Installing the Satt I/O Units and CI865 Module Section 2 Installation
126 3BSE036351-510 A
Installing the Satt I/O Units and CI865 Module
The CI865 is powered from the processor unit via the CEX-Bus and requires no
additional external power source. No field device is powered from the CI865.
Use the following procedure to connect the ControlNet to the BNC connector of the
I/O systems and the CI865 module. For more information see Satt I/O Interface for
AC 800M (3BSE042821*).
The BNC connector is located:
• Rack I/O - at the rear of the 200-RACN module.
• Series 200 I/O - at the front of the 200-ACN module.
• CI865 - at the front of the CI865 module.
1. Select a suitable location for the tap within one meter from the ControlNet
BNC connector. When selecting the tap location, keep in mind the routing of
the drop and trunk cables. They should not be routed close to high-voltage
cables. Avoid bending the trunk cable too much.
2. The tap can be mounted in various ways, for example using a DIN rail or
screwed into a suitable structure. Even if the tap is not mounted on a DIN rail,
the universal mounting bracket should be used to avoid galvanic connection to
a conducting structure.
3. Connect the tap drop cable to the BNC connector. Before starting up the
system, all ControlNet cable connections should be tested. Check the pulling
strength of applied connectors.
4. Define the network node address:
– Rack I/O - by turning the two switches (x10 and x1) on front of the 200-
RACN module to the correct position. A node address in the range 02-99
should be selected for the 200-RACNs.
– Series 200 I/O - by clicking the push button switches on the front of the
200-ACN module. A node address in the range 02-99 should be selected
for the 200-ACNs.
– CI865 - The node address is fixed to 01.

 Loading...