____________________________________________________________________________________________________________
G1 Introduction to AC500 1-61 AC500 / Issued: 07.2006
System planning
Consider the following when planning your S500-FBP system:
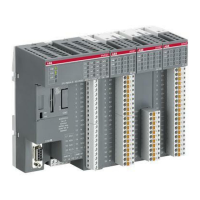
• The S500-FBP controller is always the left-most module in the system.
• The FieldBusPlug delivers the power supply for the FBP interface module DC505 and the connected
I/O bus; the additional I/O modules have to be installed to the right of the FBP Interface Module.
• The DC505-FBP Interface module supports as many as 7 I/O expansion modules.
• An additional process power supply has to be provided for the I/Os of each module. Each I/O
expansion module can be powered with its own power supply (isolation purpose) or the same power
supply can also be used.
• One FieldBusPlug can be used in a S500-FBP cluster.
Installation steps
√
Installation step: Further
information
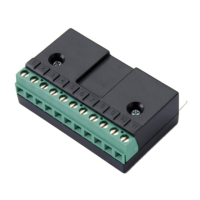
1 Snap the FBP Terminal Unit onto DIN Rail or screw it (wall mounting)
2 Snap the additional Terminal Units for I/O modules onto DIN Rail
(optional) or screw them (wall mounting)
3 Make the sensor/actuator wire connections according to the dedicated
Electronic module you want to use (see dedicated pages), connect
also a Process Power supply to the modules.
4 Plug the different Electronic modules in the right place (FBP Interface
module on TU, and eventually also I/O modules onto dedicated TUs)
5 Make the FBP fieldbus connection acc. to the chosen FBP and use the
dedicated FBP accessories (cables, master cable to M12, line
termination, power supply connector, etc...)
(*)
6 Plug the FBP-Plug on the M12 connector located on the Terminal Unit
of the S500-FBP Interface Module
7 Set the correct address onto the FBP Interface Module (rotary
switches)
8 Install the appropriate EDS/GSD files into the Fieldbus configurator (for
use with AC31 or AC500 Control Builder) or use a dedicated Fieldbus
Configurator tool using GSD/EDS configuration files of your Master
device
9 Set the power on (process power supply first and FBP power supply)
10 Start the communication
(*) Refer to the Installation Instructions of the used FBP device.
 Loading...