____________________________________________________________________________________________________________
G1 Introduction to AC500 1-97 AC500 / Issued: 07.2006
This example could be used as starting point to develop your own application.
ATTENTION
Refer to the dedicated User's manuals or Installation guides of the
FieldBusPlug and the AC500 PLCs and programming software.
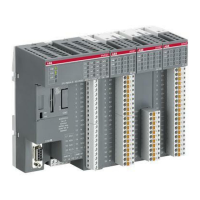
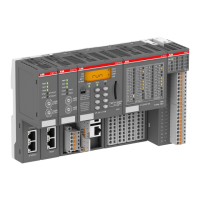
Needed products
amount product description order number
1 PM581-ETH, CPU 1SAP 1401 00 R0170
1 CM572-DP, Communication Module PROFIBUS DP
Master 12 Mb/s
1SAP 170 200 R0001
1 TB521-ETH, CPU Terminal Base AC500, 1x CPU Slot,
2x Coupler Slots, Ethernet RJ45 Connector
1SAP 1121 00 R0170
1 TA524, Dummy Coupler Module 1SAP 1806 00 R0001
1 TK501, Programming Cable, D-Sub / D-Sub 1SAP 1802 00 R0001
1 PDA11-FBP.050, Adapter M12-Dsub9-M12, cable length
0.50 m (field bus + power supply)
1SAJ 9240 09 R0005
1 PDP22-FBP.050 PROFIBUS DP-V0/V1-FBP 0.5 m,
modular (FieldBusPlug)
1SAJ 2401 00 R1005
1 PDR11-FBP.150 Terminating resistor 150 Ohm 1SAJ 9240 07 R0001
1 DC505-FBP with 8DI/8DC 1SAP 2200 00 R0001
2 DC532 with 16DI/16DC 1SAP 2401 00 R0001
2 AX522 with 8AI/8AO 1SAP 2500 00 R0001
1 TU506, FBP Terminal Unit, Spring Terminals 1SAP 2100 00 R0001
4 TU516, I/O Terminal Unit, 24 V DC, Spring Terminals 1SAP 2120 00 R0001
1 GSD file for FBP module ABB_091F.GSD
1 PS501-PROG, Control Builder AC500, Programming
Software
1SAP 1901 00 R0001
Before starting with the following example, please:
• Use the previous installation instructions to assemble and mount the system, also refer to the
dedicated Users manual of the PROFIBUS DP FBP, S500-FBP and AC500 PLCs.
• Make the wiring and provide supply power to the system (process supply) and to the FieldBusPlug
(use dedicated accessory, e.g. PDA11-FBP.050 which allows connecting a PROFIBUS DP master
with a 9 pins D-Sub and provides power supply for the FBP through a M12 connector).
• Set the slave address of the FBP to 2 with the front rotary switches of the S500 FBP-Interface
module (chosen for this example; see also S500-FBP Getting started).
• Install the AC500 Control Builder programming software for AC500 PLCs
• Install the SYCON.net fieldbus configurator
• Install GSD and EDS files
• Connect the programming cable TK501 from the PC to the AC500 PLC
• Review all of the hardware instructions for your specific system to be sure you have completed all of
the required preliminary steps prior to beginning the system configuration with the AC500 Control
Builder programming software.
• Power up the system
 Loading...