Contents
Quickstart guide
Before you start
The following preparations must be completed:
• 1. Pay attention to the general information, safety
information as well as statements on placement and
connection, see page7.
• 2. Check the contents of the package for complete-
ness and damage.
Note
Note the remarks in the separate quickstart guide.
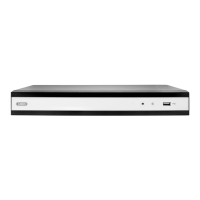
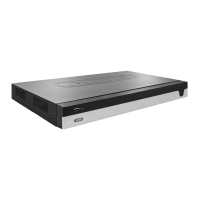
Connections at the back of the device
Note
Refer to the overview on page10.
No. Name
Role
1 3x RJ45 - Ethernet
Ethernet connections for additional devices
2 RJ45 - Router
Ethernet connection for the router
3 USB
Connection for a mouse
4 HDMI
Connection for a HDMI monitor
5 Power supply
12 V DC
Installing the hard disk drive
Warning
Switch the device off and disconnect it from the
mains electricity.
Ensure proper grounding to avoid static discharge.
1. To install a hard disk drive, see separate quickstart
guide.
2. Open the lower flap on the recorder
3. Push the hard disk drive into the intended slot
4. Check that the hard disk drive is mounted correctly
to the recorder’s plug connections
5. Close the housing
Note
Only use hard disk drives that are authorised for
video recording and 24/7 operation.
Make the connections
Note
Observe the minimum radius when laying the ca-
bles. Do not kink the cables.
1. Connect all cameras to the recorder.
2. Connect the recorder to the router via the network
cable. (Router port)
3. Connect the monitor using the HDMI connection.
4. Connect the mouse to the USB port.
5. Connect the device to the mains power supply, it will
then start automatically. The video surveillance sets
also include a distributor cable which enables multi-
ple cameras and the recorder to be operated using a
single power supply unit.
Starting the device
Important
The device may only be connected to a mains
voltage supply as specified on the type plate.
For security purposes, use an uninterruptible
power supply (UPS).
When the device is connected to the power supply, it
starts up automatically and the LED status bar glows.
1. During the start-up procedure, the device carries out
a self-test. The fan will also be tested during the de-
vice’s start-up procedure and then switches to a
quiet mode.
2. Finally, the setup wizard appears. Click on this to go
to live view.
12