16 Maintenance
2 Removing Covers and Components
8
Completely loosen the T- 20 Torx captive thumbscrew at
the middle of the pneumatics assembly near the two
proportional valves (Figure 8).
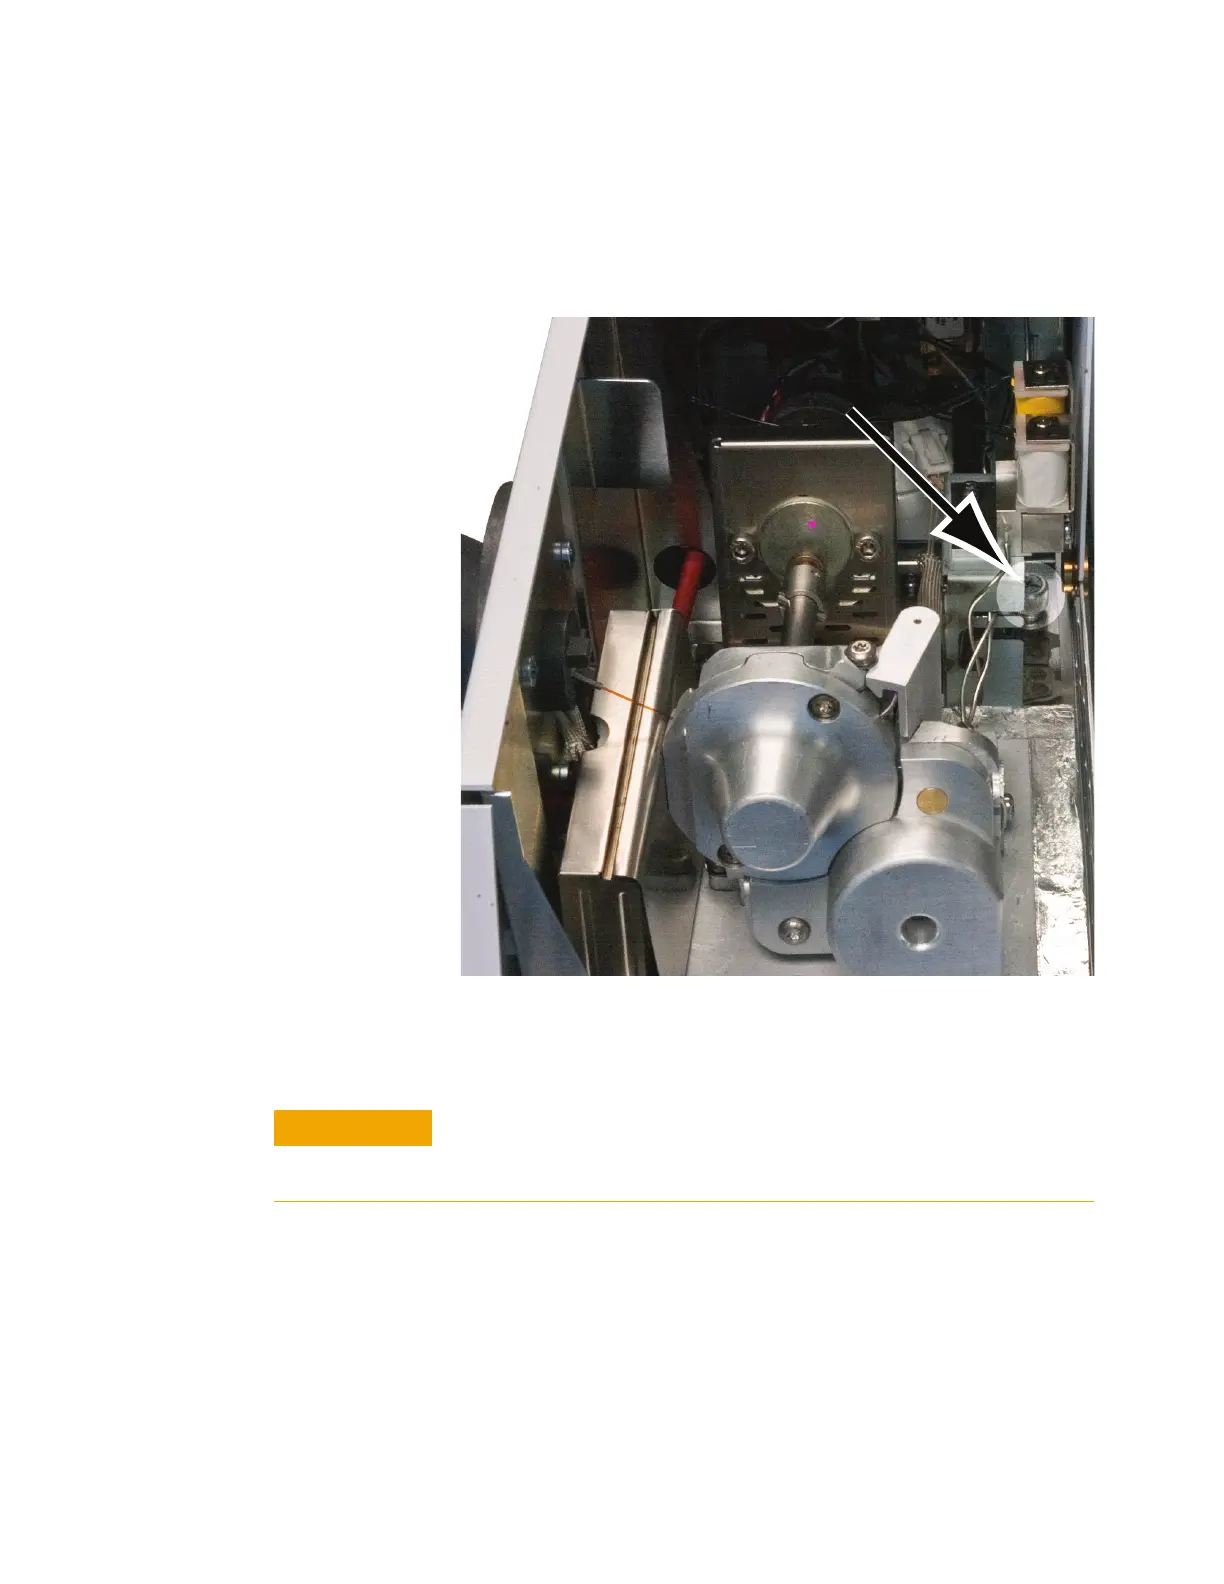
Figure 8 Overhead view of the middle thumbscrew securing the
pneumatics assembly
9 Lift the pneumatics assembly straight up, rotate the
assembly about 90- degrees counterclockwise, and lay it
across the back of the Headspace.
Reinstallation is the reverse of these steps.
Do not remove the pneumatics assembly completely. Be careful to
not damage any attached cables and gas lines when moving the
pneumatics assembly.

 Loading...


