Installation and First Startup 7
1 Installing the GC
Overview of Installation 8
Connecting to the Browser Interface 10
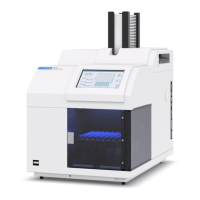
The 8890 GC 11
Unpacking 12
Place the GC on the bench 13
Verify line voltage, voltage settings, and power cord 15
Connect GC to LAN, Local Computer, or Tablet 22
Connect the power cord and turn on the GC 24
View the System Setup Wizard 25
Configure the GC IP address 26
Set the Date/Time 27
Set the Pressure Units 28
Configure Carrier Gas Types 29
Connect Gases and Traps 30
Leak test all connections and set source pressures 38
Install ALS, if ordered 42
Connect the external cables 44
Vent ECD or uncombusted hydrogen to a fume hood 48
Connect cryogenic cooling (if present) 49
Configure the checkout column 55
Install the checkout column 57
Transfer the checkout sample to a screw-top sample vial 59
When the system stabilizes, run one injection 60
Prepare for the Next Analysis 61
This section contains installation procedures for the Agilent 8890 GC. Depending on the
ordered options, some steps are optional, such as “plumbing” cryogenic cooling or valve
actuator air.
Instructions for connecting cables from the GC to other instruments in a typical 8890 Series
system are included here and in Appendix B, “Cabling Diagrams and Remote Start/Stop” on
page 69“.

 Loading...


