14 | GT Series Quick Start Guide
PROGRAMMING: ADDRESSING TENANTS VIA HANDSHAKE METHOD
Direct Select / Push Button Entrance Station Addressing
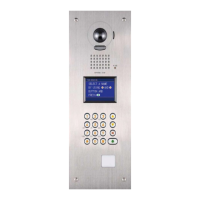
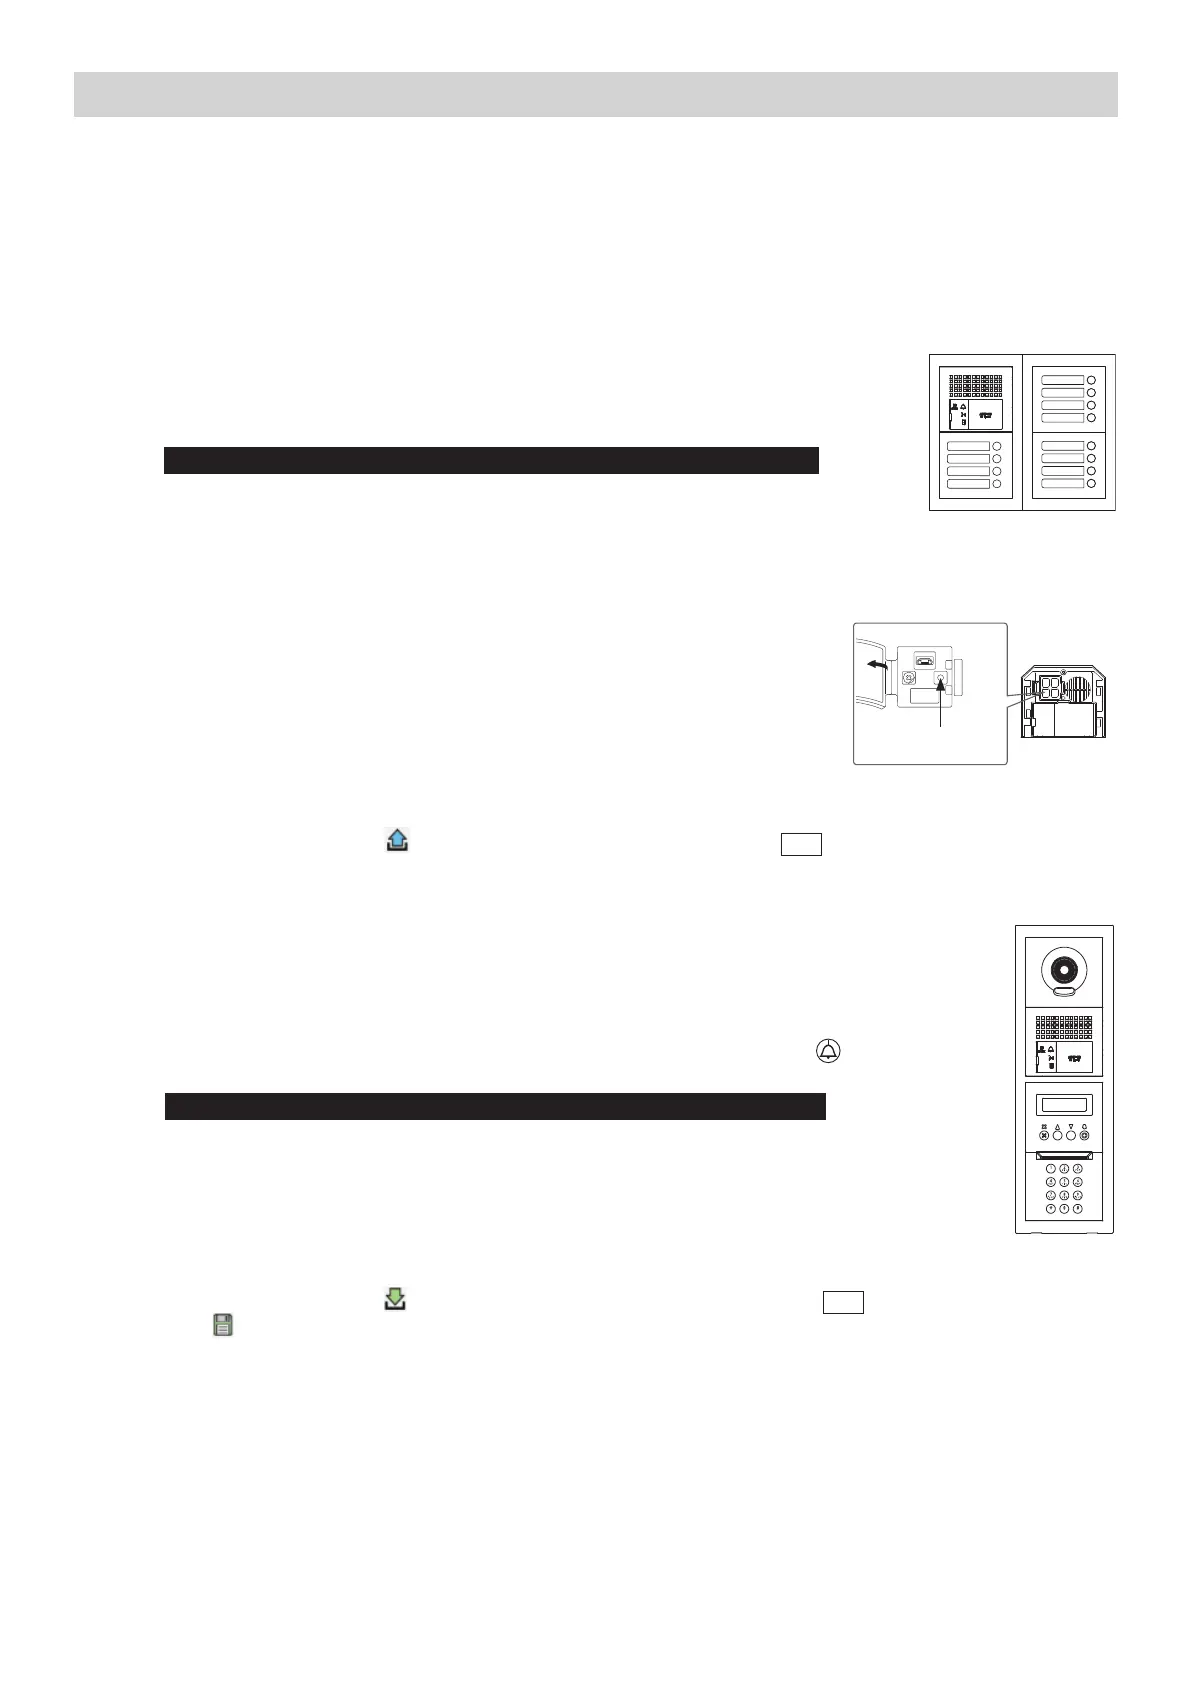
Step 1: To enter programming mode, use a small screwdriver to push and release button under the
rubber cap on the front of the GT-DB(-V, -VN) audio module. The IN USE LED will begin
fl ashing, then remain steadily lit. Once lit, the entry panel is in programming mode.
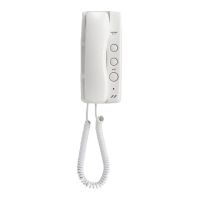
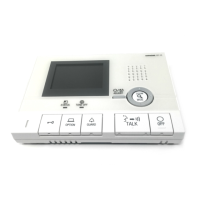
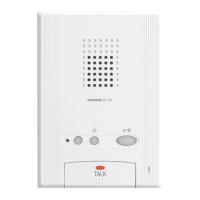
Step 2: At a tenant station, push and release the TALK button or pick up the handset to establish
communication with the entrance station in programming mode.
Step 3: Push and release the desired Call Button on the entrance station to assign the button to the
tenant station that is active. A blip tone will be heard.
Do not press and hold the Call Button as doing so will clear the memory for this button.
Step 4: Turn off or hang up tenant station (GT-1A/GT-1C7(-L)/GT-1M3(-L): Push TALK again,
GT-2C(-L): Push OFF).
Step 5: Repeat steps 2-4 for remaining tenant stations.
Step 6: To exit programming, push the button under the rubber cap on the GT-DB(-V, -VN) audio
module again and the IN USE LED will turn off. The system is now ready for use.
When programming a system that includes the GT-1A or GT-1D, use the handshake method for programming all
stations in the system.
GT Digital Display Entrance Station Addressing
Step 1: Using the GT Setup Tool for Windows, upload the program fi le to the GT-DB(-V, -VN) with the
USB cable provided. Click then select the station to upload to and click
OK
.
Step 2: To enter programming, use a small screwdriver to push and release button under the rubber
cap on the front of the GT-DB(-V, -VN) audio module. The IN USE LED will begin fl ashing, then
remain steadily lit. Once lit, the entrance station is in programming mode. The LCD will show
“CONNECTING” while in programming mode.
Step 3: At a tenant station, push and release the TALK button or pick up the handset to establish
communication with the entrance station in programming mode.
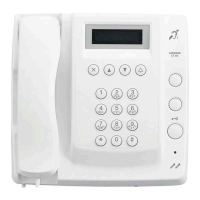
Step 4: Scroll to the station number to be programmed or manually enter the number on the keypad.
When the tenant station number is displayed, push and release the Bell button to assign the
address to the tenant station that is active. A blip tone will be heard.
Do not press and hold the Bell button as doing so will clear the memory for this number.
Step 5: Turn off or hang up tenant station (GT-1A/GT-1C7(-L)/GT-1M3(-L): Press TALK again,
GT-2C(-L): Press OFF).
Step 6: Repeat steps 3-5 for remaining tenant stations.
Step 7: To exit programming, push the button under the rubber cap on the GT-DB(-V, -VN) audio module
again and the IN USE LED will turn off. The system is now ready for use.
Step 8: Download the program fi le to the GT Setup Tool from the GT-DB(-V, -VN) audio module with the
USB cable provided. Click then select the station to download from and click
OK
.
Step 9: Click to save the fi le to the computer.
GT-DB(-V, -VN)
Programming
Button

 Loading...