23
4.3. Warning and Alarm
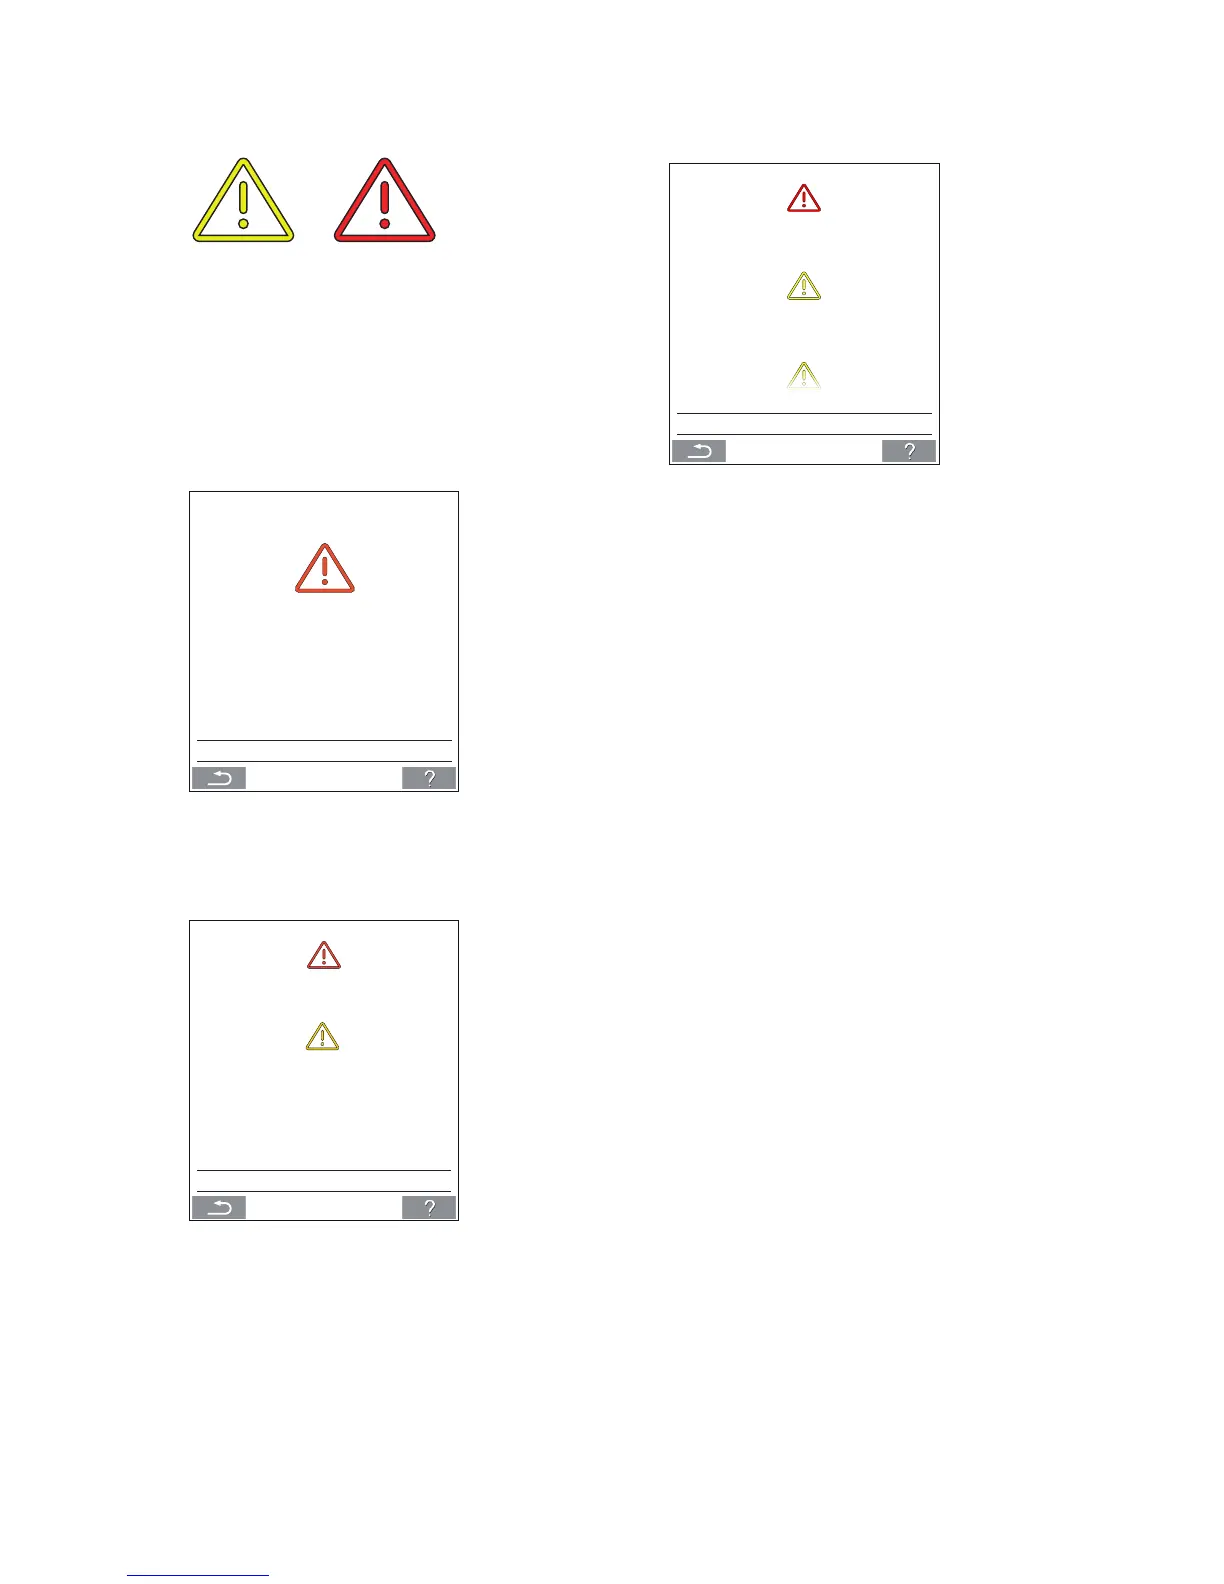
In the event of warnings and alarms, a triangle with an
exclamation mark in its centre with a yellow or red light
(pos. 4 under ”Control Elements” on page 11) will show in
the top left hand corner of the control panel main screen.
Press the symbol.
>> The control panel will show a large triangular warn-
ing/alarm text and “CALL SERVICE” for alarms, plus a
telephone number.
---
FILTER CHANGE REQUIRED
CALL SERVICE
In the event of several warnings or alarms, they will be
shown in order of priority.
---
CONDENSATION
---
FILTER NEEDS REPLACING
CALL SERVICE
Display of warnings and alarms with the unit’s ID number
in an Airlinq BMS system. See page 21.
ID 15
FILTER CHANGE REQUIRED
ID 4
CONDENSATION COOL.MODULE
ID 7
CALL SERVICE
An ID number can be changed to another designation in
Airlinq Service Tool.
Warnings (yellow):
The air handling unit remains in operation in the event
of a warning, but operation can be limited. (See also the
explanatory text under ”Warnings and Alarms” on page 9 and
the key to abbreviations under “Abbreviations” on page 36)
•
Condensation Cool.module (in the cooling module).
• Compressor locked (stopped).
• Filter needs replacing.
• Group Master Missing. (Airlinq BMS only.) *1
• Technical fault (Temperature sensor (RT, OTV, CdT,
OT, EvT, EVi, EVo or HG), ow measurement or CO
2
sensor. The cooling module will be out of action if
faults on CdT, OT, EvT, EVi, EVo or HG occur.) *2
Alarms (red):
The air handling unit will stop to prevent damage in the
event of an alarm. (See also the explanatory text under
”Warnings and Alarms” on page 9 and the key to abbrevia-
tions under ”Status” on page 14.)
• Low temperature.
• Condensation (in the air handling unit).
• Filter change required.
• Critical fault (Temperature sensor (IT, ETV), supply
fan or extraction fan.) *2
*1: See ”Status - Installation Check” on page 16.
*2: See ”Status - Hardware” on page 16.