1
73
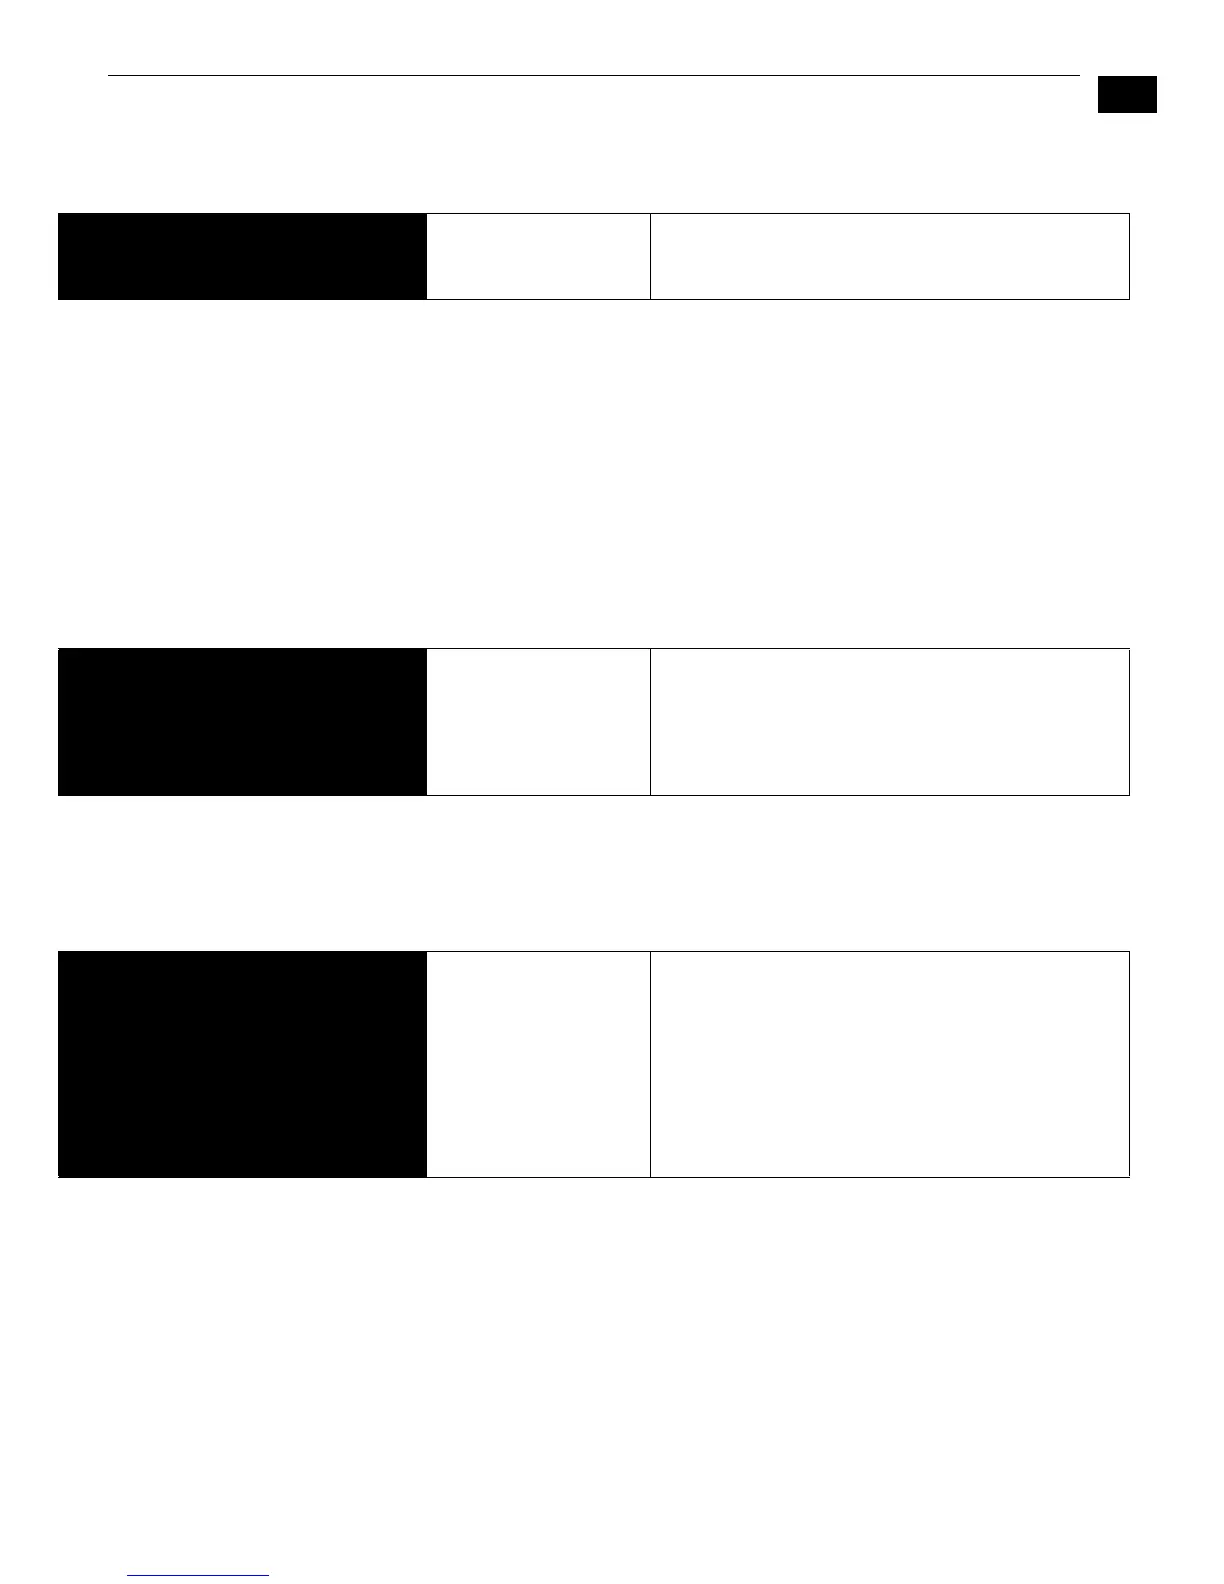
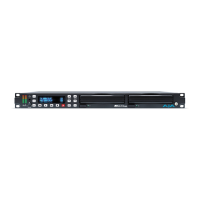
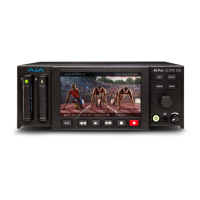
Ki Pro Installation and Operation Manual — CONFIG menus
54.2 802.11 IP ADDRESS
This parameter determines the static IP address used by Ki Pro’s 802.11 transceiver.
Note: For parameters 54.2 and 54.3, you will be setting IP addresses that consist of “octets”
separated by a period (i.e., 90.0.181.0). When editing these, the Select button selects the
octet and then the Adjust buttons select the desired number. Pressing Select Up again
advances to the next octet. At the final octet, the address will flash—pressing Select Up at
that point confirms the setting. When these parameters are edited, you can abort the
editing process by backing out (press the Select down arrow button repeatedly until the
edit passes the first octet). You’ll notice that after completing the edit on the last octet, the
display will blink—this is an indication that the edited IP address is about to be saved. You
can save the edited IP address (press the Select arrow up to save) or choose not to save by
pressing the Select arrow down button.
54.3 802.11 DHCP MASK
This parameter determines the subnet mask used by Ki Pro’s wireless 802.11 transceiver.
55.4 DATE SET
This parameter manually sets the calendar date of the internal Ki Pro clock. The value is
defined as YYYY/MM/DD (year/month/day).
54.2 802.11 IP ADDRESS variable Using the adjust buttons, enter an IP address compatible
with your access point (if you have one).This is only
needed for Static IP configurations.
54.3 802.11 SUBNET MASK variable Using the adjust buttons, enter a subnet mask compatible
with your access oint (if you have one). This is only
needed for Static IP configurations.
If 54.1 is set to DHCP, the default Subnet Mask is:
255.255.255.0
55.4 DATE SET variable Using the adjust buttons, enter a calendar date for Ki Pro.
Using the adjust buttons and the top SELECT button,
select the characters for each category (
YYYY/MM/DD
).
The adjust buttons scroll through the choices and the top
SELECT button advances to the next character. While
selecting characters, the character being changed will
flash to show its position. When finished, the final press
of the SELECT up button will flash the whole value, hit
SELECT once more to confirm and the next menu
parameter will appear.