34
Applying Power
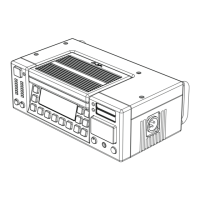
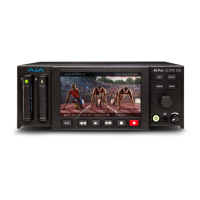
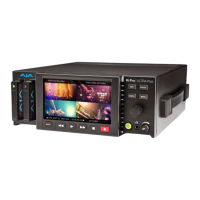
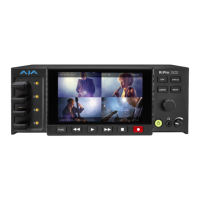
The installation and set up of a Ki Pro is straight-forward. If you’ll be controlling the
unit from the front panel buttons and display, it’s ready right out of the box. Just
cable the system’s audio and video sources, VTR(s), monitors, and audio equipment,
mount the Ki Pro unit as desired, and begin recording. However, if you wish to control
Ki Pro from a web browser or 802.11 device (iPhone etc.), then there are additional
configuration steps necessary.
Warning!
Since the Mains plug is used as the disconnection for the device, it must remain
readily accessible and operable.
Warning!
Protect the power cord from being walked on or pinched particularly at plugs,
convenience receptacles, and the point where they exit from the device.
Warning!
Unplug this device during lightning storms or when unused for long periods of
time.
Warning!
Do not open the chassis. There are no user-serviceable parts inside. Opening the
chassis will void the warranty unless performed by an AJA service center or
licensed facility. Remove the supplied AC line cord from mains power when
moving the unit. Do not defeat the safety purpose of the grounding-type plug.
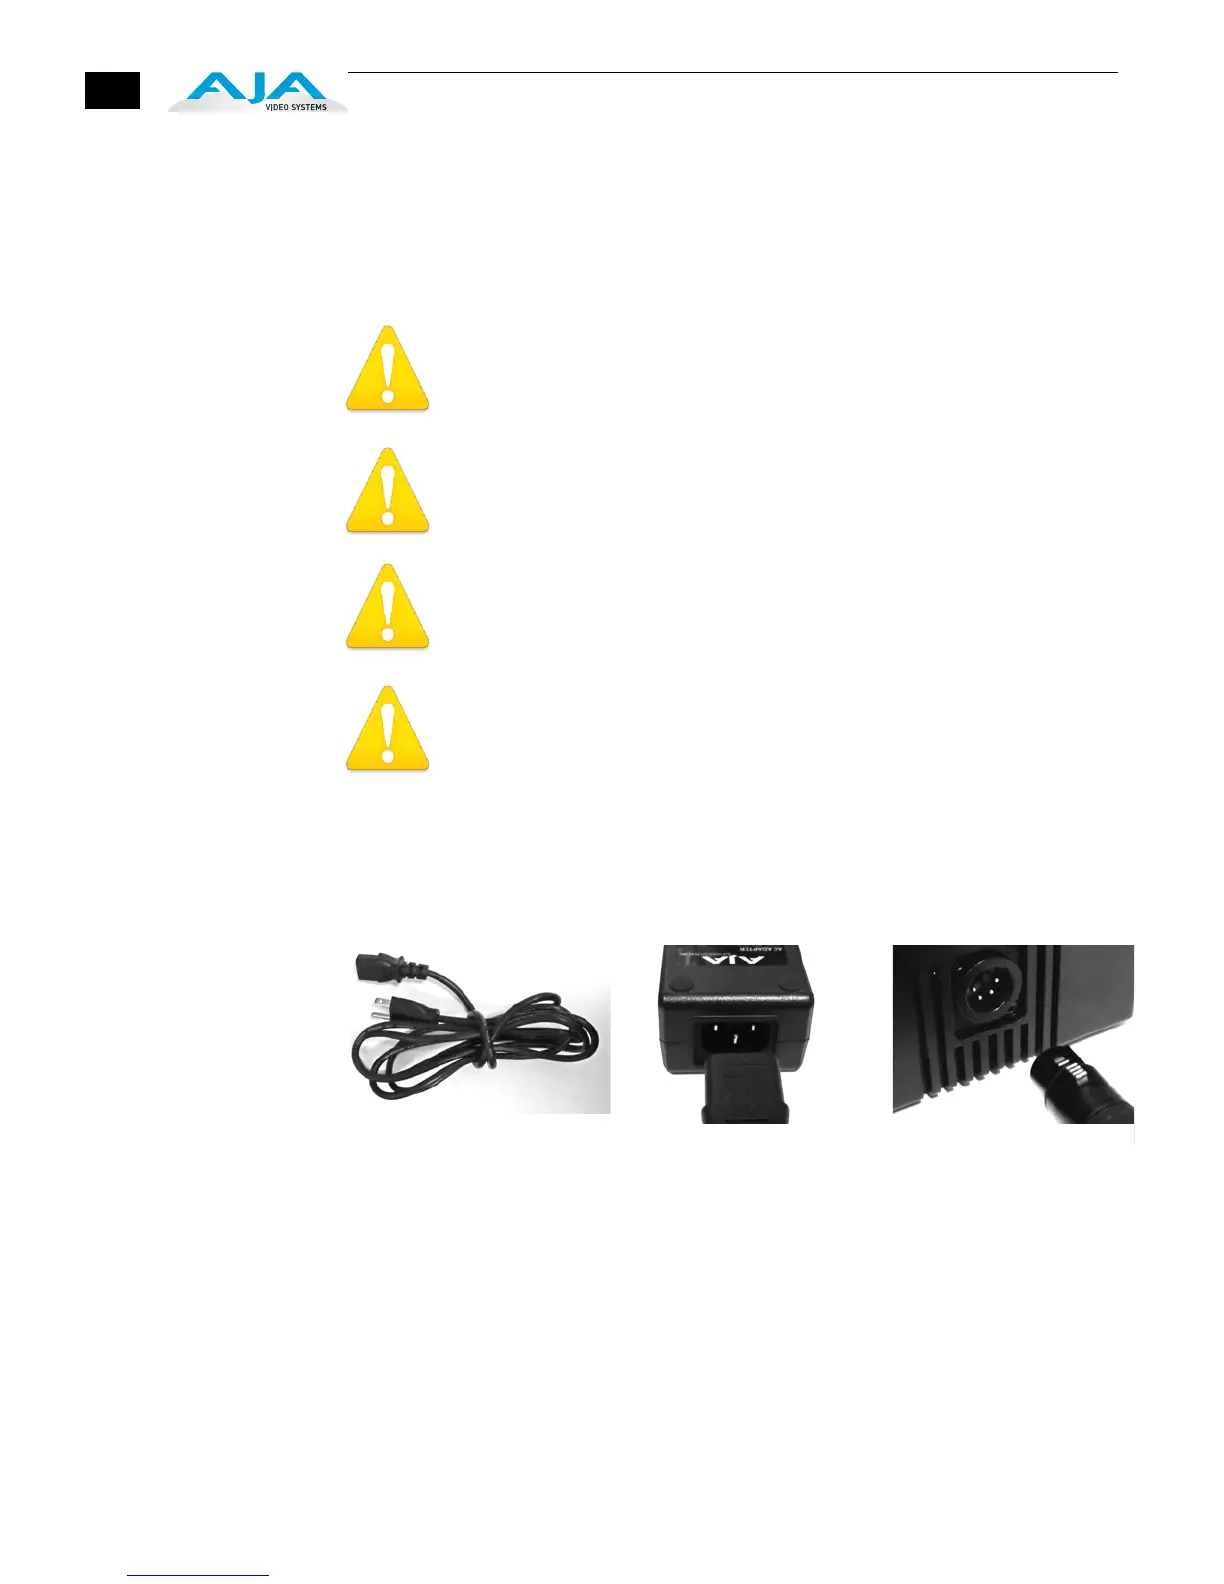
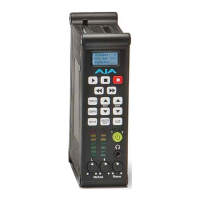
Using AC Power
To begin using Ki Pro, plug the 4-pin XLR on the supplied AC adapter into the XLR
power socket on the back of Ki Pro. Then plug the AC adapters line cord into 110 VAC
or 230 VAC (the supply is autosensing).
1. Locate Line Cord 2. Insert into DC supply 3. Insert 4-pin XLR into
12Vdc Ki Pro power socket.