Document 90-00073D Algo Communication Products Ltd (604) 454-3792
2016-09-29 4500 Beedie St Burnaby BC Canada V5J 5L2 support@algosolutions.com
Page 9 www.algosolutions.com
Getting Started - Quick Install & Test
This guide provides important safety information which should be
read thoroughly before permanently installing the intercom.
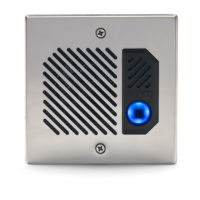
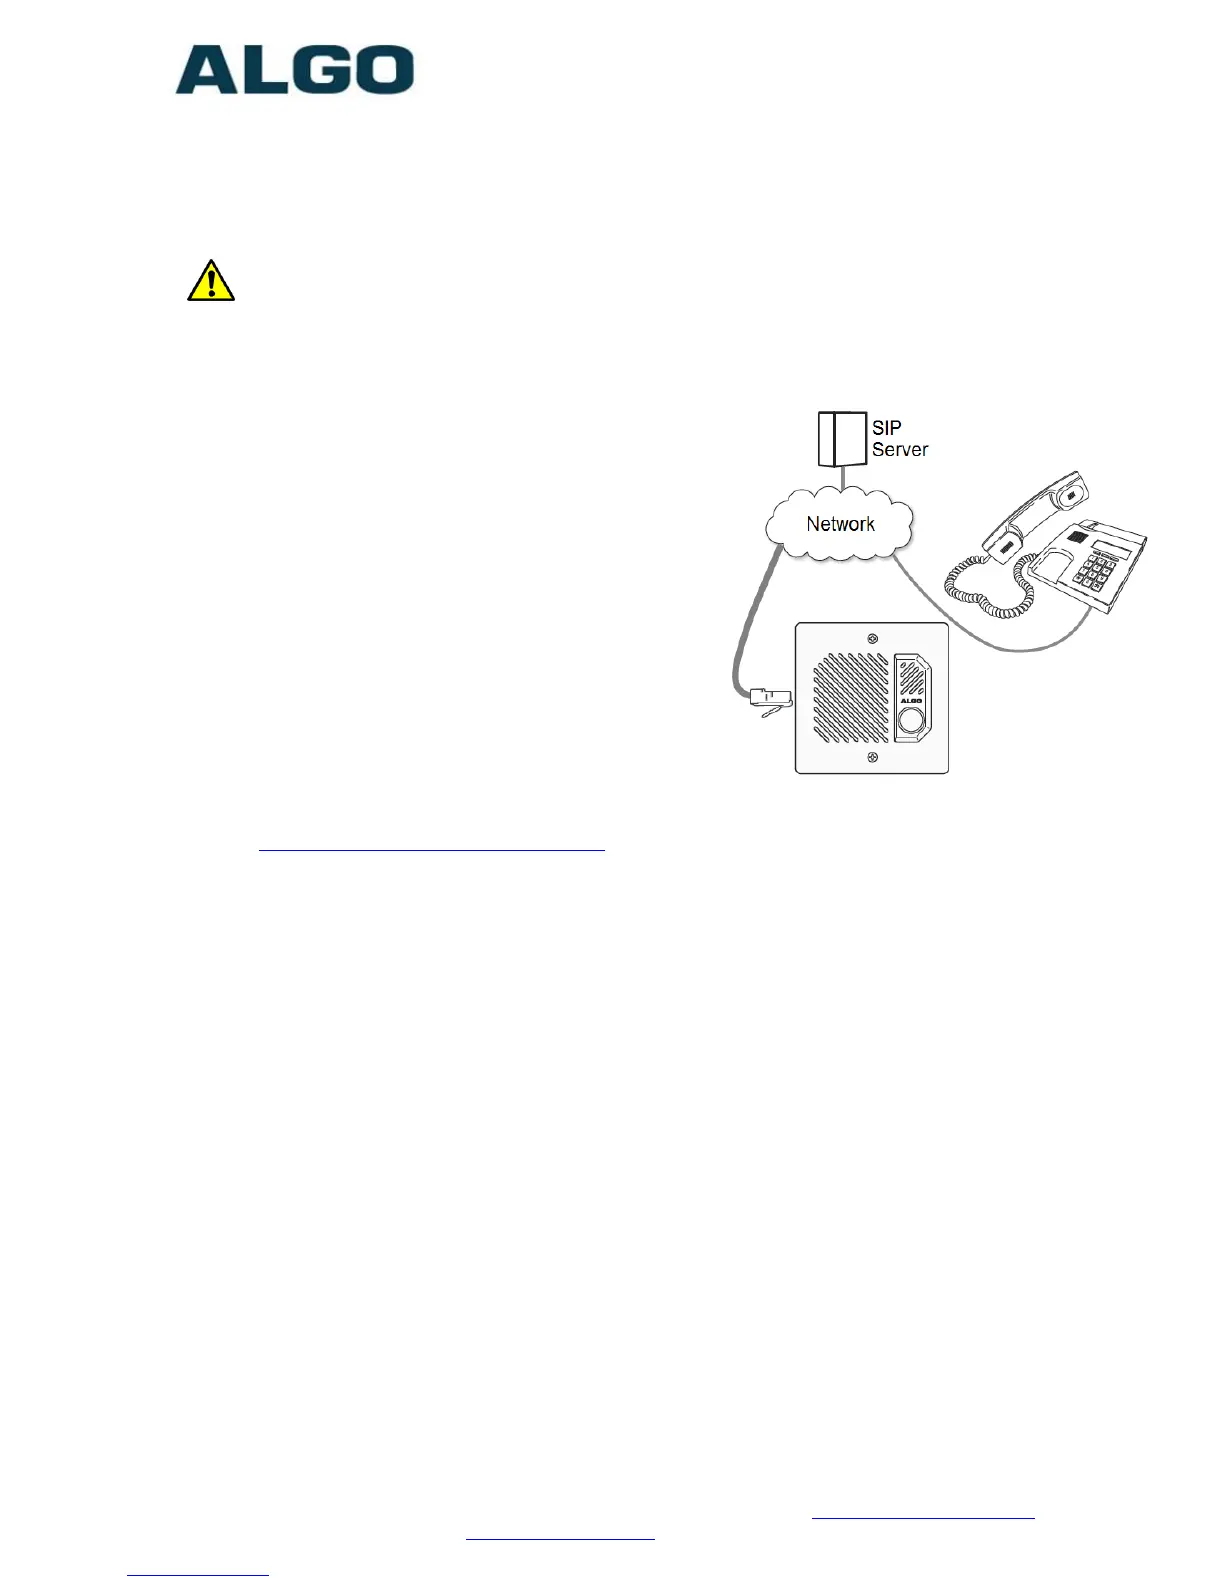
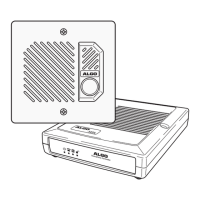
1. Connect the 8201 SIP PoE Intercom to
an IEEE 802.3af compliant PoE
network switch. The blue call button
on the front will turn on. After about
30 seconds, a beep will signal the
completion of the boot process.
2. After the boot is complete, press the
blue call button on the 8201 to hear
the IP address. (Once the SIP Server
field is populated in the 8201 web
interface, the call button will contact
the preconfigured extension when
pressed.) The IP address may also be
discovered by downloading the Algo
locator tool to find Algo devices on your network:
www.algosolutions.com/locator
3. Access the 8201 SIP PoE Intercom web page by entering the IP
address into a browser (Chrome, IE, Firefox etc) and login using the
default password algo.
4. Enter the IP address for the SIP server into the SIP Domain field
under the BASIC SETTINGS > SIP tab.
5. Enter the SIP Extension, Authentication ID, and Password. Also enter
the target Dialing Extension that the Intercom will call.
6. Press the call button on the 8201 Intercom, then answer the phone
and communicate over the Intercom. Press the digit 6 on the phone
keypad to activate the door control relay for three seconds (if
applicable).