EasyManuals Logo

Allen-Bradley CENTERLINE User Manual

Allen-Bradley CENTERLINE
88 pages
To Next Page IconTo Next Page
To Previous Page IconTo Previous Page
Page #52 background imageLoading...
Page #52 background image
Publication 2100-IN012B-EN-P - April 2005
5-4 Installing and Removing Plug-In Units
.
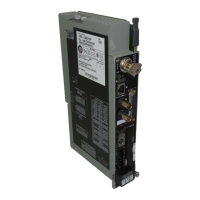
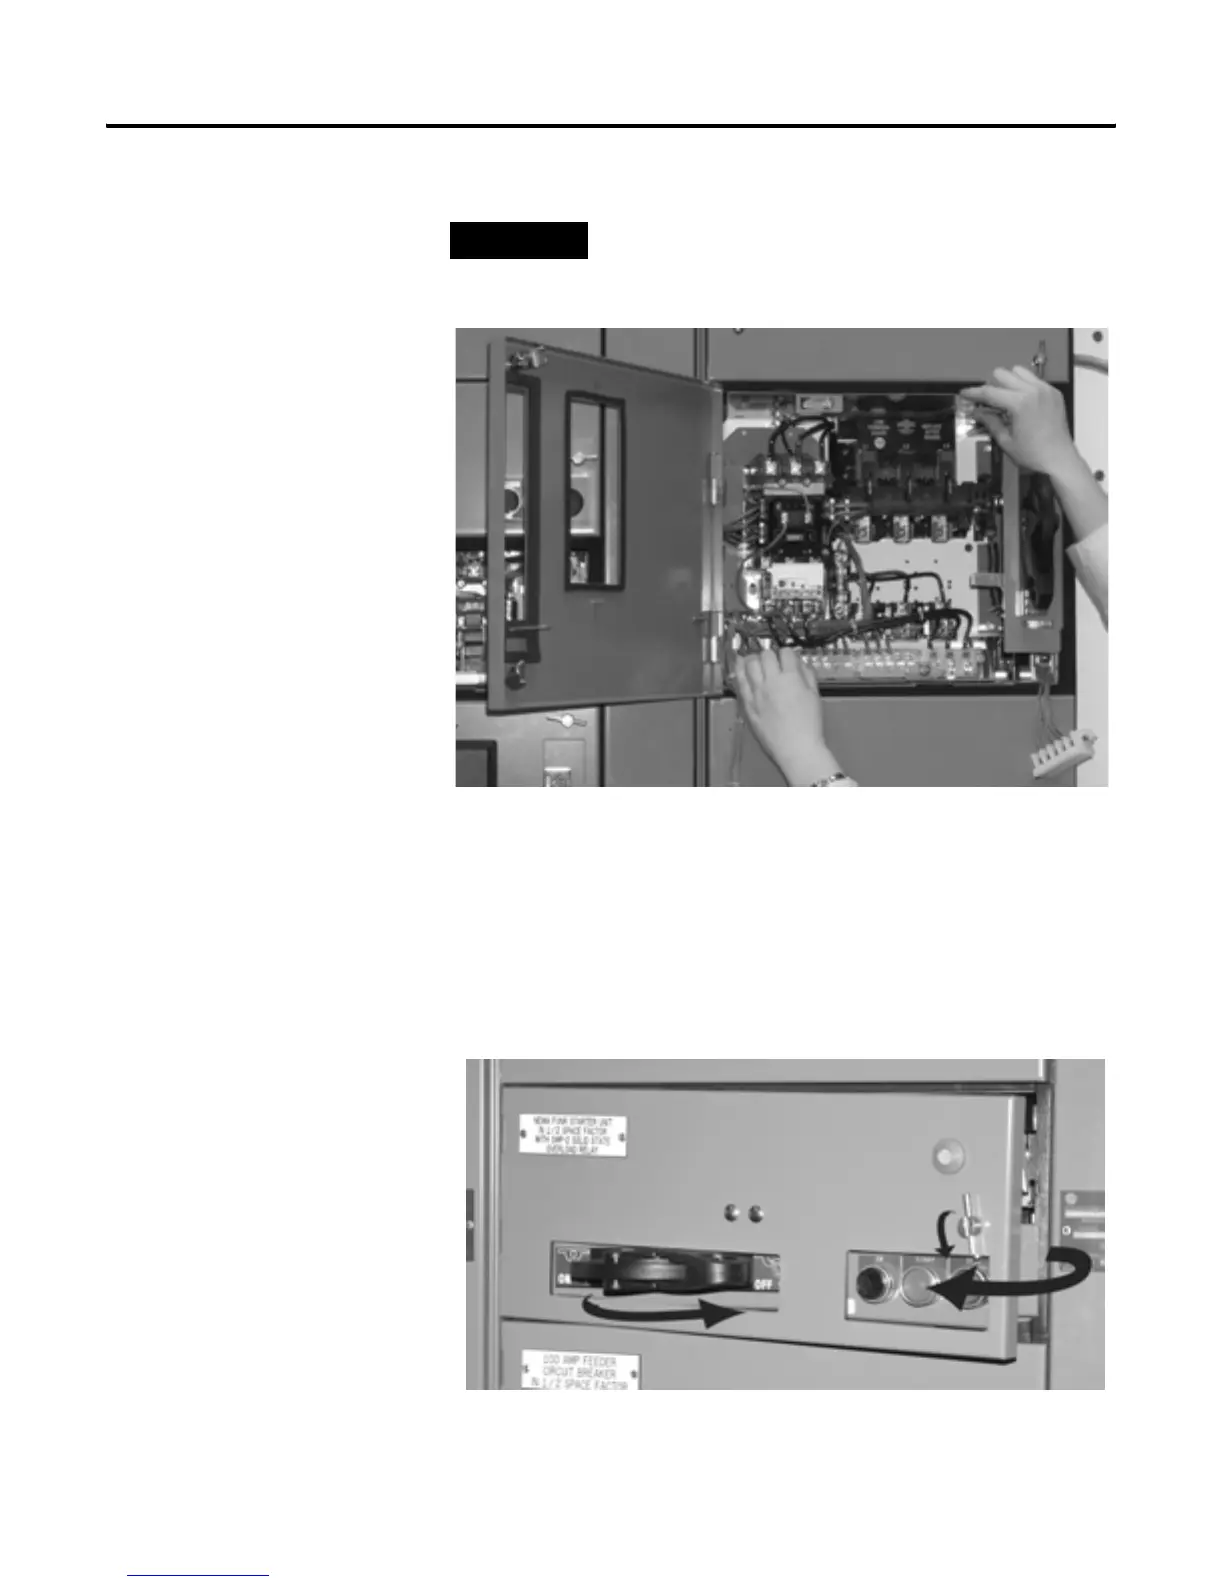
Figure 5-5 Pull Unit Outward to Remove
4. Pull unit forward (outward) using handle provided at lower left of unit
and the tab in the upper right of the unit as finger holds.
5. Carefully install protective caps or close manual shutters after unit is
removed. Automatic shutters will close as units are removed.
Removing Plug-In Unit with
a Horizontal Operating
Handle from a Section
Figure 5-6 Opening the door of a unit with a Horizontal Operating Handle
1. Make sure the disconnect handle is in the OFF/O position.
TIP
It is not necessary to place wires/terminal blocks into
vertical wireway to remove a plug-in unit.

Table of Contents

Questions and Answers:

Question and Answer IconNeed help?

Do you have a question about the Allen-Bradley CENTERLINE and is the answer not in the manual?

Allen-Bradley CENTERLINE Specifications

General IconGeneral
Short Circuit Current Rating (SCCR)Up to 100kA
Modular DesignYes
TypeMotor Control Center (MCC)
VoltageUp to 600V AC
Communication ProtocolsEtherNet/IP, DeviceNet
Enclosure TypeNEMA 1, NEMA 3R, NEMA 4, NEMA 4X, NEMA 12
Standards ComplianceUL 845, IEC 61439

Related product manuals