COPYR IG H T
200 9-2010
ALL O.CO M
-
VISIT
US
ONLIN E
AT
W W W. ALLO.C O M
8
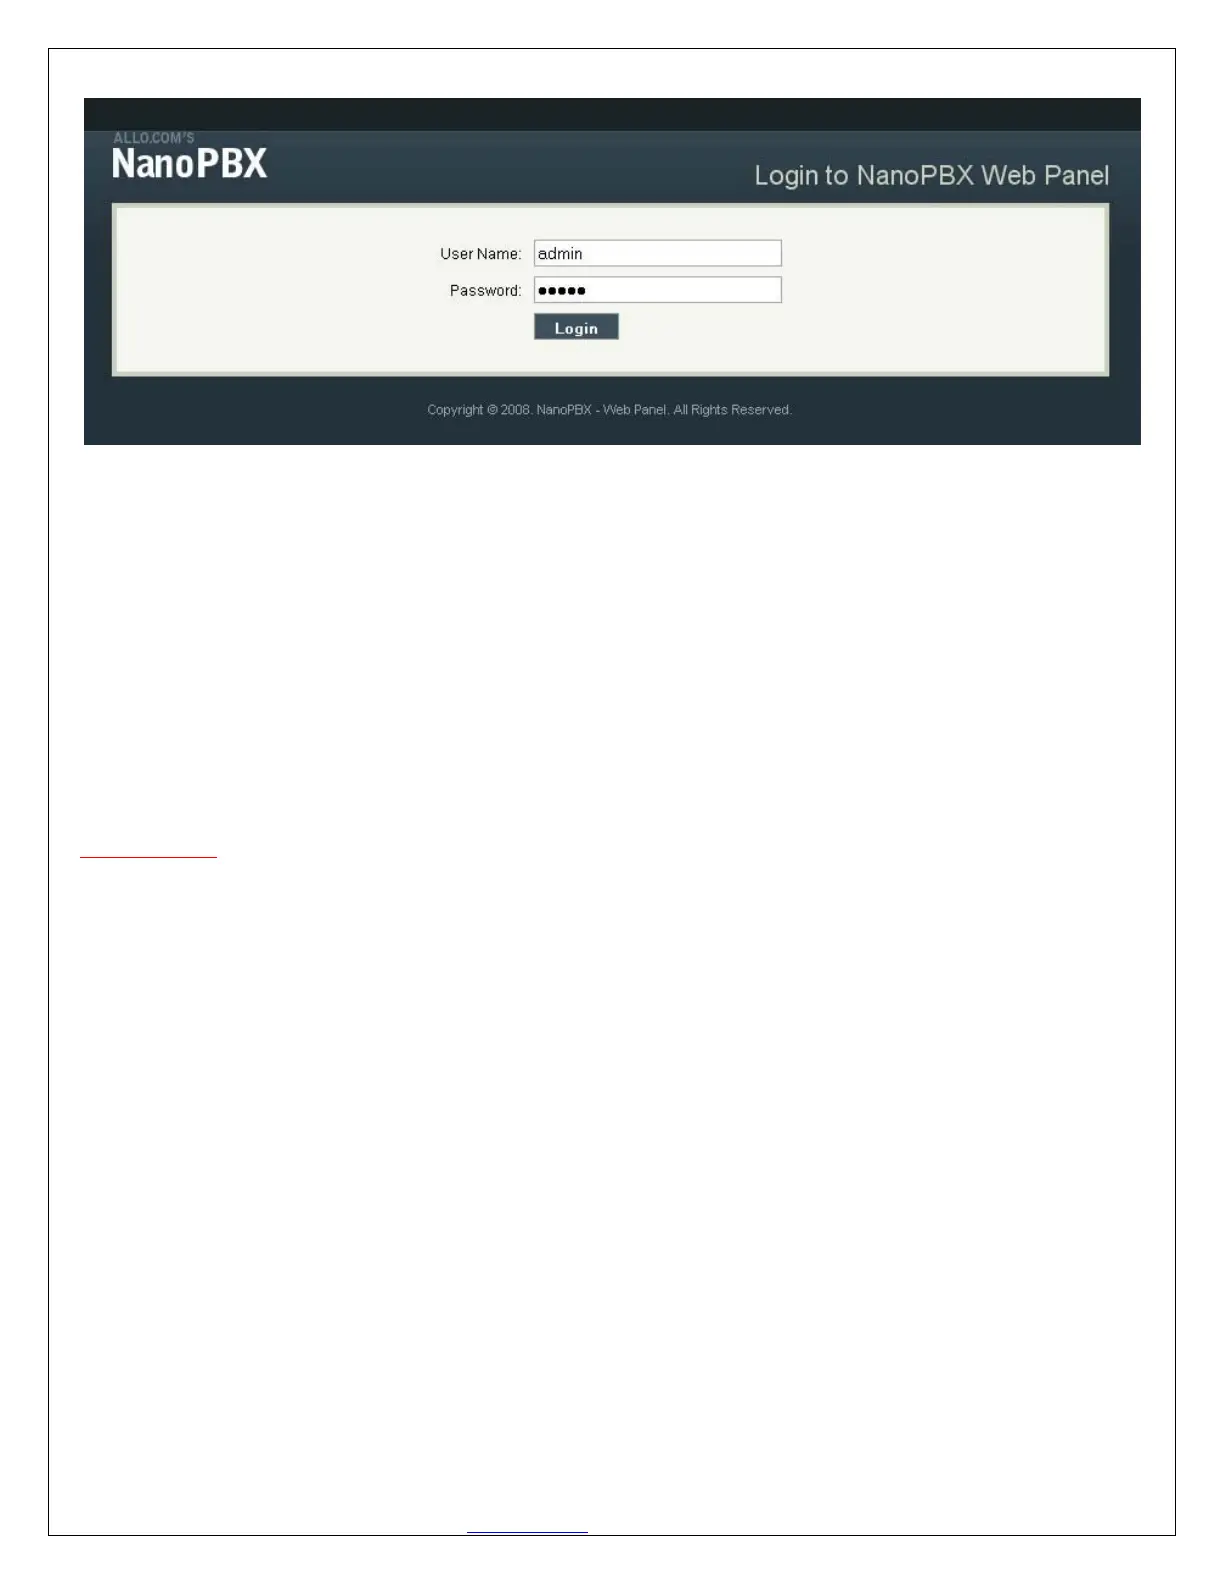
Or also you can access the GUI of the NanoPBX by connecting a PC to the LAN port of the NanoPBX.
Enable the DHCP option in the Network Settings of the PC, and then enter http://192.168.113.1 in the
Web Browser Address field. (Where 192.168.113.1 is the default local IP address of the NanoPBX).
On the login screen, the default username and password is “admin/admin”. Press the Login button to
enter the NanoPBX web panel. To change the password, please refer to the SETTINGS > General section
in the navigation.
After you login, you are brought to an Overview screen, which offers information about the NanoPBX,
and help files to assist you in learning about the different features of the system.
Important Note:
Recommended to use Mozilla Firefox or Internet Explorer 6 & above version Web browser.
3. Setting up Features
3.1 Extensions
Extensions are the core of the NanoPBX. An extension is a number mapped to a person. So basically,
every employee that is connected to the NanoPBX should have their own unique extension number, so
that he/she can be reached, and be able to place calls.
The NanoPBX supports 2 types of Extensions: IP Extensions and Analog Extensions.
IP Extensions:
IP extension are devices that have only data networking connection such as Ethernet and they
communicate with the NanoPBX using IP based protocol for signaling and Voice, examples are
IP Phone, Soft Phone application. The NanoPBX can support up to 50 IP Extensions
registration.
Analog Extensions: