COPYR IG H T
200 9-2010
ALL O.CO M
-
VISIT
US
ONLIN E
AT
W W W. ALLO.C O M
33
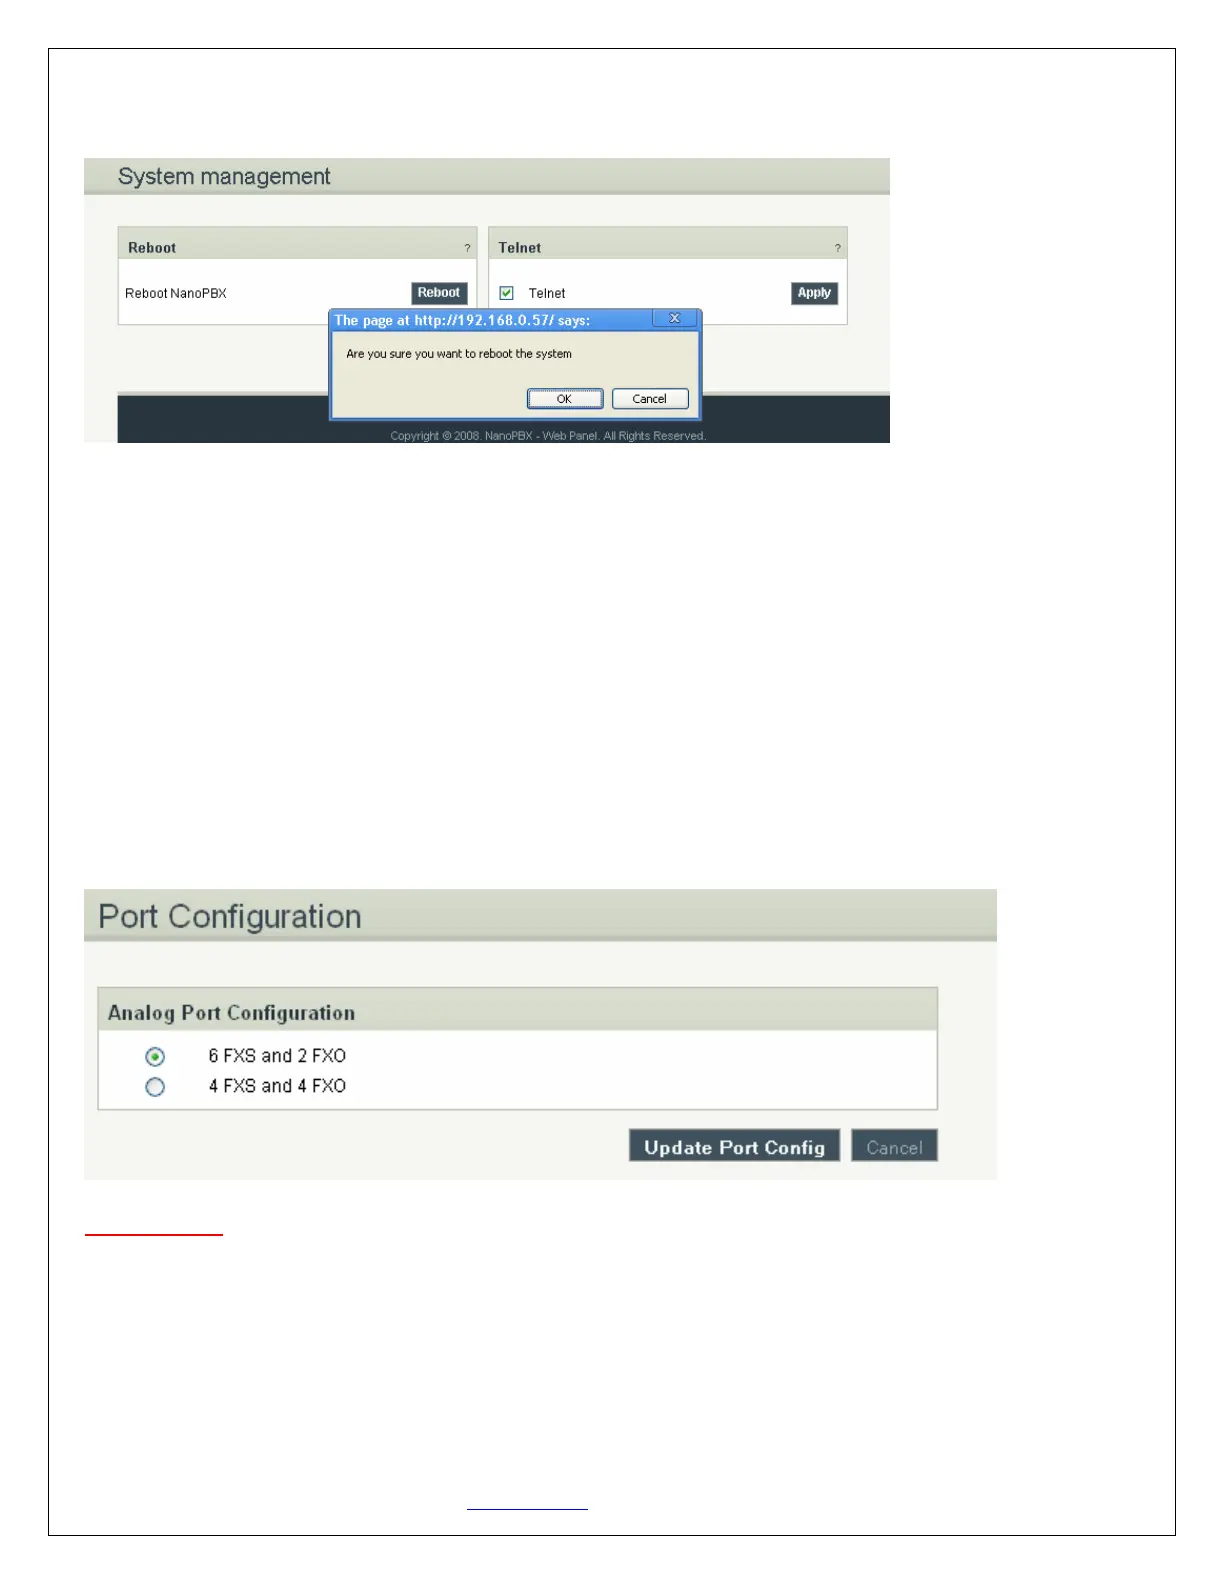
the bottom of the System management. Once done, following screen will be displayed to confirm reboot.
The user can re-login to the phone after POWER and all the six PHONE LED's turn orange and remain
stable on the Front Panel of your NanoPBX
Telnet option is by enabled by default. Uncheck this option to disable telnet access for the NanoPBX if
required. This will be used for troubleshooting purpose.
4.11 Port Configuration
Port Configuration allows you to manually configure Ports 5 and 6 either as FXS ports or FXO ports, which
are configurable ports on the NanoPBX. That means you can configure these ports to be either as FXS
ports (to connect Analog Phones) or FXO ports (to connect PSTN line).
Important Note:
a) After choosing the port configuration click on Update Port Config Button, NanoPBX will reboot for the
changes to take effect. Once the system comes up you can use the ports as per your configuration.
b) Please make sure to disconnect incoming PSTN Line connected to the Port Number 5 and 6 before you
switch from 4FXS and 4FXO Mode to 6FXS and 2FXO Mode. It may damage your NanoPBX Unit.
5. Status
Navigation: STATUS: This is where you can check the overall status of your NanoPBX, including Memory
 Loading...