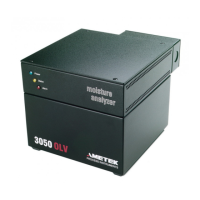
3-4 | 3050-SLR Moisture Analyzer
Mechanical Installation
Locate the 3050 system as close as possible to the sample source. The unit should be pro-
tected from direct exposure to weather and sunlight; and located so that the ambient tem-
perature speciications will not be exceeded.
1. If not already installed, install a main process shut-off valve at the sample
tap. Refer to igure 3-4.
2. Mount system in selected location and bolt in place. Refer to igure 3-3.
3. Connect instrument air to 1/4-inch tube itting. Maximum input 100
psig. Set pilot valve to 80-100 pisg.
4. Connect the analyzer 1/8-inch exhaust tube itting to appropriate vent
system.
5. If purchased, connect the heated pressure reducer 1/4-inch relief out
and vapor bypass tube ittings to appropriate vent system. Refer to ig-
ure 3-6.
6. Open the main process shut-off valve and purge entire length of sample
line (up to the analyzer) to an appropriate area for at least ive minutes.
Close the main process shut-off valve. This will help prevent contamina-
tion from entering the cell.
7. Connect the sample line to the sample valve 1/8-inch tube itting.
Connect as soon as purge is complete.
8. Re-inspect process line connections making certain that all are con-
nected to the proper external supply, exhaust, and drain tubing such that
there shall be no release of hazardous process gas to the atmosphere.
Differential pressure between inlet and outlet must be at least 20 psig.
9. Open main process shut-off valve.
10. Open valve to dryer 1/4 to 1/2 turn prior to starting analyzer.
NOTE
NOTE

 Loading...