Adding Memory
f:ODOOrR'O~~'D.'\
8.DOOOOOODDOOD8000DDD80DDDDDD.;;!;;8080D80D80D80D80DD80ODODD80D~
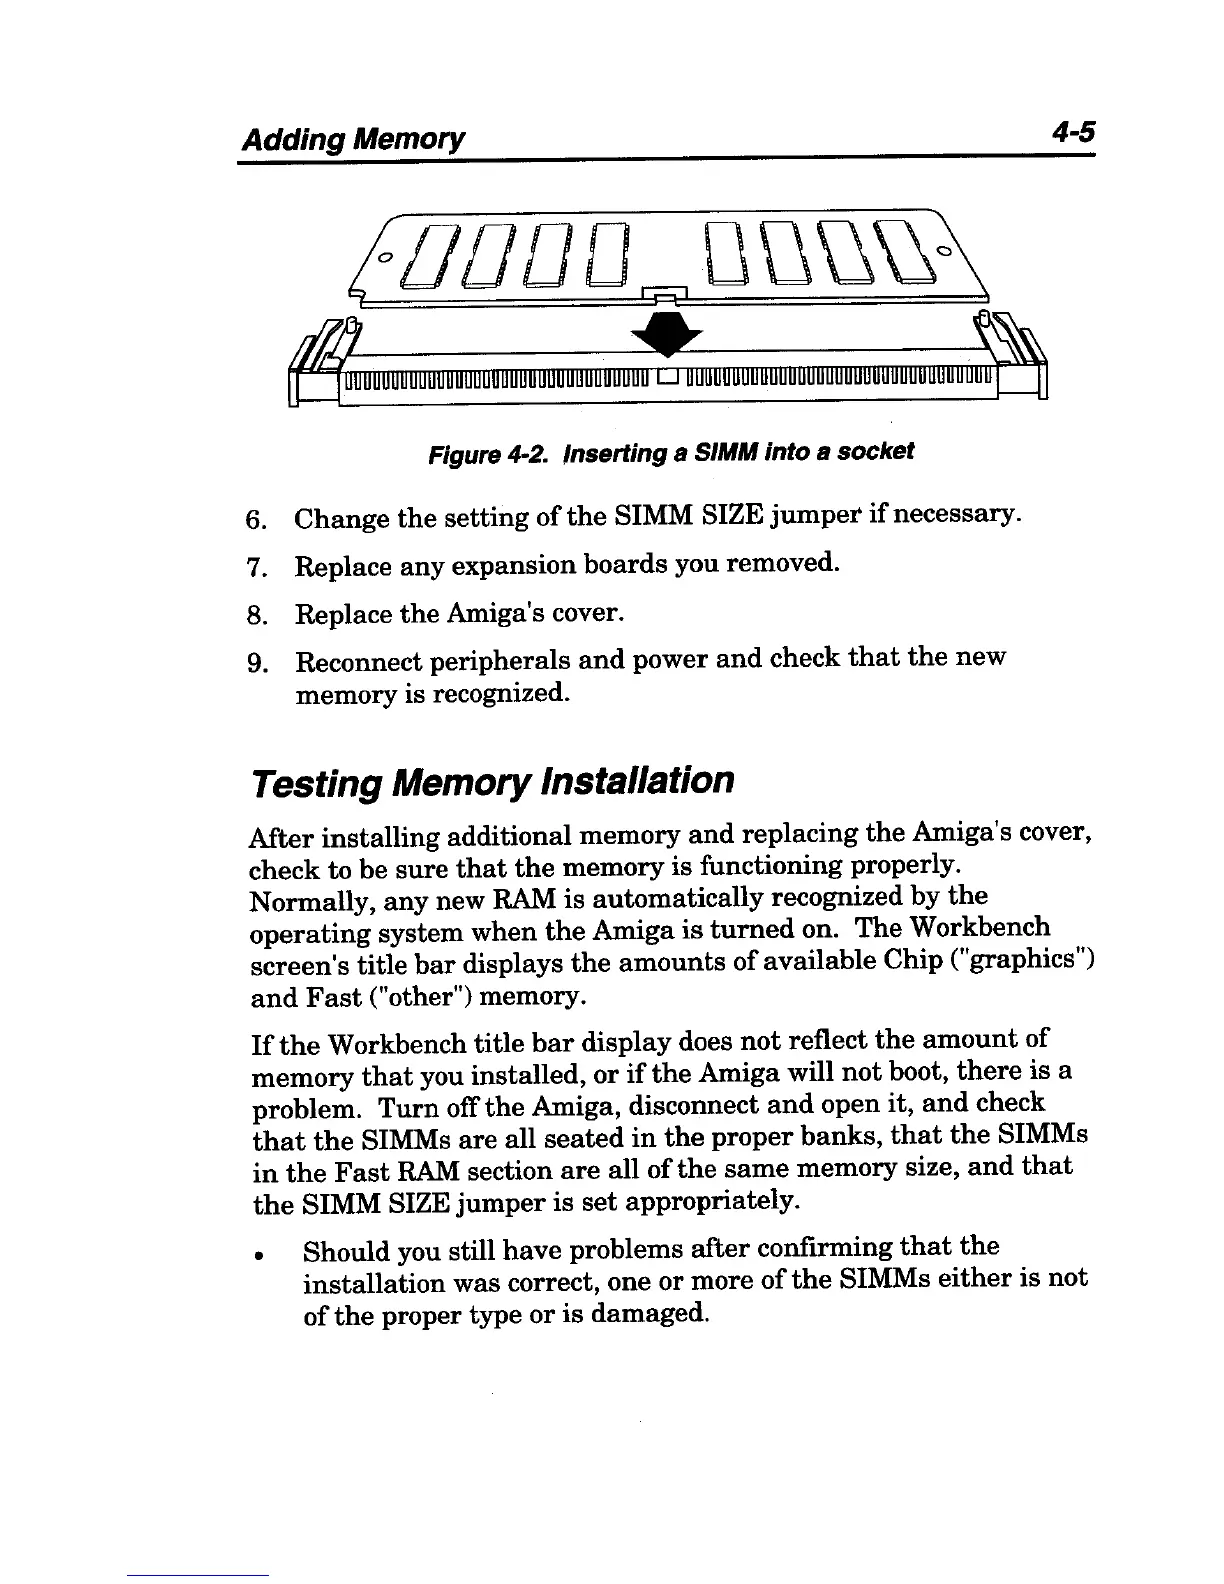
Figure 4-2. Inserting a SIMM into a socket
6.
Change
the
setting
ofthe
SIMM SIZE
jumper
if
necessary.
7. Replace
any
expansion boards you removed.
8. Replace
the
Amiga's cover.
9. Reconnect peripherals
and
power
and
check
that
the
new
memory is recognized.
Testing Memory Installation
4-5
After
installing additional memory
and
replacing
the
Amiga's cover,
check to be
sure
that
the
memory is functioning properly.
Normally,
any
new RAM is automatically recognized
by
the
operating
system when
the
Amiga
is
turned
on.
The
Workbench
screen's title
bar
displays
the
amounts
of
available Chip ("graphics")
and
Fast
("other") memory.
If
the
Workbench
title
bar
display does
not
reflect
the
amount
of
memory
that
you installed, or
if
the
Amiga will
not
boot,
there
is a
problem.
Turn
off
the
Amiga, disconnect
and
open it,
and
check
that
the
SIMMs
are
all
seated
in
the
proper
banks,
that
the
SIMMs
in
the
Fast
RAM
section
are
all
of
the
same
memory size,
and
that
the
SIMM SIZE
jumper
is
set
appropriately.
• Should you still
have
problems
after
confirming
that
the
installation
was correct, one or more
of
the
SIMMs
either
is
not
of
the
proper type
or
is
damaged.
 Loading...