Preview Report
S
S
E
E
C
C
U
U
R
R
I
I
T
T
Y
Y
S
S
E
E
T
T
U
U
P
P
18 | PRINTING SETUP
different semi-porous and none-porous ink, it is critical to adjust calibration for
different environments due to the unique ink character and decap time.
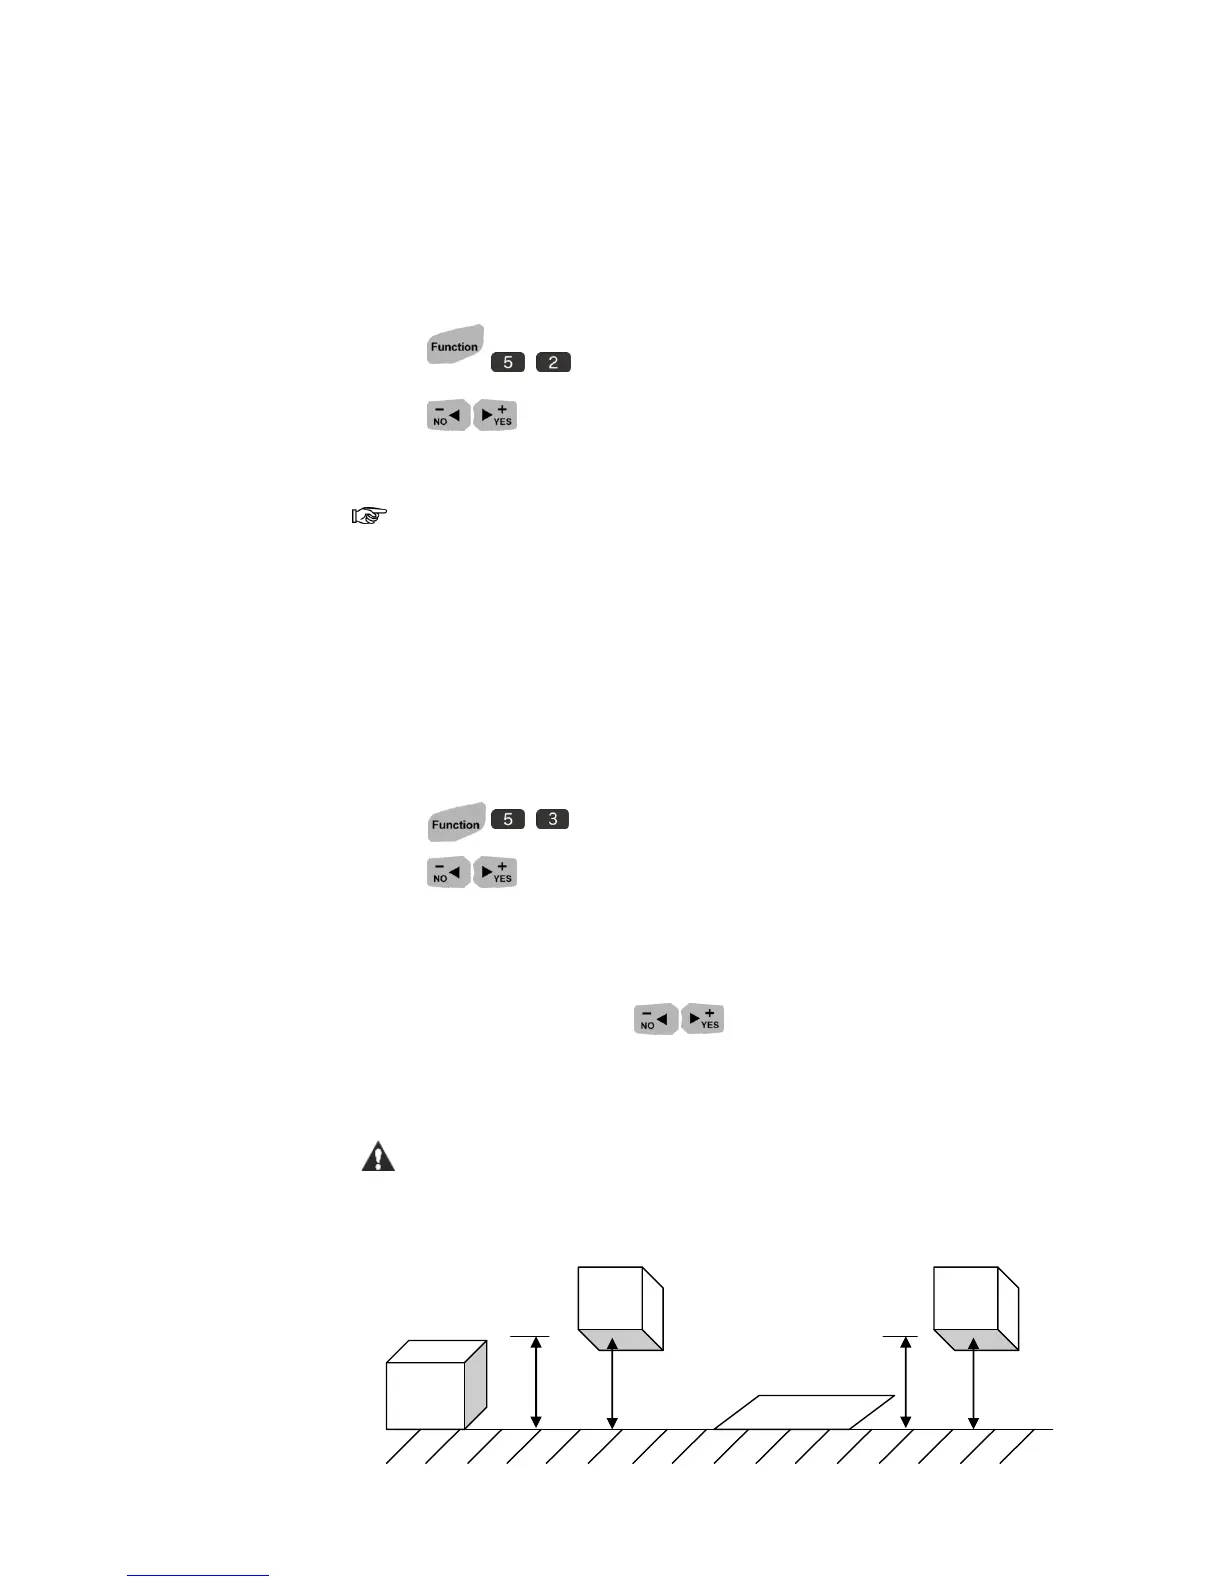
1. Press to setup.
2. Press to select ON or OFF.
3. Input the value of calibration (Calibrated range from 1 to 5).
Calibrate 1 corresponding to the wettest environment, where minimum
pre-purge output might apply. Calibrate 5 corresponds to the driest
environment, where maximum pre-purge output might apply.
Photocell
A sensor targets to objects and triggers the print timing. Select different types
photocell prior to your need.
1. Press to setup.
2. Press to choose INTERNAL or EXTERNAL.
INTERNAL: Default internal photocell of U2 printer.
EXTERNAL: Connect an external photocell via external device interface.
3. Select EXTERNAL, and press to choose NORMAL or INVERT.
NORMAL: PNP configuration in CMOS (Default).
INVERT: NPN configuration in CMOS.
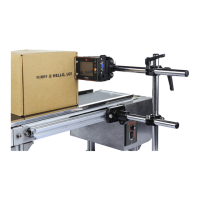
For users who prefer to print downside and printing object is less than
20mm height, external photocell with precision is recommended.