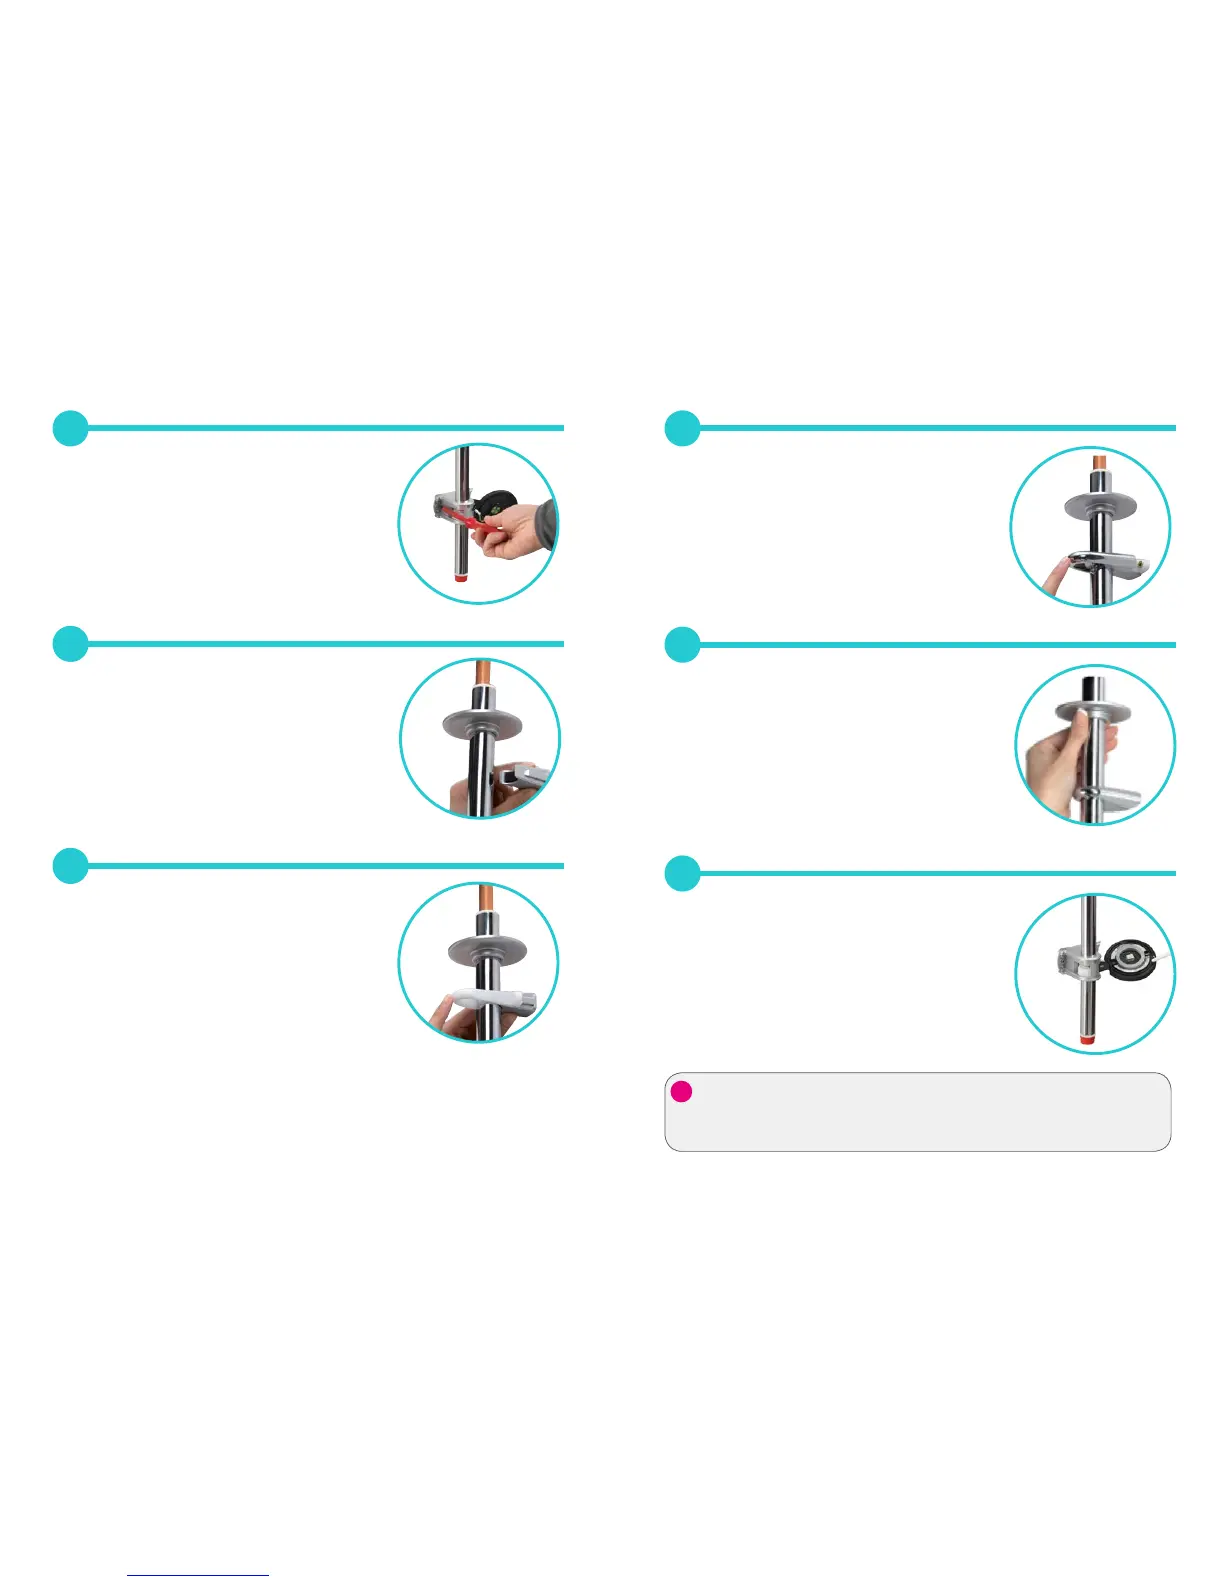
9
Place the top rail bracket support pillar behind the riser
rail and align with the fixing points.
8
Hold the riser rail assembly in position, secure the
left hand fixing point of the bottom rail bracket
(as shown).
10
Slide the fixing bracket over the rail and the support pillar
and secure to the wall with the screws provided
(if suitable).
11
Slide the top rail bracket cover onto the fixing bracket
flush with the finished wall surface and click the
sides firmly into position.
12
If being used slide the plate up to the ceiling to
cover the entry hole.
13
Cut the cable tie and tilt the wall plate forward
from the top to expose the rear of the wall plate.
Remove the paper liner from the gasket, apply
silicone sealant to the channel (as shown).
Helpful tip...
For cosmetic reasons we recommend using clear silicone.
)
. .
10 11
 Loading...