13
wire to see if the rest is still good. If it's also rusty, get rid of the whole spool.
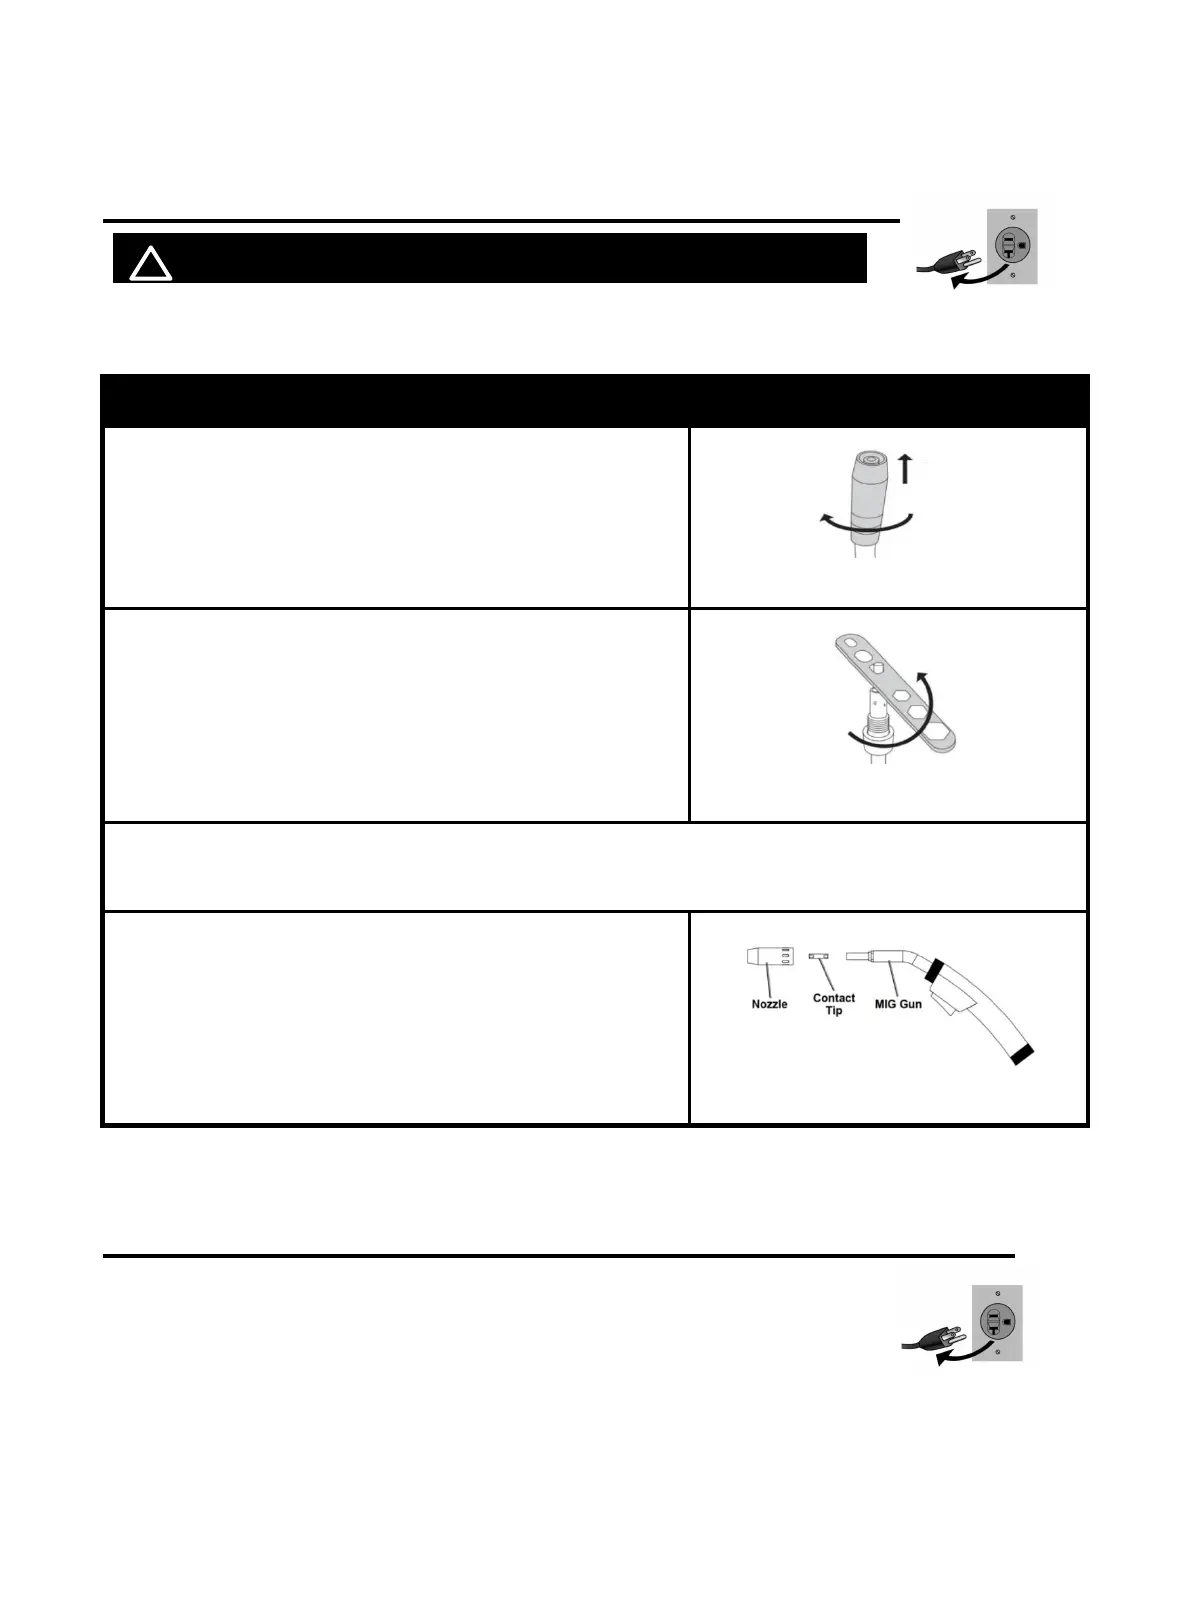
4.2 Checking the Torch Accessories
! WARINING DO NOT set up without SWITCH OFF !
Before welding, verify that the contact tip size in your MIG torch matches your welding wire
type. Do as following steps.
Description Picture
1. Continuously rotate the nozzle clockwise, as if pulling it
upwards. Since the nozzle is spring-loaded internally, some
force is required to remove it.
NOTICE: ONLY TURN CLOCKWISE.
Figure 11
2.Use a wrench to turn the tip of the contact nozzle
counterclockwise. While doing so, ensure to steady the torch
with one hand. Removing the torch might be difficult if it's not
stabilized.
Figure 12
3.Checking the size number on the contact tip. The original machine is equipped with 0.035” type.
If not confirmed with your welding wire, change it.
4. Replace the nozzle in counterclockwise
Figure 13
4.3 Installing the Welding Wire
NOTE: Turn machine power switch to the OFF position before
working inside the wire feed enclosure. Make sure that the wire
feed drive roll and the contact tip of the gun match the diameter
and type of wire used.
NOTE: DO NOT unhook leading end of the wire! It will prevents scattering the entire
coil of wire.
https://www.arccaptain.com/