16
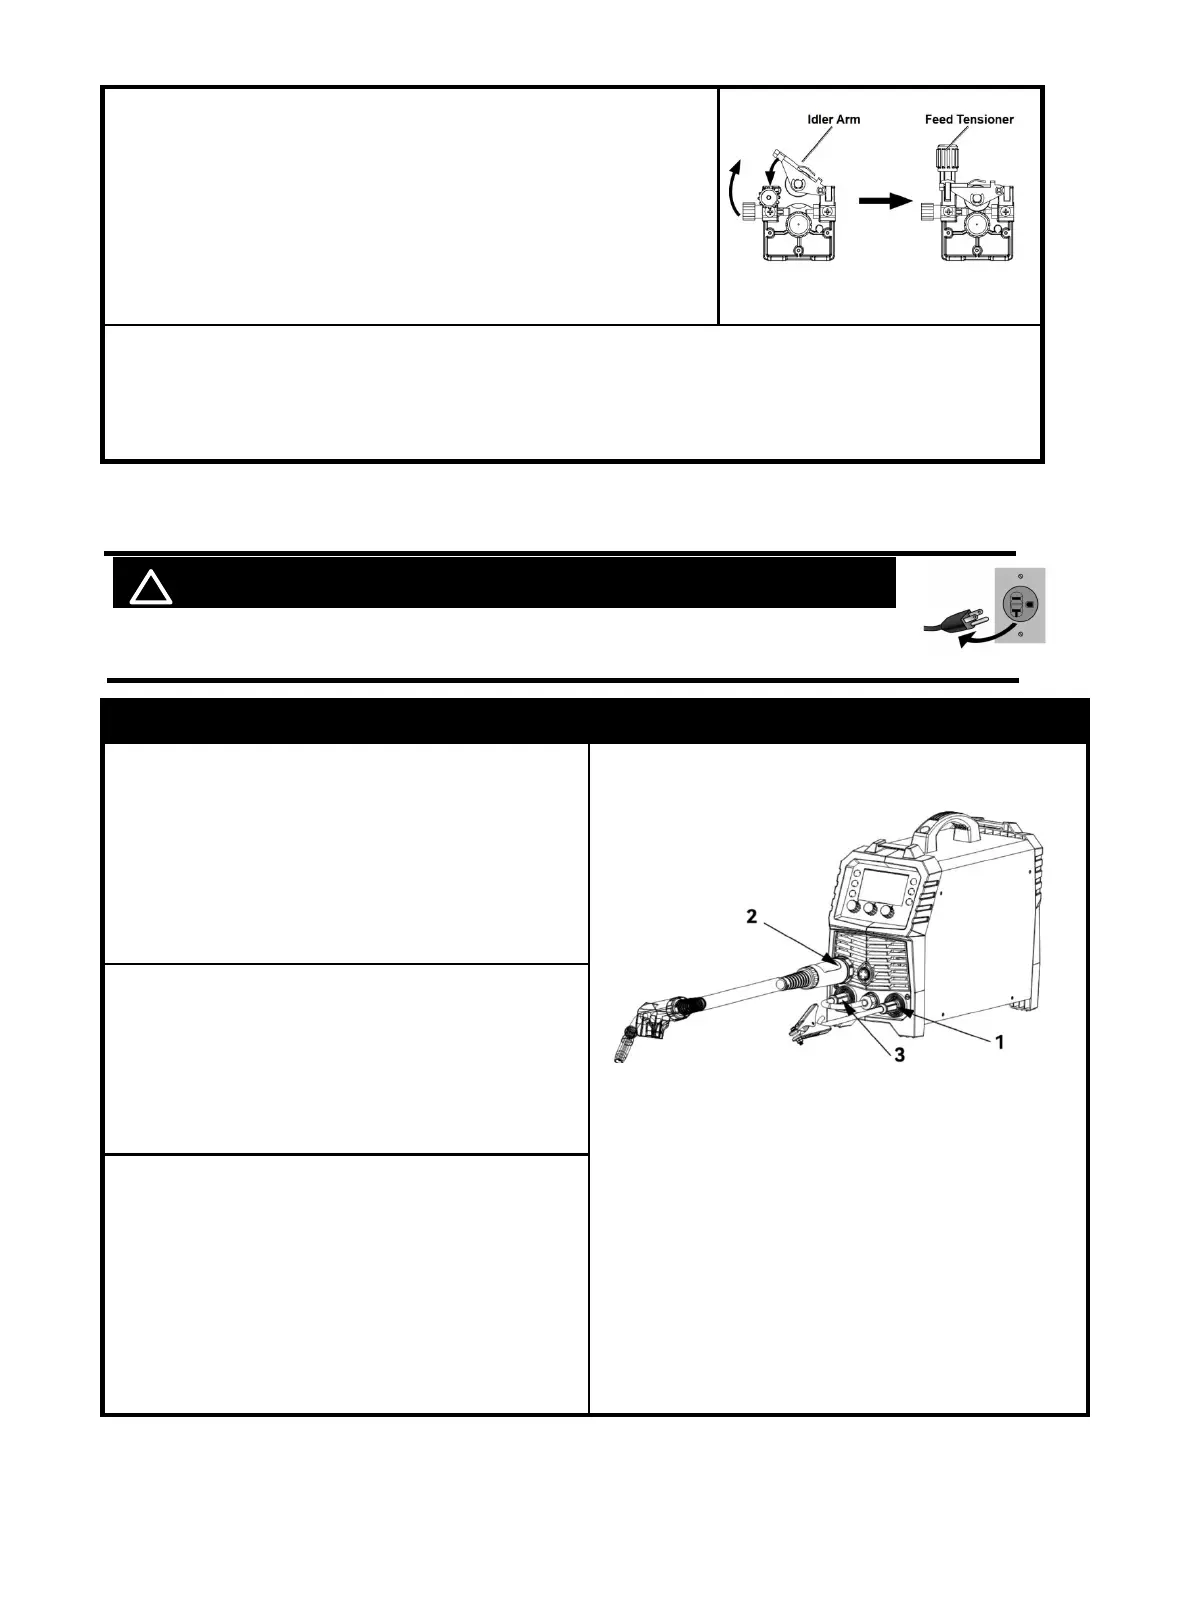
6.Close the Idler Arm and turn down the Feed Tensioner until
the idle roller presses down firmly on the wire.
Now you may release the welding wire. Make sure the wire is
positioned in the groove of the lower feed roller.
Figure 20
7.The Feed Tensioner on the Idler Arm adjusts the pressure on the wire .Adjust pressure by
turning the Feed Tensioner to prevent spool overrun, but still allow smooth and easy wire feeding.
Start with the pressure set to an intermediate value. Readjust, if necessary. If the drive roll slips
while feeding wire, the pressure should be increased until the wire feeds properly.
5. Operation for MIG Welding
! WARINING DO NOT set up without SWITCH OFF !
5.1 Connection
Description Picture
1. Connect the ground clamp to “-” negative
polarity
NOTICE:
The ground clamp connector MUST be
tightly connected to the socket to avoid
power short circuit.
Figure 21
2. Connect the welding gun to euro connector
NOTICE:
The MIG gun connector MUST be tightly
connected to the socket to avoid power
short circuit or air leakage
3. Connect the polarity changeover plug to “+”
Positive polarity
NOTICE:
The polarity changeover plug MUST be tightly
connected to the socket to avoid power short
circuit.
https://www.arccaptain.com/