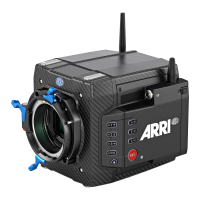
System Settings 100
3. Press CONNECT.
The camera connects with the network. The name of the network is displayed in the WiFi
NETWORKS AVAILABLE list.
Disconnect from Network (Client Mode)
1. Select MENU > System > Network / WiFi > WiFi Network.
2. Press DISCONNECT.
If the network you were connected to is hidden, it will disappear from the network list shortly after.
WiFi Status Icons on HOME Screen and in Status Info
With WiFi power enabled, the WiFi status is indicated by an icon on the "home screen" and the"status
info" of the viewfinder and the SDI outputs:
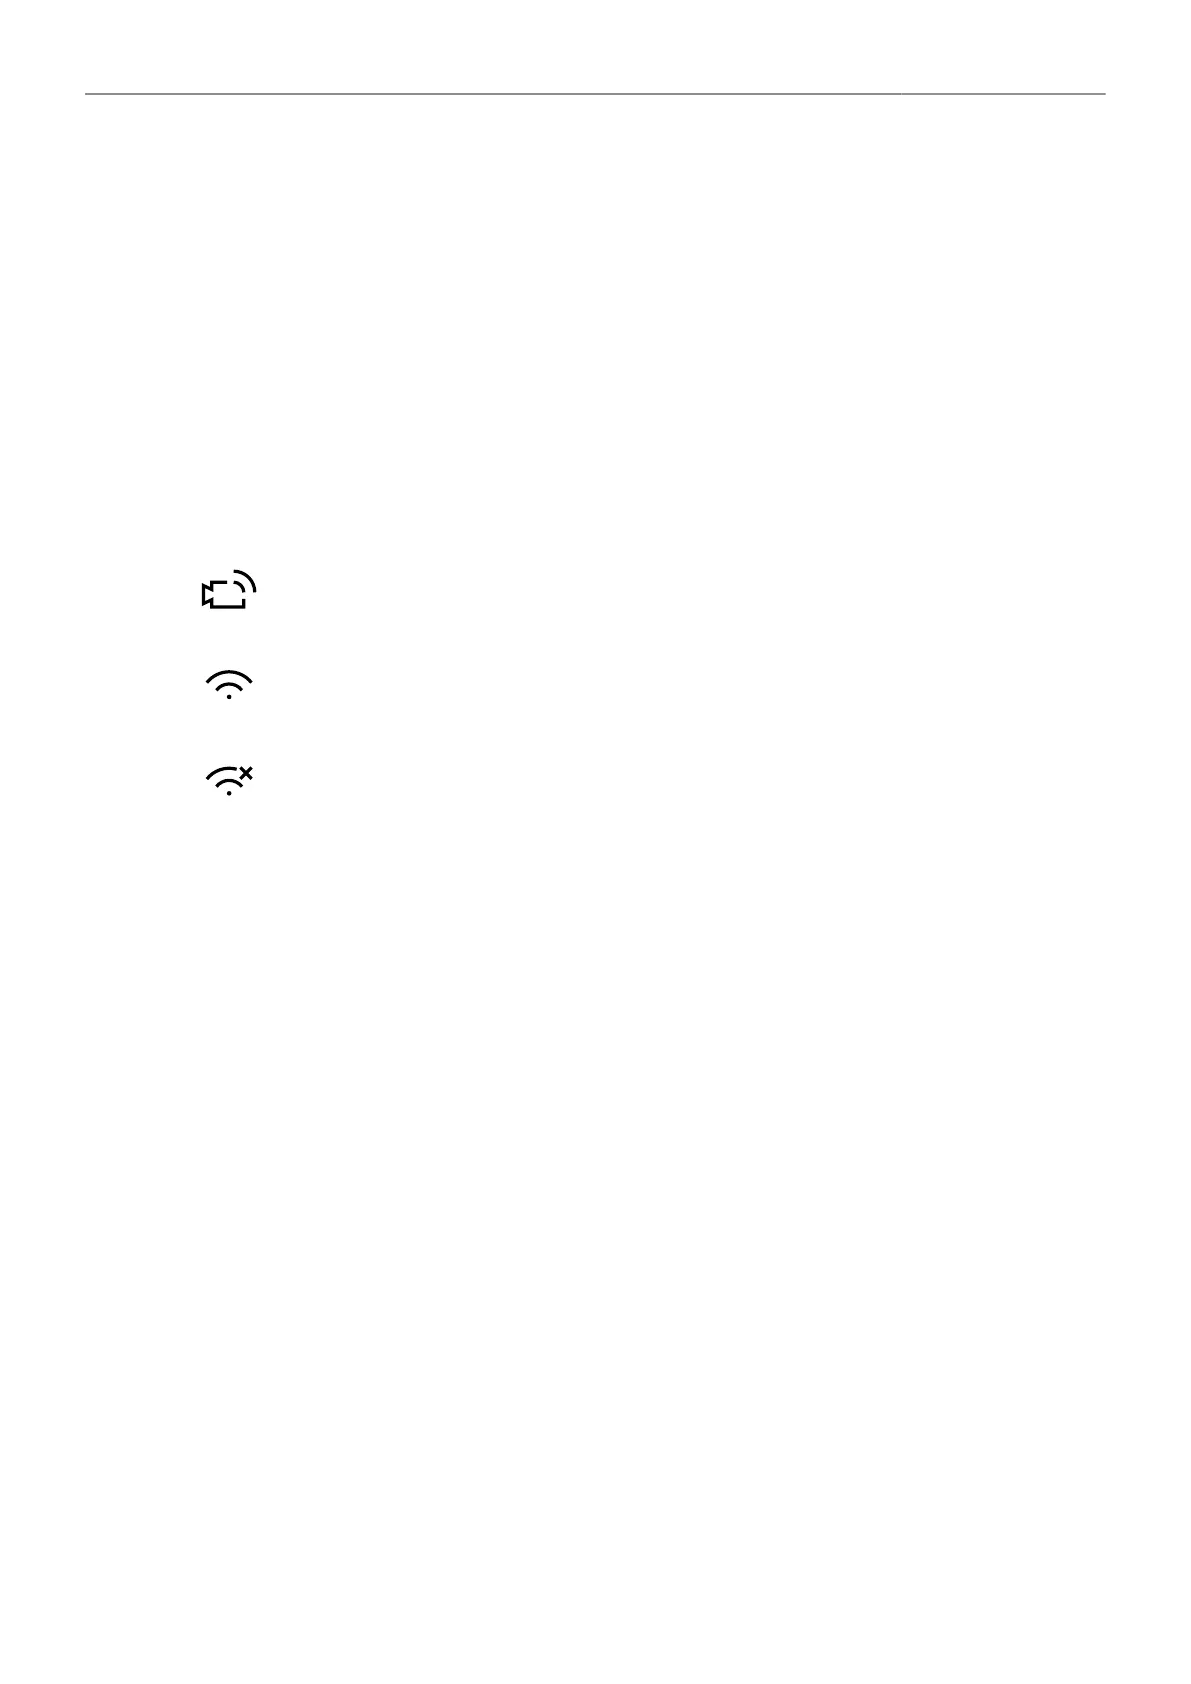
Host mode icon. WiFi power is enabled and WiFi mode is set to Host.
Client mode icon. WiFi power is enabled and connection to network has been established.
Client mode icon. WiFi power is enabled but camera is not connected to a network.
Additional information can be found under MENU > Info > Network Info .
LAN Settings
Use the ALEXA Ethernet cable (KC 153-S, K2.72021.0) to connect the camera to a router or other
devices.
LAN IP Mode
1. Select MENU > System > Network / WiFi > LAN IP Mode.
Following options are available:
Static Select for manually entering an IP address and subnet mask.
DHCP Select to let the camera accept a dynamically assigned IP address from an
DHCP server.
2. Set the desired LAN IP mode.
LAN Static IP
1. Select MENU > System > Network / WiFi > LAN Static IP.
2. Set the desired LAN Static IP adress.
LAN Static Subnet
1. Select MENU > System > Network / WiFi > LAN Static Subnet.
2. Set the desired LAN Static subnet.
 Loading...