3. Device installation and start-up
page 13 of 47 issue date 24.02.2021, release 11.1
If the self-test results in appearing on the display the information about unit or connected applicator defect
along with the error code, turn the unit off and contact with an authorized service representative.
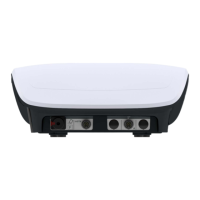
Due to safety reasons the unit was equipped with software and hardware lock of laser applicators operation.
The operation is possible only after correct entry of unique access code and inserting the remote interlock
connector (marked as DOOR) into DOOR socket, located on back panel of the enclosure (provided as standard
accessory).
3.1.10 Laser therapy access code
The code which allows for laser applicator operation has the shape of: PHGL
Entering an incorrect code prevents the execution of laser treatment procedures and laser applicator power
measurement tests.
3.2 Setup mode
3.2.1 Basic information
Keyboard components designed for the unit operation are called ”keys”.
The area on the screen, where after its pressing a specific unit reaction is followed, is called ”button”.
The area on the screen that has the possibility to select or deselect any item, is called ”selection field”.
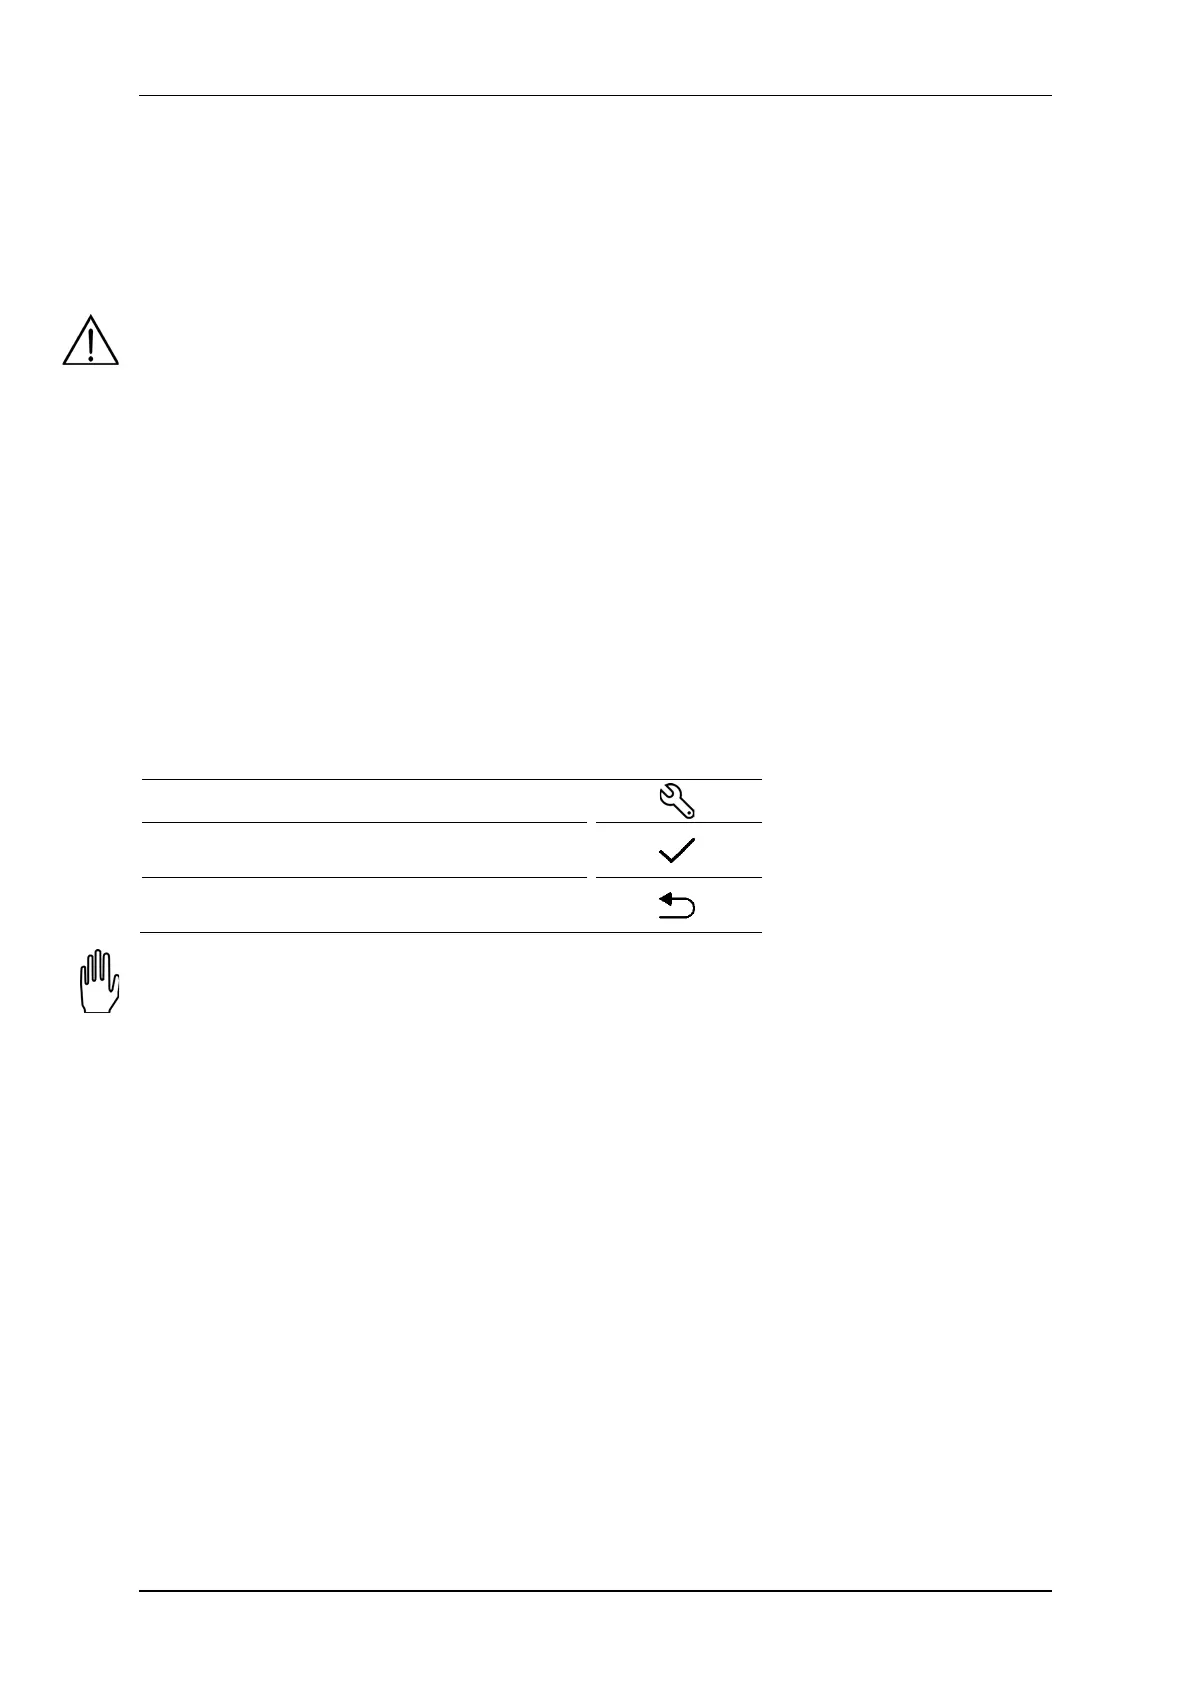
To enter Setup mode, press
To leave Setup mode, press
To go back one level, press
Setup mode is available only if the treatment is not performed. Some setting options depend on the connected
accessories. In the absence of some accessories, the options will not be available.
3.2.2 Language
With the PhysioGo unit information on the display may be presented in different language versions. The user is
free to select language options.
To set the language version, press the Language button in the list of setup options, then press the desired version.
Language version change is immediate.
3.2.3 Global settings
3.2.3.1 Date and time
In this section there is a possibility to adjust date and time. To change these settings, press the button Edit. Using
arrows, set the required value. Confirm settings using Set button or leave the edition mode by pressing Cancel.
 Loading...