3-3
ASUS RS400-E8-PS2, RS400-E8-PS2-F
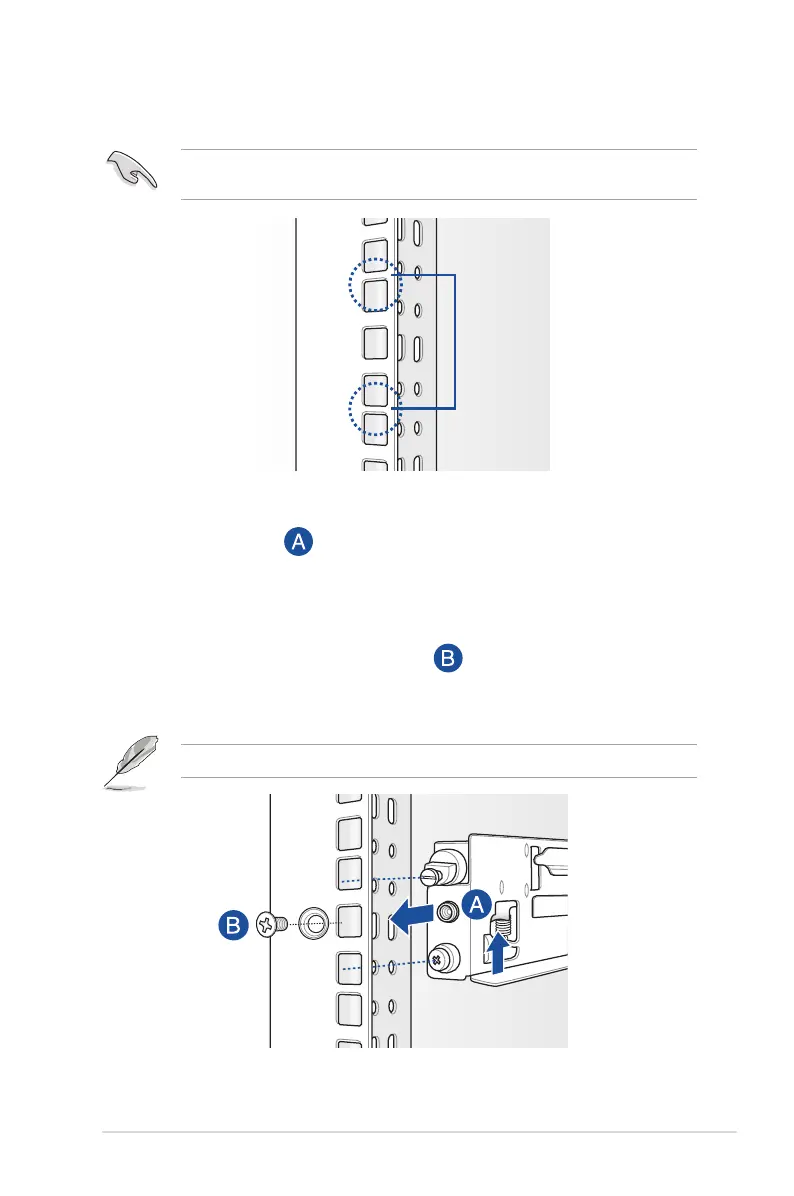
2. Select a desired space and place the appropriate rack rail (left and right) on
opposite positions on the rack.
A 1U space is consists of three square mounting holes with two thin lips on the top and the
bottom.
3. Secure the rail components to the rail using the bundled screws.
4 Press the spring lock ( ) then insert the studs into the selected square mounting
holes on the rack post.
5. Press the spring lock on the other end of rail then insert the stud into the mounting hole
on the rack post. Extend the rack rail, if necessary.
6. (Optional) Use the rail screw and rail washer ( ) that comes with the kit to secure
the rack rail to the rack post.
7. Perform steps 3 to 5 for the other rack rail.
Ensure that the installed rack rails (left and right) are aligned, secured, and stable in place.
1U
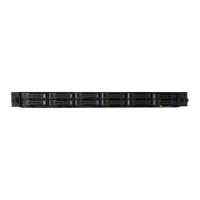
7. Lift the server chassis and insert into the rack rail.