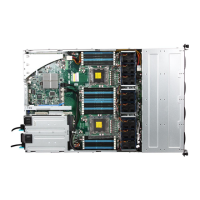
2-13
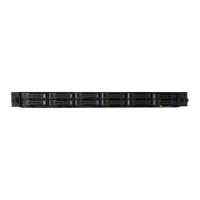
ASUS RS400-E8-PS2, RS400-E8-PS2-F
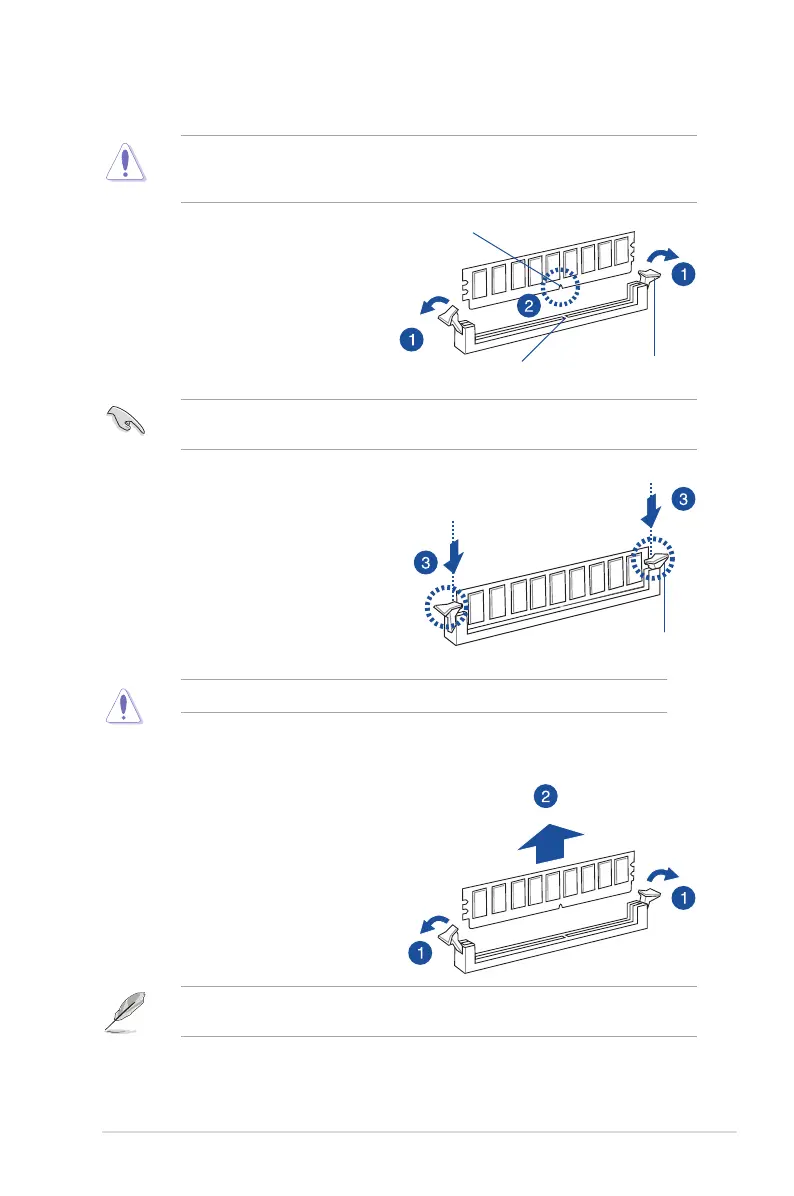
2.4.4 Removing a DIMM
1. Simultaneously press the retaining
clipsoutwardtounlocktheDIMM.
2. RemovetheDIMMfromthesocket.
2.3.3 Installing a DIMM
3. HoldtheDIMMbybothofitsends
theninserttheDIMMverticallyinto
the socket. Apply force to both ends
oftheDIMMsimultaneouslyuntilthe
retaining clips snaps back into place.
EnsurethattheDIMMissittingrmly
ontheDIMMslot.
EnsuretounplugthepowersupplybeforeaddingorremovingDIMMsorothersystem
components. Failure to do so may cause severe damage to both the motherboard and the
components.
1. UnlockaDIMMsocketbypressing
the retaining clips outward.
2. AlignaDIMMonthesocketsuchthat
thenotchontheDIMMmatchesthe
DIMMslotkeyonthesocket.
ADIMMiskeyedwithanotchsothatittsinonlyonedirection.DONOTforceaDIMMinto
asocketinthewrongdirectiontoavoiddamagingtheDIMM.
SupporttheDIMMlightlywithyourngerswhenpressingtheretainingclips.TheDIMM
mightgetdamagedwhenitipsoutwithextraforce.
AlwaysinserttheDIMMintothesocketVERTICALLYtopreventDIMMnotchdamage.
Locked Retaining Clip
Unlocked retaining clip
DIMM notch
DIMM slot key