Copyright © 2007, 2008 AudioNote Kits
www.AudioNoteKits.com
audionotekits@rogers.com
Page 3
Section1: Introduction
Congratulations on your
choice to build the InterStage Mono Block from Audio Note.
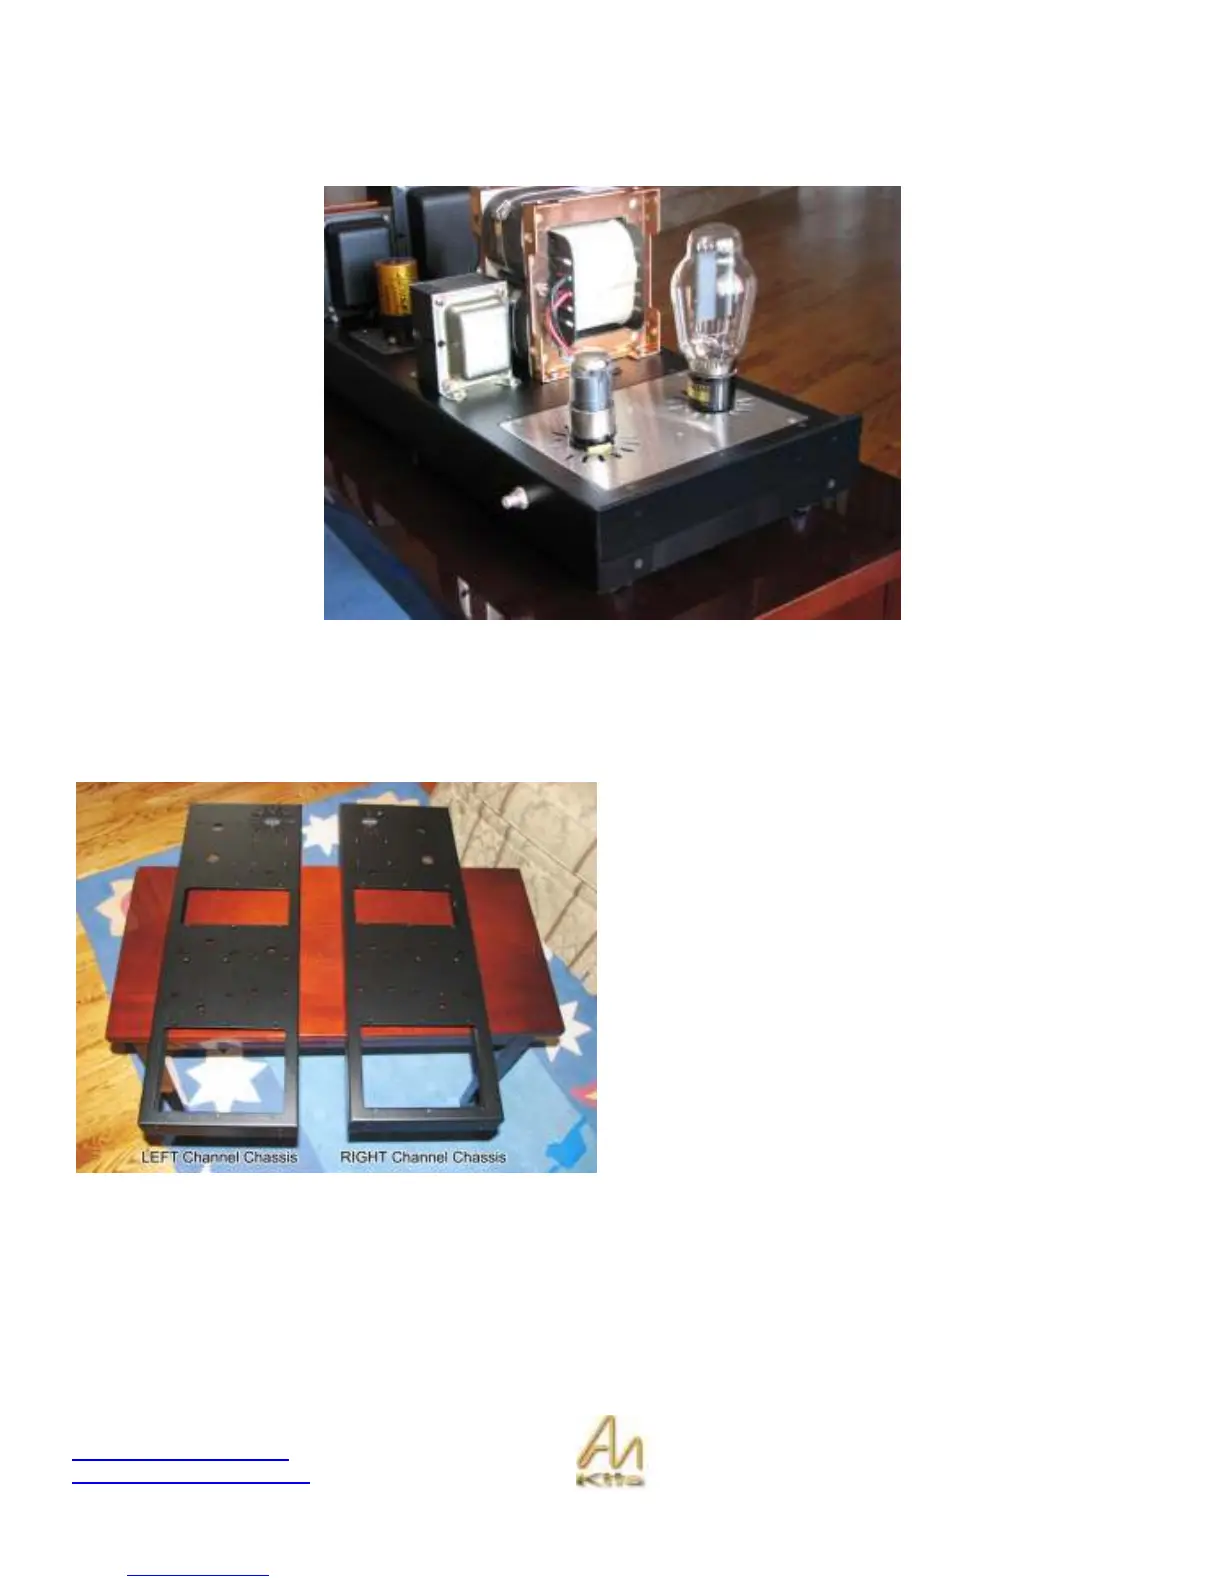
Chassis Orientation
We have a Left and a Right chassis for your mono block
build.
As you can see the chassis’ are a mirror image of one
another – strictly for cosmetic appeal at the end of the
build.
We would suggest you start by building the Right channel
according to the manual and then it will be quite easy to
follow the manual again for the left channel – the only
difference will be the mechanical install of transformers!
Hardware and Kit Bags
We have provided you with a series of Kit Bags for your build. The first Bag is the Main Hardware Bag and inside are all
the little bags containing the hardware required for each section. Examine this bag and you will see it is fairly self
explanatory for which section these belong. We use basically two types of metric screws in the kit – the M4 which is the
bigger of the screws and the M3 type which is smaller – now each can have their own specific lengths and head types –
for example you could have an M3 Pan head and an M3 Countersunk or flat screw – all the screws are Philips end.