Web Agent
Issue 1.0 June 2002 37
Chat Toolbars
When you are engaged in a chat session, the main chat toolbar is located on the right side of the
Web Agent above the chat transcript area. This toolbar contains buttons you use to control the chat
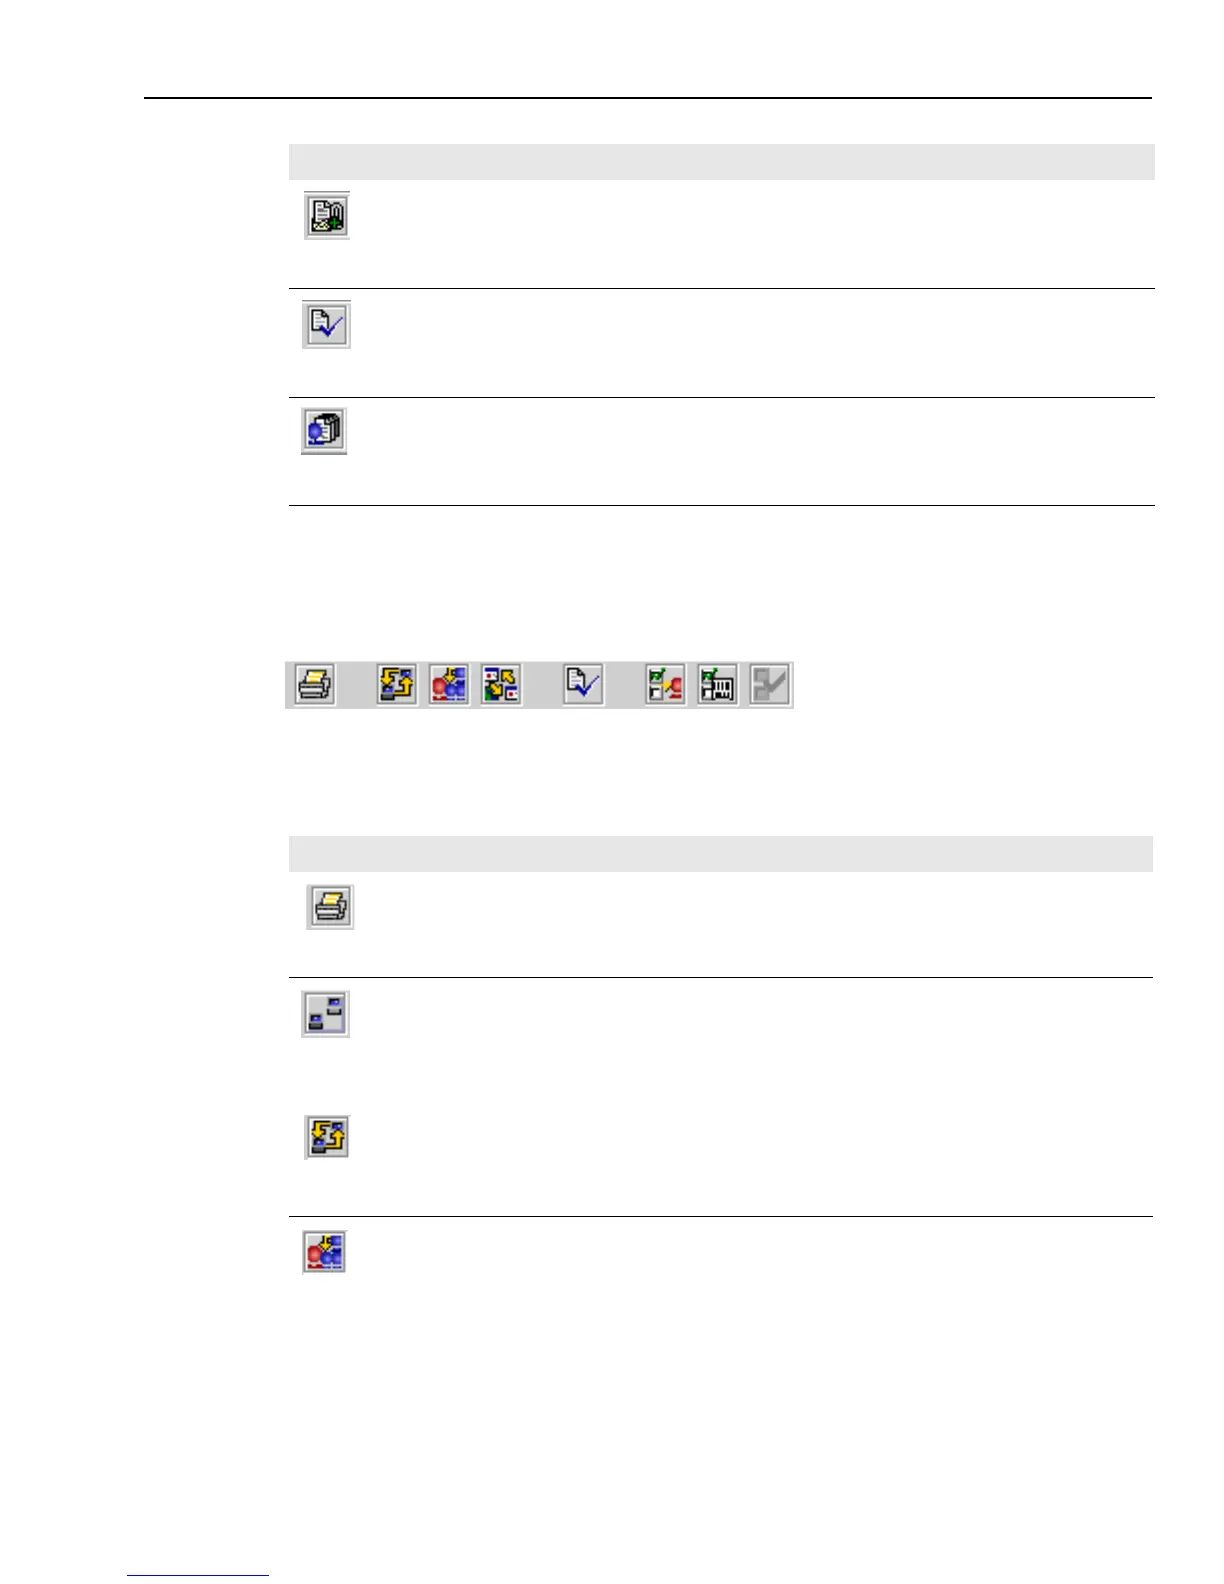
session. The buttons in the toolbar, from left to right, are as follows:
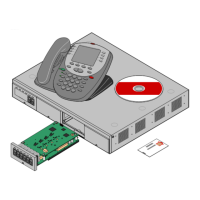
Attach
Displays a dialog box where you can locate a file and attach it to the current email
reply.
Spell Check
Displays a dialog box that helps you check the spelling of the current email reply,
interactively.
Note: You can set a preference to have this spelling dialog box come up
automatically after you click Send. See “Setting Preferences,” on page 165.
Email History
Displays a dialog box with information about a specific email or information about
any previous emails sent from the current customer’s email address. You can also
see copies of the emails. See “Viewing Email History,” on page 91 for more
information.
Button Action
Print
Prints a paper copy of the text that is currently displayed in the Information Bar, the
Transcript area, and the Text Entry area.
Start Auto-Sync
(You see this button when Auto-Sync is off.) Starts an Auto-Sync session so that your
customer’s browser will display the same Web pages as your browser as you navigate
through Web pages. See “Using Auto-Sync,” on page 129 for more information.
Stop Auto-Sync (You see this button when Auto-Sync is on.) Stops an Auto-Sync session.
Join-Us
Starts a Join Us session in which friends of your customer can join the chat session. See
“Handling a Join Us Conference,” on page 144 for more information.
Button Action
 Loading...