24
n
Do not lift the Engine by the handles on the power supply units, cooling modules or Controller – they are not
designed to support the weight of the entire system.
w
Avid recommends that two people lift the Engine, especially when installing in upper rack units.
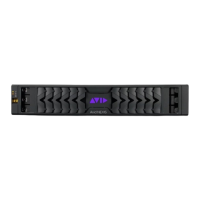
To mount a 2U or 4U chassis in the rack:
1. Install the mounting rails using the instructions on the attached label.
2. If you have a redundant Controller, insert it fully into the chassis before installing the chassis in the rack.
3. Slide the chassis onto the mounting rails and secure to the rack using the two supplied screws.
4. Insert the Media Pack drives into the empty drive slots (see “Installing the Media Packs (E2, E2 SSD, E4)” on
page 27).
5. Remove the plastic end cap covers from the front of the chassis. (These cover the screws that secure the
chassis to the rack in the absence of a bezel.)
6. Attach the bezel to the front of the chassis.
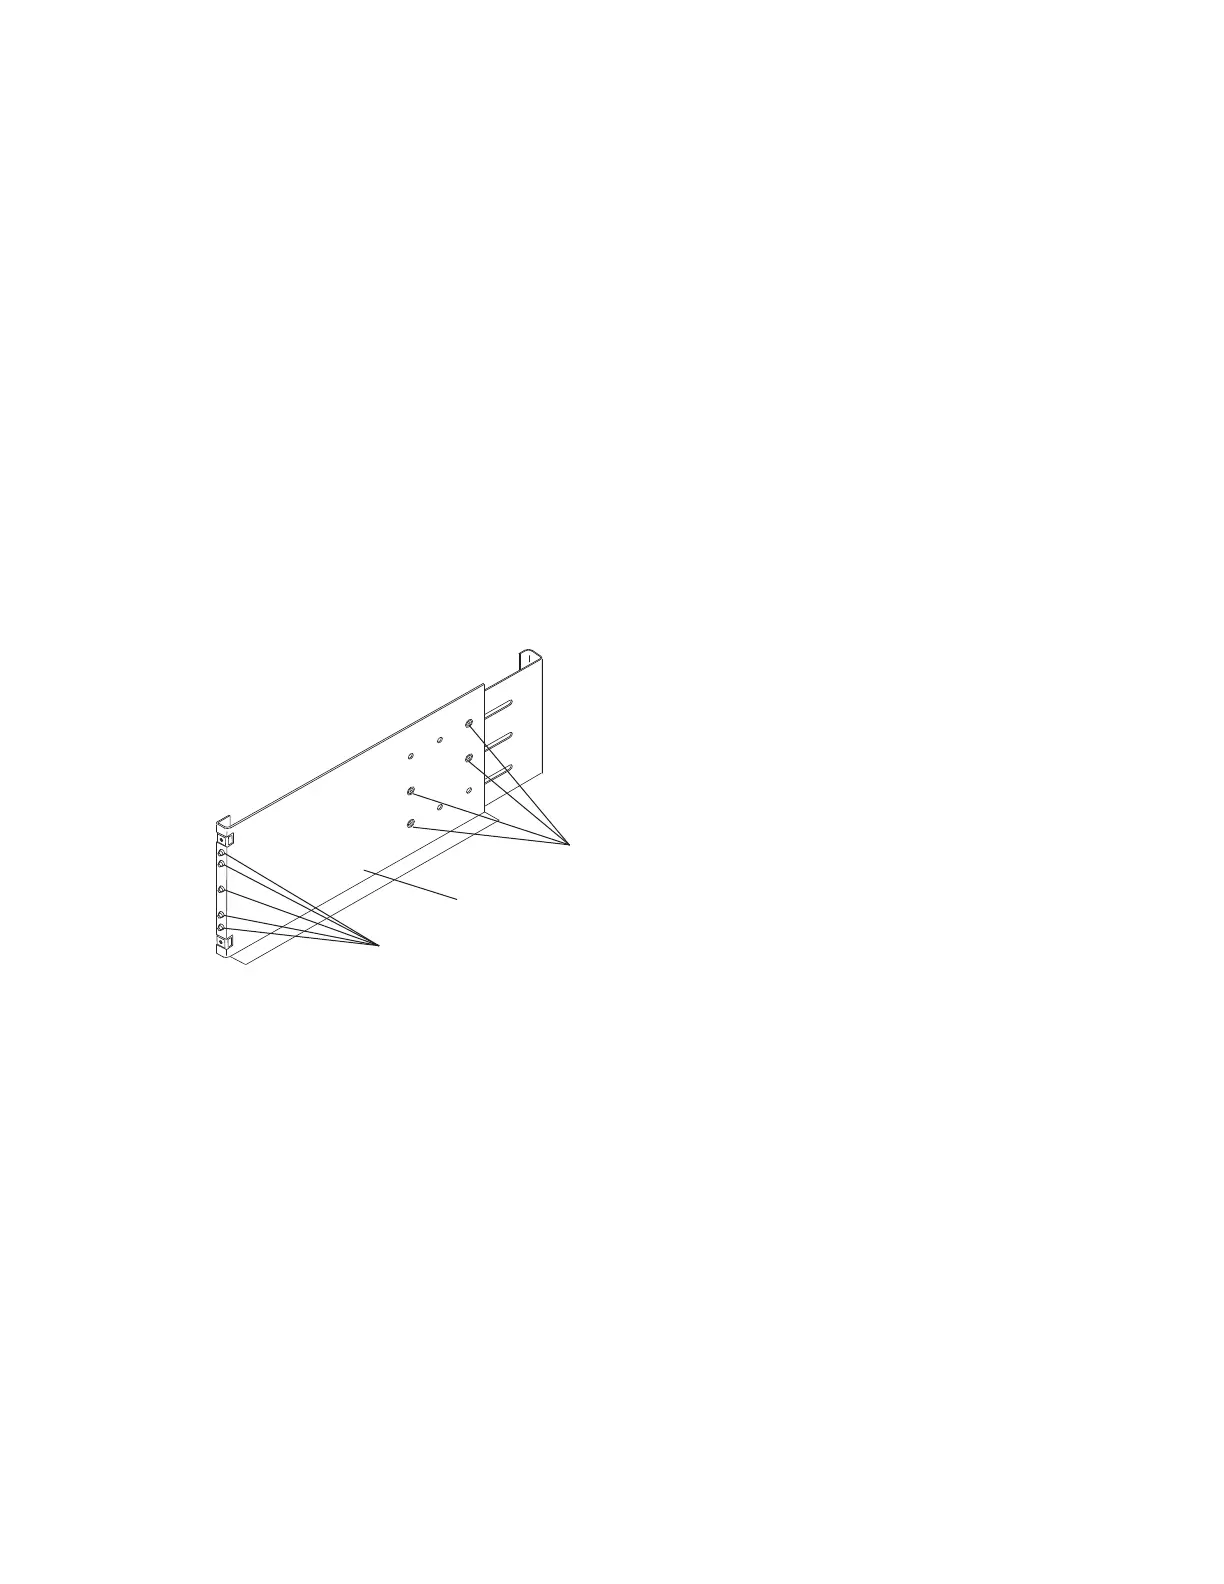
To mount a 5U chassis in the rack:
1. (Option) If using racks with threaded holes, unscrew and remove the five round pegs on each end of the
bracket rail.
2. Loosen the four slide adjustment screws so to adjust the bracket rail to the depth of your rack.
The adjustment screws are highlighted in a colored circle around the screw.
3. Position the bracket rail between your rack mount rails and adjust the length of the bracket so that it meets the
inside of both the front and rear rails as shown in the following figure.
Slide adjustment screws
Round pegs
Bracket rail